

Vivint is one of the top home security systems in 2026, and part of the reason is its premium offering of products and services. In our Vivint hands-on review, we complimented the company for assisting us every step of the way — from the consultant who helped us pick out our equipment to the monitoring centers that responded to our alarms. But the real hero to us was Don, the Vivint Smart Home Pro who set up our entire Vivint system.
A lot of potential security system buyers have doubts about Vivint because it requires professional installation, it’s time-consuming, and it’s not free. So, here, we documented the entire installation process so you can decide for yourself if Vivint is the right company to install your security system. Spoiler alert: There aren’t a lot of security companies better than Vivint when it comes to professional security system installation.
>> Related: The Best Professionally Installed Security Systems of 2026
FYI: Depending on availability, Vivint may offer same-day installation. That said, we’ve noticed availability is more limited than it used to be. When we set up our system, we scheduled our installation appointment five days out from our purchase date.
Vivint Installation Pros & Cons
| Pros | Cons |
|---|---|
|
|

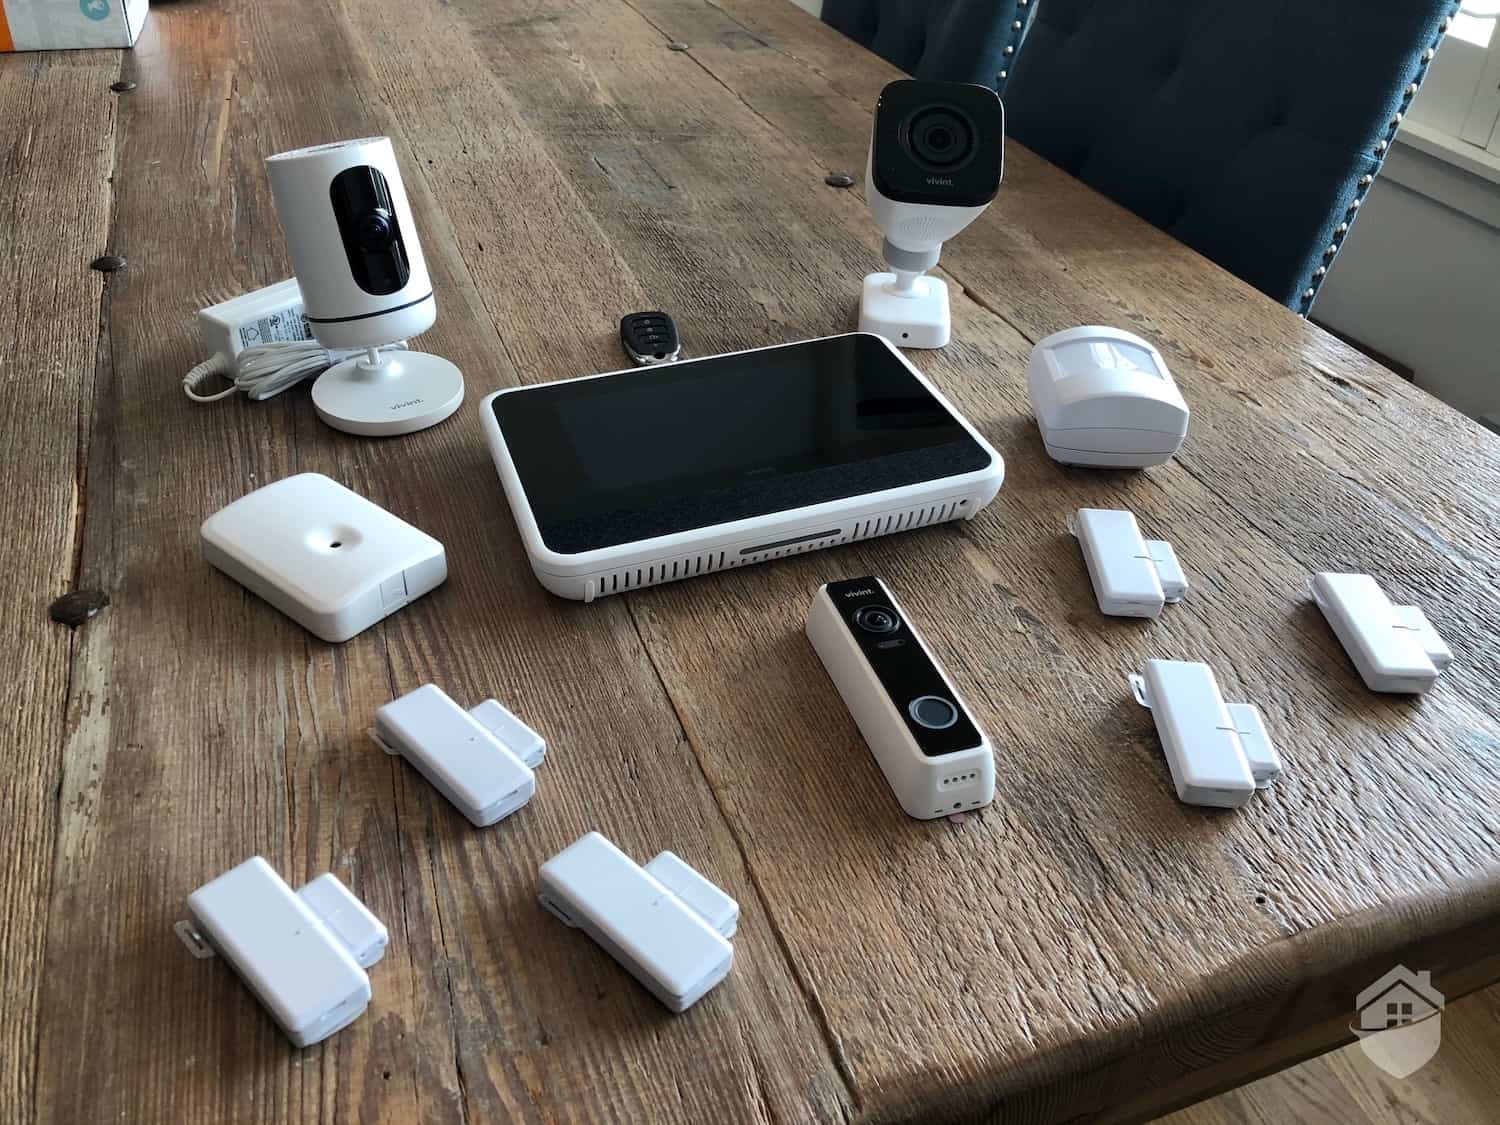
We bought a Vivint security system, which Don the Smart Home Pro installed for us.
Vivint Smart Home Pros
Your Vivint technician, or “Smart Home Pro,” plays the starring role in your installation. While you likely won’t get the same technician and experience we did, we think sharing our experience will be instructional.
So there we were, sitting in the living room enjoying our coffee, when the doorbell rang.
“Name’s Don,” the young man said. “Looks like you have a Vivint installation today.”
We sure do!

Photo of our Vivint Installation Specialist, Don.
First impressions matter to us. Some companies send out third-party contractors for installation, and their presentation and appearance don’t exactly inspire confidence. Don, on the other hand, was clean cut and decked out from head to toe in Vivint gear. From our research, we knew that Vivint takes their technician training seriously, but we were blown away by what Don told us. He said he was flown down to Utah to go through weeks of intensive training. That was followed by several months working hands-on as an apprentice. It sounded like an investment in training that we haven’t seen from other home security outfits.
Did You Know: Vivint's premium services are built for homeowners who want a fully integrated, professionally managed system. That premium price tag, compared to DIY competitors like Ring and SimpliSafe, is why the company places a strong emphasis on professionalism and consistency during every service call.
Before we get into specifics of what to expect on installation day, we have a helpful chart to give you a birds-eye view of what’s in store. Have a look below for an overview of our Vivint installation experience. Note that your mileage may vary depending on the equipment you purchase.
| Invasiveness (Drilling & Wiring) | Time It Takes | |
|---|---|---|
| Walk-Through & Consultation | N/A | 10-20 minutes |
| Peel & Stick Sensors | None | 15 minutes |
| Recessed Sensors | Moderate | 30-45 minutes |
| Glass Break Sensors | Minimal | 5 minutes |
| Motion Sensors | Minimal | 5 minutes |
| Garage Door Opener | Moderate | 20 minutes |
| Outdoor Camera Pro | Extensive | 30 minutes |
| Indoor Camera Pro | None | 5 minutes |
| Doorbell Camera Pro | Minimal | 10 minutes |
| Contracts/Survey | N/A | 10 minutes |
| System Training | N/A | 20 minutes |
| Total Time | N/A | 3 hours |
The Walkaround & Consultation
Your Vivint Smart Home Pro scouts the best locations for your sensors and cameras before getting to work. We really liked this first step, especially since Don talked us through his thought process. He says that he likes to think like a burglar when choosing where to place equipment. That way, he can spot potential weak points and address the issues.
For instance, he decided to install our Outdoor Camera Pro at the far end of our driveway, that way it would cover our front yard, driveway, and part of our side yard. There’s a specific tree in our yard that, according to Don, a criminal could use as an entry point onto our property. Well, not anymore!
Even as home security experts, we value that level of insight coming from our Smart Home Pro. And, if you’re new to home security systems, we’re sure you will too! And don’t worry, even if you live in a big house, that 20-minute consultation will be more than enough.
>> Learn More: The Best Home Security Systems for Large Homes

Don found the perfect placement for our outdoor camera to maximize its coverage.
Although it was great that Don talked us through his thought process, it would’ve been nice if he communicated with us more throughout the entire installation. We understand; it's not easy to explain stuff over the whirring sound of a power drill, but we still think it’s worth keeping us in the loop while making alterations to our humble abode.
That was our only minor gripe, though. If we were to rate the entire install, we’d give it (and Don) a stellar 9.4 out of 10.
Smart Hub Installation
The 7-inch touchscreen Smart Hub serves as the brains of the entire system. It houses a 110-dB siren and lets you view live camera feeds, customize automations, and manage all your security settings from one place. The panel mounts directly to your wall. We recommend placing it near the front door or another central location in your home.

Don showed us how to view security camera live feeds from the Vivint Smart Hub.
Unlike plug-in control panels sold by DIY home security companies (think SimpliSafe and Ring Alarm), the Vivint Smart Hub is installed in such a way that the power cord is hidden inside of your wall. Here you can see what we mean by seeing the back of the panel…

The Smart Hub’s detachable back plate allows for neat, all-wires-hidden wall mounting.
Vivint lets some users keep their Smart Hub freestanding (like a digital picture frame). We advise against this, though. The power cord is spindly and quite stiff, and it’s really not meant to be exposed to the world. Although Vivint is technically a wireless system (it uses a 100 percent cellular connection), you’ll often see this type of thing with hardwired security systems. But trust us, you really want the clean aesthetics and convenient functionality of a wall-mounted panel.

Here’s how the Smart Hub looked after Don finished mounting it.
Pro Tip: If you’re considering getting Vivint, it doesn’t hurt to start thinking of potential Smart Hub placement locations in your home. Your Vivint tech will have their ideas, but the truth is, nobody knows your home better than you. And since it’s wired into your wall, once it’s installed, it’s not easy to move.
One quick note, Don had to drill holes for the Smart Hub’s wall anchors. That’s why Vivint isn’t super-ideal for renters. The best security systems for renters are typically DIY systems that don’t require drilling.
That said, Don noted that in case we move, he’d come back and patch any holes he made. We’re pretty sure he was not being literal, but when we looked at our Vivint contract, it does say that we have the option to request a technician to box up our equipment if we ever have to move. That’s part of Vivint’s moving policy.
Door/Window Sensor Installation
We like to say that entryway sensors are the glue that holds a system together. Without them, you won’t have much protection from intruders (just don’t tell that to Deep Sentinel, a unique system that uses no entry sensors). And 95 percent of the time, we see door/window sensors go up in a flash with peel-and-stick adhesive. Here’s Don installing ours for us…

Our Smart Home Pro installed a sensor on a second-floor window that he said can be easily accessed from outside.
We have to say that Vivint’s entry sensors aren’t exactly our favorite (you can read our full take on Vivint sensors here). In fact, affordable DIY brands like abode have a better sensor design in our opinion. Vivint’s contact sensors are a little bigger and bulkier than we’d like, but they definitely get the job done. Here’s what it looks like mounted on our kitchen window…

One of our Vivint door/window sensors after installation.
Note that we opted for Vivint’s traditional contact sensors. But if we were set on keeping Vivint for the long-haul, we would have chosen their recessed door sensors. Although the recessed door sensors are more “permanent” than the peel-and-stick variety, the advantages far outweigh the disadvantages. We’ll discuss those next.
Did You Know: Our Vivint technician put on booties over his shoes before coming into our home so that he didn’t track any dirt in. He was coming in and out of our house for three hours straight, so we really liked the gesture. It’s the little things.
Recessed Sensor Installation
If you own your home, we think you’ll really like these sensors. Vivint’s recessed door sensors are pretty much invisible when you’re looking at a closed door, as they mount on the inside of your door, opposed to the contact sensors that mount where they can be seen.
Note that your Vivint tech will assume you want these recessed sensors installed. And although they have to bore into your door and door frame, the holes are practically hidden. In our opinion, this is where Vivint’s professional installation really starts to shine. We certainly wouldn’t want to install these ourselves. That said, have a look at the diagram below to get a better sense of the install.

DW20 installation from Vivint.
Mounting the Motion Sensor
This part of the installation process was fairly straightforward. Don recommended mounting our motion sensor in our dining room, which also covers our front entryway. Then he got to work.

Don installed our motion sensor in the corner of a room to maximize its coverage.
Like other motion sensors we’ve used, he screwed it into a corner about 7 feet off the ground. All very standard. But first we set the Pet Detection sensitivity to low by flipping a toggle on the back of the sensor. If you have a dog at home — especially a big boy over 50 lbs. — we recommend you do the same. Vivint is one of the best pet-friendly security systems, but you need to make those adjustments (or have your Smart Home Pro do it for you) to help minimize false alarms.

Can you spot the Vivint Motion Sensor?
FYI: Vivint doesn't offer DIY home security kits. That makes sense considering some of its equipment, like the outdoor camera, requires drilling and hard wiring. We'd much rather hand that off to a pro than stress over getting it right ourselves.
Don also installed a glass break sensor downstairs, as well as a smart garage door controller in our garage. If you’re curious about Vivint’s smart home products, like automatic garage controls, smart thermostats and lighting, etc., then we recommend checking out our Vivint home automation breakdown.

Don, the Vivint Installation Technician, installing our Smart Garage Door Opener
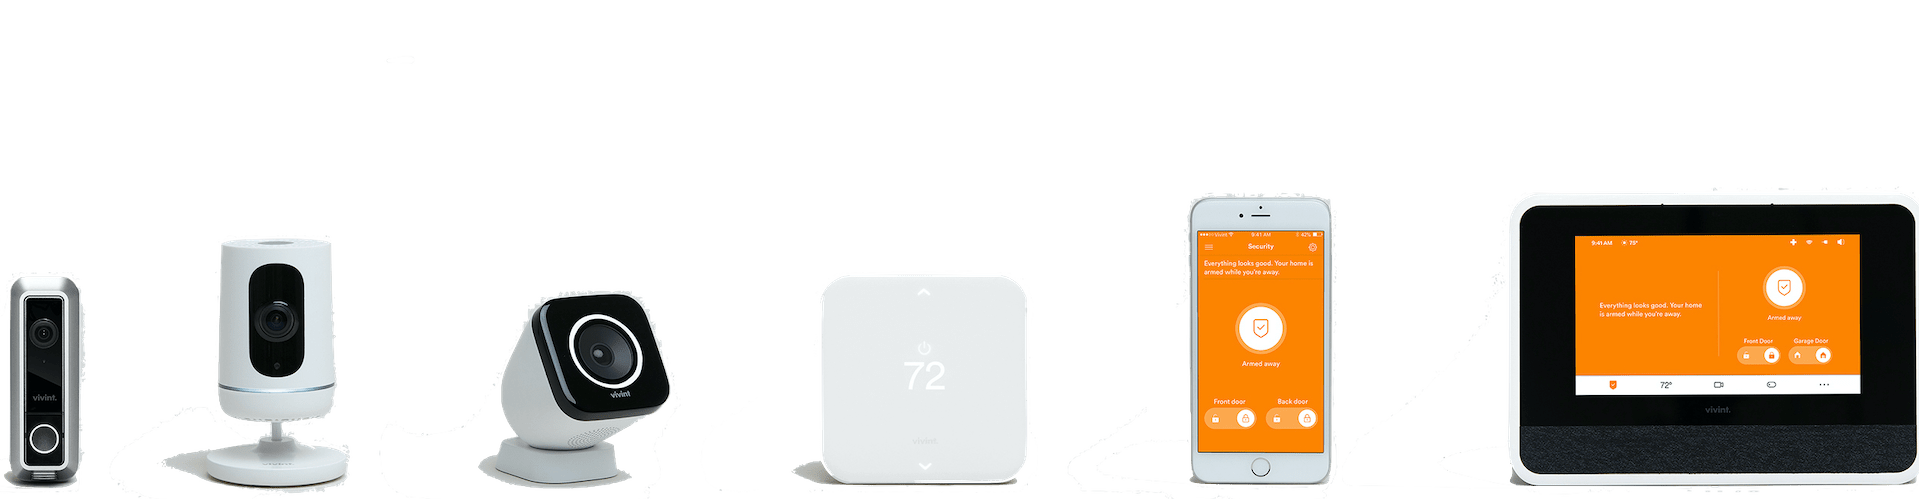
Vivint Camera Installation
If you choose to go with Vivint cameras, the installation really varies depending on the camera type. Note that Vivint sells an indoor camera, an outdoor camera, and a doorbell camera.
And just so you know, you’ll have to choose Vivint’s premium monitoring plan to access video support. Here’s our roundup of Vivint’s monthly subscriptions services.
Ping Camera Setup
Note: Vivint no longer offers the Ping Indoor Camera, but they replaced it with the Indoor Camera Pro. We researched this camera (and even got to play with it at a local trade show Vivint attended), and we found that it’s installed the same way as the Ping Indoor Camera we have.
The Ping Indoor Camera only took about 5 minutes to set up and configure. This camera must plug into a wall via its 12-foot power cord, so you’ll want to have it placed somewhere near an outlet. And like Vivint’s other cameras, it runs off your Wi-Fi, so here’s to hoping your Wi-Fi speeds aren’t as slow as molasses.
Similar to other indoor cameras we’ve reviewed, you can set the Ping cam on a shelf, say, in your living room. Or you can mount it on a wall. We like the swivel base and how the base plate can turn 90 degrees to mount to a wall. If you do want it wall-mounted, we recommend mentioning it to your installation technician. That said, we kept ours freestanding on our bookshelf.

Vivint Ping Camera mounted on the wall.
Mounting the Outdoor Camera Pro
The installation of the Outdoor Camera Pro is actually quite involved. In fact, we were a bit surprised by all of the drilling and wiring necessary. But trust us, once it’s up and running, this is one of the most advanced yet easy-to-use cameras we’ve ever experienced. Here’s Don drilling into our home with a 10-inch drill bit.

Installing Vivint Outdoor Camera Pro.
Once the hole was drilled, Don ran the camera’s ethernet cord through the wall and into the garage. As you’ll see below, it’s a fairly clean job, though we think it would have looked better if the wire ran vertically down the wall first, and then over to the outlet (but hey, you can’t have it all).

Vivint Outdoor Camera Pro wiring.
One thing worth mentioning is that the Outdoor Camera Pro runs off a Wi-Fi connection with a PoE Wi-Fi bridge. This means it taps directly into your Wi-Fi, and the single cord that you see above is simultaneously our data transporter and power cable. Pretty neat. We like the PoE setup, and we’ve found that it’s ultra-fast and reliable in terms of viewing, recording, and storing video data. Another benefit of this setup is that we don’t have to worry about changing batteries in the camera, which is always a drag with battery-powered outdoor cameras — especially in the middle of winter!
>> Other Options: The Best PoE Security Cameras of 2026

Installation Specialist Don installing the Vivint Outdoor Camera.
Doorbell Camera Install
The Vivint Doorbell Camera Pro is also a wired device. It will replace your existing doorbell and wire into your existing doorbell wiring. But again, your Vivint Smart Home Pro will bear this burden for you. The setup of this device takes about 10 to 15 minutes.
Pro Tip: One nice thing about the Doorbell Camera Pro is that it can also run off of batteries. So if you’d rather go wireless, just be sure to speak up on installation day.
Don also climbed his ladder in our home and installed the digital doorbell chime to our existing chime box. We’re not sure what happened to the plastic casing that covered our chime box. So Don, if you happen to have it in your tool bag, please bring it back. Of course, we’re always fiddling with the best doorbell cameras out there, so it may have been us that misplaced it. We’ll let it slide.

Don Installing the Vivint Doorbell Chime Box
Check out the photo we snapped below to see what the Vivint Doorbell Camera Pro looks like installed. Note that it actually sports a smaller profile than other leading video doorbells, like the Ring Doorbell. And it feels quite sturdy and well-built for the weather. You can read about our full experience with Vivint’s doorbell here.

Vivint Video Doorbell, installed.
Wrapping Up and Learning the System
Once all of our equipment was mounted in place, Don handed us his tablet. On it was a video welcoming us to the Vivint family. And following the video was a brief survey where we could rate Don’s performance based on his efficiency, thoroughness, and other factors.
This took about 10 minutes in total, and we were happy to fill it out. It’s worth pointing out that we haven’t seen this type of end-to-end service in the industry — even with other top brands like ADT. This is “the extra mile” that ensures the Vivint experience will improve over time. That’s the hope, anyway. And why wouldn’t we want to contribute to that?
>> Compare: Vivint vs. ADT

Welcome message from Vivint.
Finally, before Don left, he showed us how our new Vivint system works. He gave us a quick tutorial on how to use the Smart Hub and the mobile app. This was all fairly remedial for us (we do this for a living), but we can see how it might be overwhelming if you’re a first-time home security buyer. So if anything goes over your head, don’t hesitate to ask your Smart Home Pro to slow down. It’s what they get paid to do. Take advantage while you’ve got them in your home.
Vivint Installation Fee
Vivint sometimes doesn’t charge a professional installation fee when you purchase a new system. We recommend asking about current deals when you call. If a fee does apply, expect it to start at $99 or more depending on the complexity of the setup.
For more complex installs, like multiple outdoor cameras, smart locks, and a full sensor package, costs are higher. That said, we think Vivint's installation pricing is reasonable for what you're getting: a certified technician doing all the heavy lifting so you don't have to. We recommend reading up on the latest Vivint prices here.
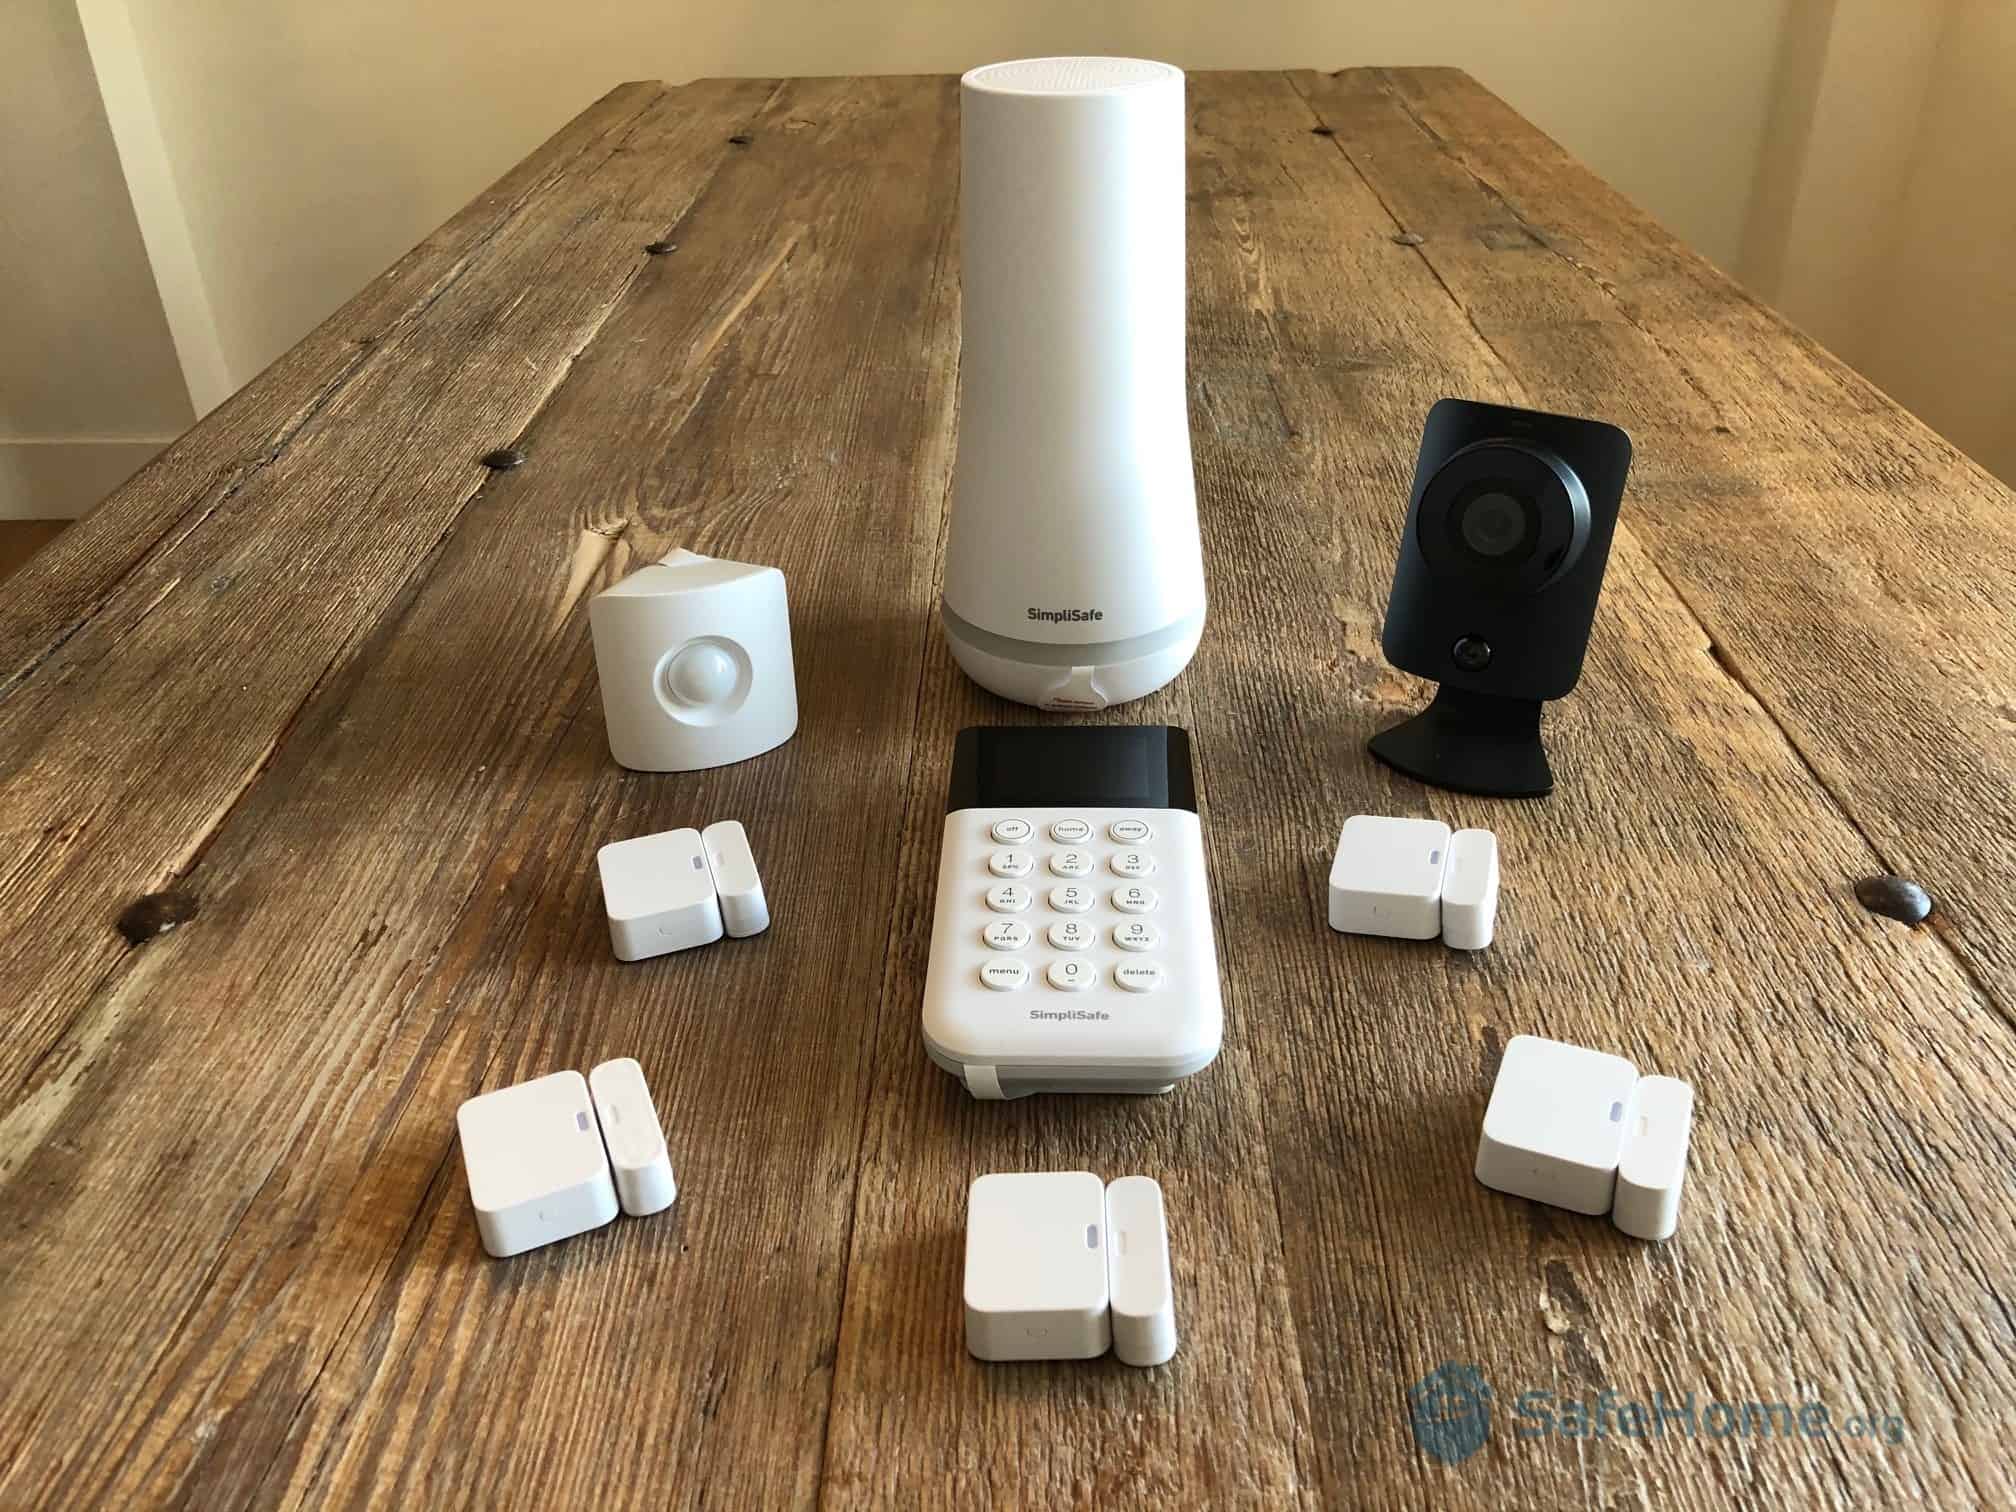
Expert Insight: To give you a point of comparison, SimpliSafe (a DIY security system we’ve tested) partnered with OnTech (a third-party home installation service provider) to offer customers professional installation. Prices start at $124.99 for systems with five pieces of equipment, and the cost increases incrementally from there.
Final Words on Vivint Installation
Well, Vivint scored excellent marks with us on installation day. We do wish our Vivint tech was more communicative throughout the process, and we’re still not sure where our doorbell chime cover went, but otherwise we really couldn’t have asked for a better experience. We’d certainly do it all over again.
Honestly, having a professional set up our Vivint equipment wasn’t only more convenient, it was downright necessary (it would’ve taken us half the day to get the Outdoor Camera Pro up and running). It’s all part of Vivint’s premium offering.
So if you’re a homeowner with the budget to invest in a top-of-the-line system, we’ll go out on a limb and say this one’s for you.