Editor’s Note: Security cameras are a great start for home protection, but we recommend taking it to the next level with a SimpliSafe home security system. Right now you can get a free outdoor camera and 50% off new plans.
Let’s get one thing straight right off the bat: Most security cameras are easy to install.
Older versions of home security systems and cameras often included complex equipment, leading some folks to call on a professional for installation and setup. But with an industry brimming with newer, smarter, DIY cameras, it’s now easier than ever for anyone – regardless of technical expertise – to install cameras.

Ring Stick Up Cam
Sometimes, it’s nothing more than placing the device on a shelf, as in our photo above. But with so many cameras to choose from, and so many features, extras, and occasional tech hiccups you might encounter along the way, it’s always wise to begin the installation process with a healthy dose of patience. That’s even true for gearheads like us!
In this How To Install Security Cameras guide, our team breaks down everything you can expect from your home security camera installation experience, including how to position and display your camera, how to get the best viewing angles, what tools and resources to use, and key differences we found among the many cameras we’ve installed over the years.
Let’s get started.
Camera Location: Where to Display, and How to Angle
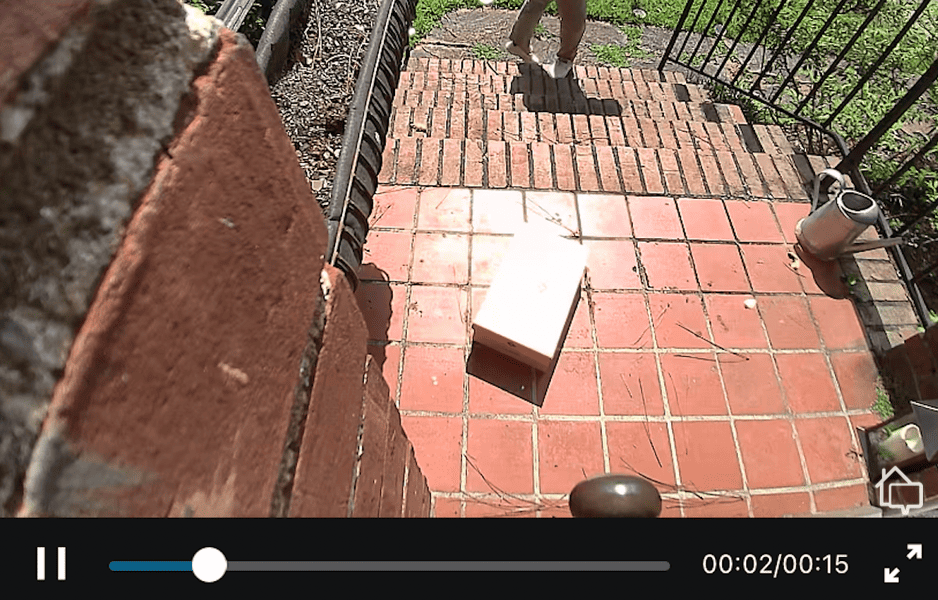
Many of us have a specific reason for wanting to add a security camera. Maybe you’ve seen a jump in package thefts around your neighborhood lately, and you need more outdoor coverage. Or, perhaps your elderly mother just moved in with you, and you worry about her safety while you’re at work.
Installing security cameras, for our team, ends up working kind of like a dance. We test out one angle or corner, take a couple of steps back, and make changes as we go. Repeat as needed.

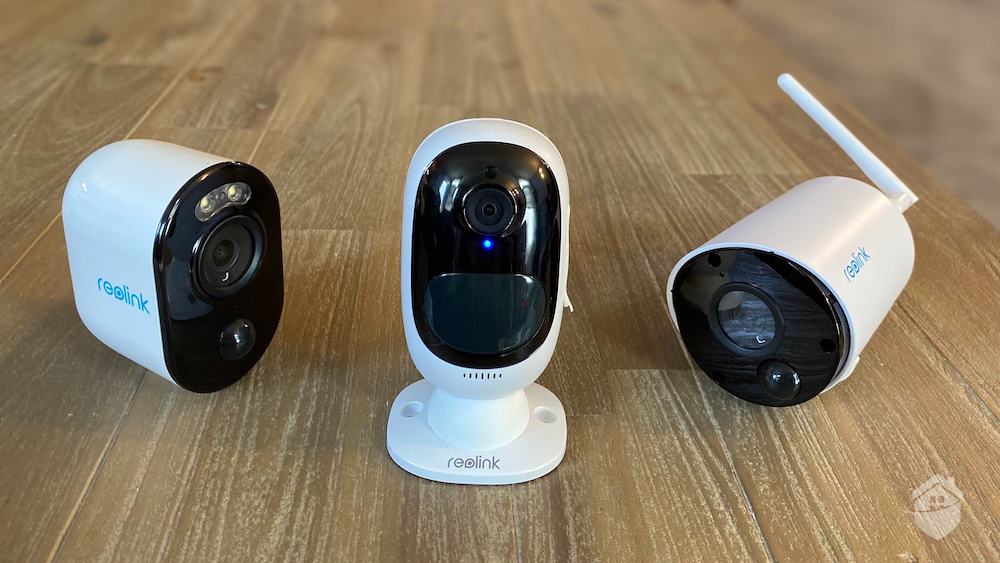
Reolink Argus 2 Camera on Shelf
Here are a few other considerations when determining your camera’s angle and position:
- Think about entry and exit points, like front and back doors, gates, or garages.
- Check for glare from lighting in the area. Try not to angle the camera directly toward any lighting.
- Check for blind spots, and add more cameras if needed.
- Angle the camera downward.
- Secure the camera tightly using the included hardware. If you’re placing a camera outside, try to position it out of reach from the passersby.
Pro Tip: Keep your focus specific when going into the installation process, take your time, and don’t be afraid to take down the camera setup and try again if you have to.
What You’ll Need to Install Security Cameras
If you’re adding DIY cameras to your home, in many cases, everything you need in addition to the camera itself is included in the box. This typically includes a couple of screws, some mounting hardware, a base that screws onto the camera, an instruction manual, and batteries if you purchased a wireless camera.

Blink Indoor Equipment
This all-in-one setup is particularly appealing for folks who prefer a hands-off approach to technology. If you fit this description, you’re in luck; there’s certainly no shortage of cameras to choose from here. For starters, we were impressed with Blink, the Amazon-owned brand of DIY cameras that run on long-life batteries. Check out our full Blink camera review to learn all about our experience testing those cameras, which also happen to be quite affordable.
And if you’re leaning toward wire-free cameras but you’re not sure which one, check out our roundup of the best wireless security cameras to help you narrow it down.
Beyond the fully DIY configurations, though, you might encounter some complexities if you’re installing wired cameras, which may require more tools and/or resources, like extension cords or ethernet cables.
Did You Know? Wired cameras don’t have a battery backup and must be plugged in. We’ve found that this limits us somewhat, as we can’t just install the camera anywhere we want. But on the plus side, you don’t have batteries to charge or replace. For more tips on choosing the right camera, check out our security camera buyer’s guide.
If you’re planning to hang a wired camera on a wall or mount it from a ceiling, for instance, you’re going to need, at the very least, a drill and a ladder. Beyond that, we always advise installing security cameras with at least one other person. This way, one person can be on the ground as a test subject, while another can be closer to the camera, moving or testing angles.
How to Install Security Cameras: DIY vs. Professional Installation
In our experience testing and reviewing cameras, we’ve found that installations fall into one of two categories: DIY or professional.
The former category is much bigger, and growing. In DIY cameras, you’ll find an easy, straightforward installation that only takes 10 minutes or so. Of course, there’s always the occasional ladder to climb, or a couple of turns with the drill, but we’ve reviewed DIY cameras that make this step pretty easy, too.
For one of our favorite DIY camera experiences, check out our review of Canary Flex, a camera with sophisticated (but limited) A.I. features in addition to super-easy installation, thanks in part to a magnetic mounting base.

Canary Flex Mounted on Wall
Cameras with professional installation, by and large, come from security brands that package cameras as a system. This may or may not include alarms, sensors, a keypad, and other security equipment. If you’re looking to add a whole-home system with cameras, like the Alder security system we reviewed recently, you’ll have the option to schedule a professional installation at the same time that you order your system.
With professional installation, an installation technician will come into your home to get your camera installed correctly. This is great because you don’t have to worry about proper placement or climbing ladders. But on the other hand, it can cost money and it’s not always convenient to wait around for the tech’s visit.
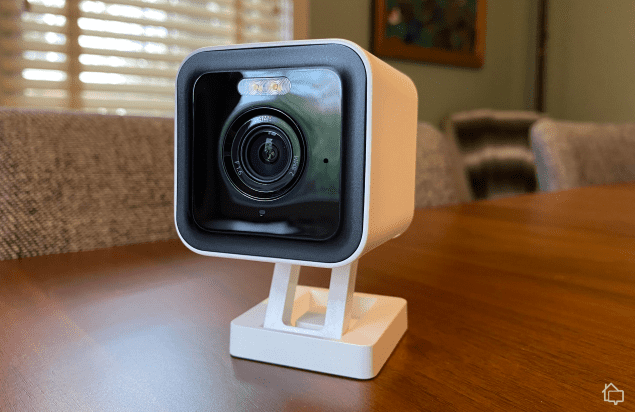
FYI: If you would rather do away with the added expense of hiring a pro, we can say that SimpliSafe provided one of the easiest installations we’ve ever had in a security system during our tests. In our SimpliSafe review, we were charmed by the stick-on equipment, allowing for easy installation and relocation, as well as a solid 720p security camera in the mix.
Note, too, that we also see numerous brands that allow the user to choose between DIY and professional installation. That, of course, comes down to your own skill level (or patience level, as the case may be). But we always like having the option at checkout.

SimpliCam on Table
Indoor vs. Outdoor Installation
On the whole, it’s easier to install indoor security cameras than outdoor. Why? For one, we’ve noticed that indoor cameras tend to display better on surfaces, such as fireplace mantels and bookshelves. And even when we decide to mount an indoor camera on a wall, that process is no more difficult than hanging, say, a diploma above your office desk.
Outside, things might get a bit more complex – but not anything you can’t handle. You’ll want to pay special attention to glare, as we mentioned earlier, but also look for objects that might be blocking your view – and be willing to climb back up and tinker with angles a few times to get it right.
And we’d be remiss if we didn’t mention security cameras with lighting. We only mention this because – be warned – this is where you might need some hardwiring done. Before reviewing the Ring Floodlight Camera, for example, we sprung for a professional installation, because neither of us is particularly schooled in electrical matters.

Ring Floodlight Cam Mounted Outside
We simply asked a technician who’d done work for us in the past to return to install it for us. But now, we can’t imagine our back yard without it; this camera has become a critical tool in our own personal “ring” of security and one we recommend often, so it was definitely worth the $100 or so we were charged for installation.
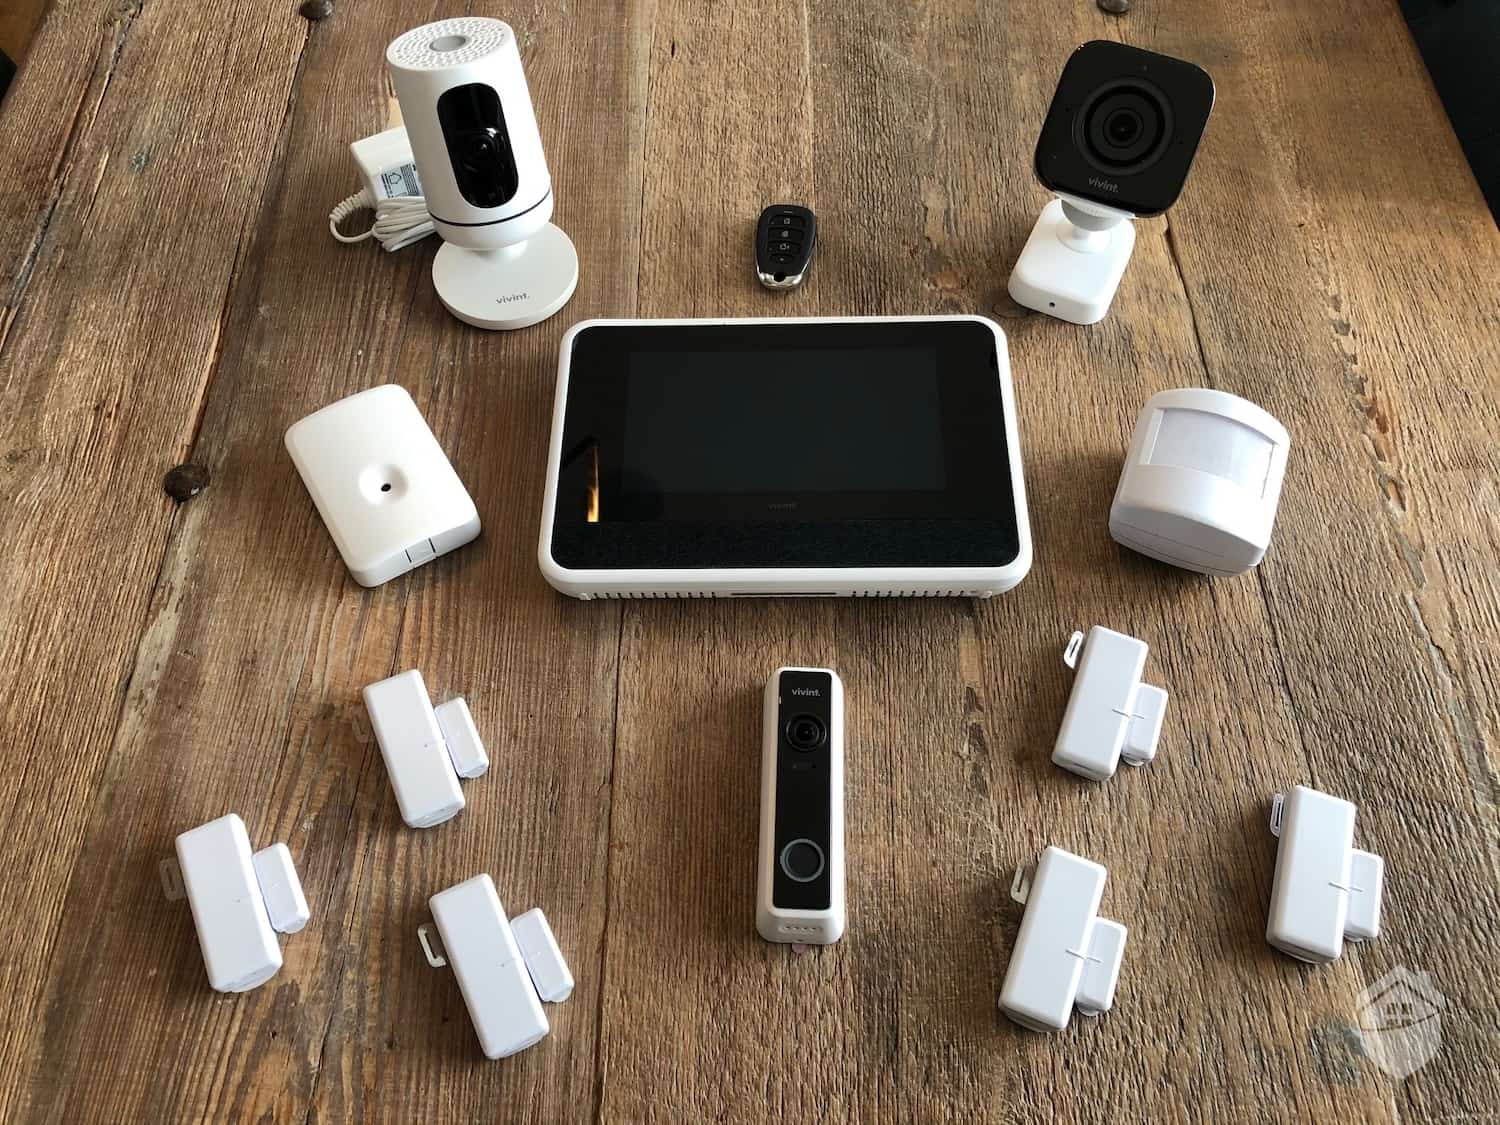
Same thing goes for Vivint. But Vivint smart home security systems actually require professional installation. Their feature-rich outdoor camera is pretty sophisticated, and wired, so we welcomed the help. You can read more about Vivint’s professional installation in our hands-on Vivint Review. And here’s a look at the Vivint tech, Don, installing our new security camera.

Installation Specialist, Don, Installing the Vivint Outdoor Camera
How to Set Up Your Security Camera: Wired vs. Wireless
We’ve arrived at setup, the part of the installation process where the cameras can connect to our smartphone and we can begin recording video and monitoring our space. All we really have to do here is download the app that corresponds to our camera, scan a QR code, sit back, and let the technology do what it’s made to do.

Installing the Reolink Argus 3
Pro Tip: Since the majority of cameras we review are Wi-Fi cameras, we always suggest having your Wi-Fi network credentials handy before beginning any camera setup. This way, you’ll be ready when the app prompts you to insert your Wi-Fi name and password, and the camera can begin recording in no time.
This process, we’ve found, tends to vary slightly if you’re adding cameras that feed into a base station or hub. This was the case with Arlo cameras, but all it really meant for us when we tested and reviewed Arlo, one of our favorite camera systems, was about 2-3 minutes of additional setup time. Overall, we appreciate the benefits of hub-based systems like this, as they do a great job smoothing out communication with our Wi-Fi to reduce buffering and connectivity issues. This also adds to the easy installation, meaning you could be up and running with an Arlo system in under a half hour.

Arlo Pro 3 Mounted Outside
Final Thoughts
We’ve covered the essentials of what you can expect out of your security camera installation. We’ve discussed the general setup process, any tools or hardware you might need, and some crucial differences we found between brands.
But when all is said and done, do bear in mind that not every installation experience is going to be easy and hassle-free. Indeed, we run into plenty of hiccups with technology, from everyday Wi-Fi slowdowns to irritating setup snags.
Luckily, we’ve been able to get help for any issue we were having with our cameras using the resources brands provide on the support pages of their websites. And if we can’t find it there, we’ve found that picking up the phone and giving the company a call is a fine solution, too.
If you’re still having trouble installing security cameras, it might be time to bite the bullet and hire a pro. For more comparison shopping, take a look at our roundup of the best professionally installed security systems.
We also recommend reading our guide to the best home security cameras available. There, you’ll find lots of information on Ring Cams, our top pick for home surveillance, and plenty of other highly-rated, DIY-friendly devices. So until next time, we hope this guide on How to Install Security Cameras has empowered you to safeguard your home and family.