Editor’s Note: Arlo security cameras are among our top favorites, but they can get pricey. We recommend reading our review of the cheapest home security systems for complete protection before making a choice.
You’ve researched the options, made a decision, and ordered an Arlo home security camera. Solid choice; Arlo offers some of our top picks for best home security cameras of 2026. We loved their HD video, smart features, and, last but not least, super-easy installation. Seriously — the Arlo Secure app walks you through every step.
Don’t trust an app? That’s OK. I’m here. I’ve spent weeks testing Arlo home security cameras and countless hours poring over the installation instructions so you don’t have to.
Here’s our comprehensive guide to installing Arlo security cameras, from the entry-level Essential to the swanky Ultra.
Types of Arlo Security Cameras
Arlo sells more than a dozen cameras, but most fall under three categories: Essential, Pro, and Ultra. Each line is installed slightly differently, so double-check which one you have — ideally, before you break out the power drill.

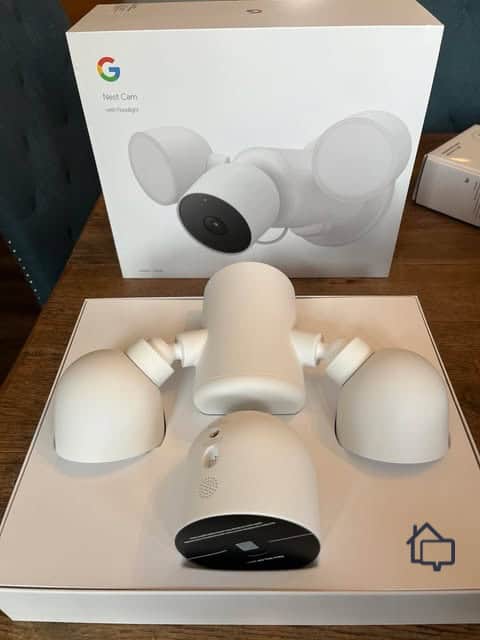
Arlo Pro 3 with Base Station
The Essential is Arlo’s cheapest product line, and the basic indoor camera will run you $99.99. (The Ultra 2, its most expensive camera, is $299.99.) Each of the Essential cameras has a fully integrated (i.e., nonremovable) battery. That means you have to put a little extra thought into its power source. Will you have to keep it plugged in? Regularly remove and recharge it? Install a solar charger to go with it?
>> Check Out: Best Battery Powered Security Cameras
Arlo Pro cameras come with extra features (and a higher price tag). But older cameras in this line — like the Pro 3 or Pro 3 Floodlight — need to be connected to an Arlo Smart Hub or Base Station. So just be sure not to drop $200 on a camera unless you’ve budgeted for a $100 hub too.
Arlo’s Ultra line is one of the best 4K security camera systems out there. It also requires an Arlo Smart Hub or Base Station. But if you’re splashing out for a $300 camera, you can probably afford it.
Several more options don’t fall under these categories, including the Arlo Go 2, which is the only camera that doesn’t require a Wi-Fi connection. (It can connect to 4G data from anywhere, which is one reason it’s one of our top picks for best outdoor security camera of 2026.)
If you managed to pick up a discontinued Arlo camera, like the Baby, Q, or Q Plus, don’t worry. I won’t cover them in detail, but the Arlo Secure app will still walk you through installation, no problem.
| Model | SmartHub or Base Station required? |
|---|---|
| Essential | No |
| Essential Floodlight | No |
| Essential XL | No |
| Essential Indoor | No |
| Pro 3 | Yes |
| Pro 3 Floodlight | Yes |
| Pro 4 | No |
| Pro 4 XL | No |
| Pro 5 | No |
| Pro 5S | No |
| Ultra | Yes |
| Ultra 2 | Yes |
| Go 2 | No |
Everything You Need to Set Up an Arlo Camera
To set up an Arlo camera, you’ll need a relatively up-to-date mobile device. Just how up-to-date are we talking? At least Android 8 or iOS 11.0. Sorry, iPhone 4 holdouts. You’ll need something newer. That dusty old device can’t download, register, and sign in to a modern home security app.
>> Read more: How to Turn Your Old Phone into a Home Security Camera
FYI: Technically, it’s possible to activate your Arlo camera with a desktop or laptop by navigating to my.arlo.com. But in our experience installing Arlo cams, we found the app to be way more user-friendly.
To set up almost any Arlo camera, you’ll need a 2.4 GHz Wi-Fi connection. No idea what that means? Most modern Wi-Fi routers broadcast 2.4 GHz and 5 GHz bands. The 2.4 GHz frequency has been around since 1985 and it’s been going slow and steady ever since. It can’t send data at lightning speed, but it can penetrate walls, which is exactly what you want for a smart device. 5 GHz internet is faster, which is what you want for daily browsing. Almost all Arlo cameras connect to 2.4 GHz internet.
Make sure you have your network login details at the ready. You don’t want to get halfway through the installation process before you realize you have no idea what your password is.
If you’re setting up your camera on a SmartHub or Base Station, you’ll need (you guessed it) a SmartHub or Base Station. Setting one up is simple — just connect it to your Wi-Fi router with an Ethernet cable, plug it in, and turn it on. The Arlo Secure app will walk you through every step.
FYI: You can use a SmartHub or Base Station with most Arlo cameras, even if it’s not required. Check compatibility before you buy.
If you’re mounting your camera, make sure you’ve ordered a compatible panel. You’ll also need some basic DIY tools. A drill is a must. A level is helpful. A ladder is optional — but if you want to place your outdoor cameras in the best possible spot, you should probably get your hands on one.
Last but not least, if you’re installing a Go 2 camera without a Wi-Fi connection, you need a SIM card. That Go 2 won’t record your camper van, shed, or private forest without a cellular connection. Talk to your favorite provider about data plans.
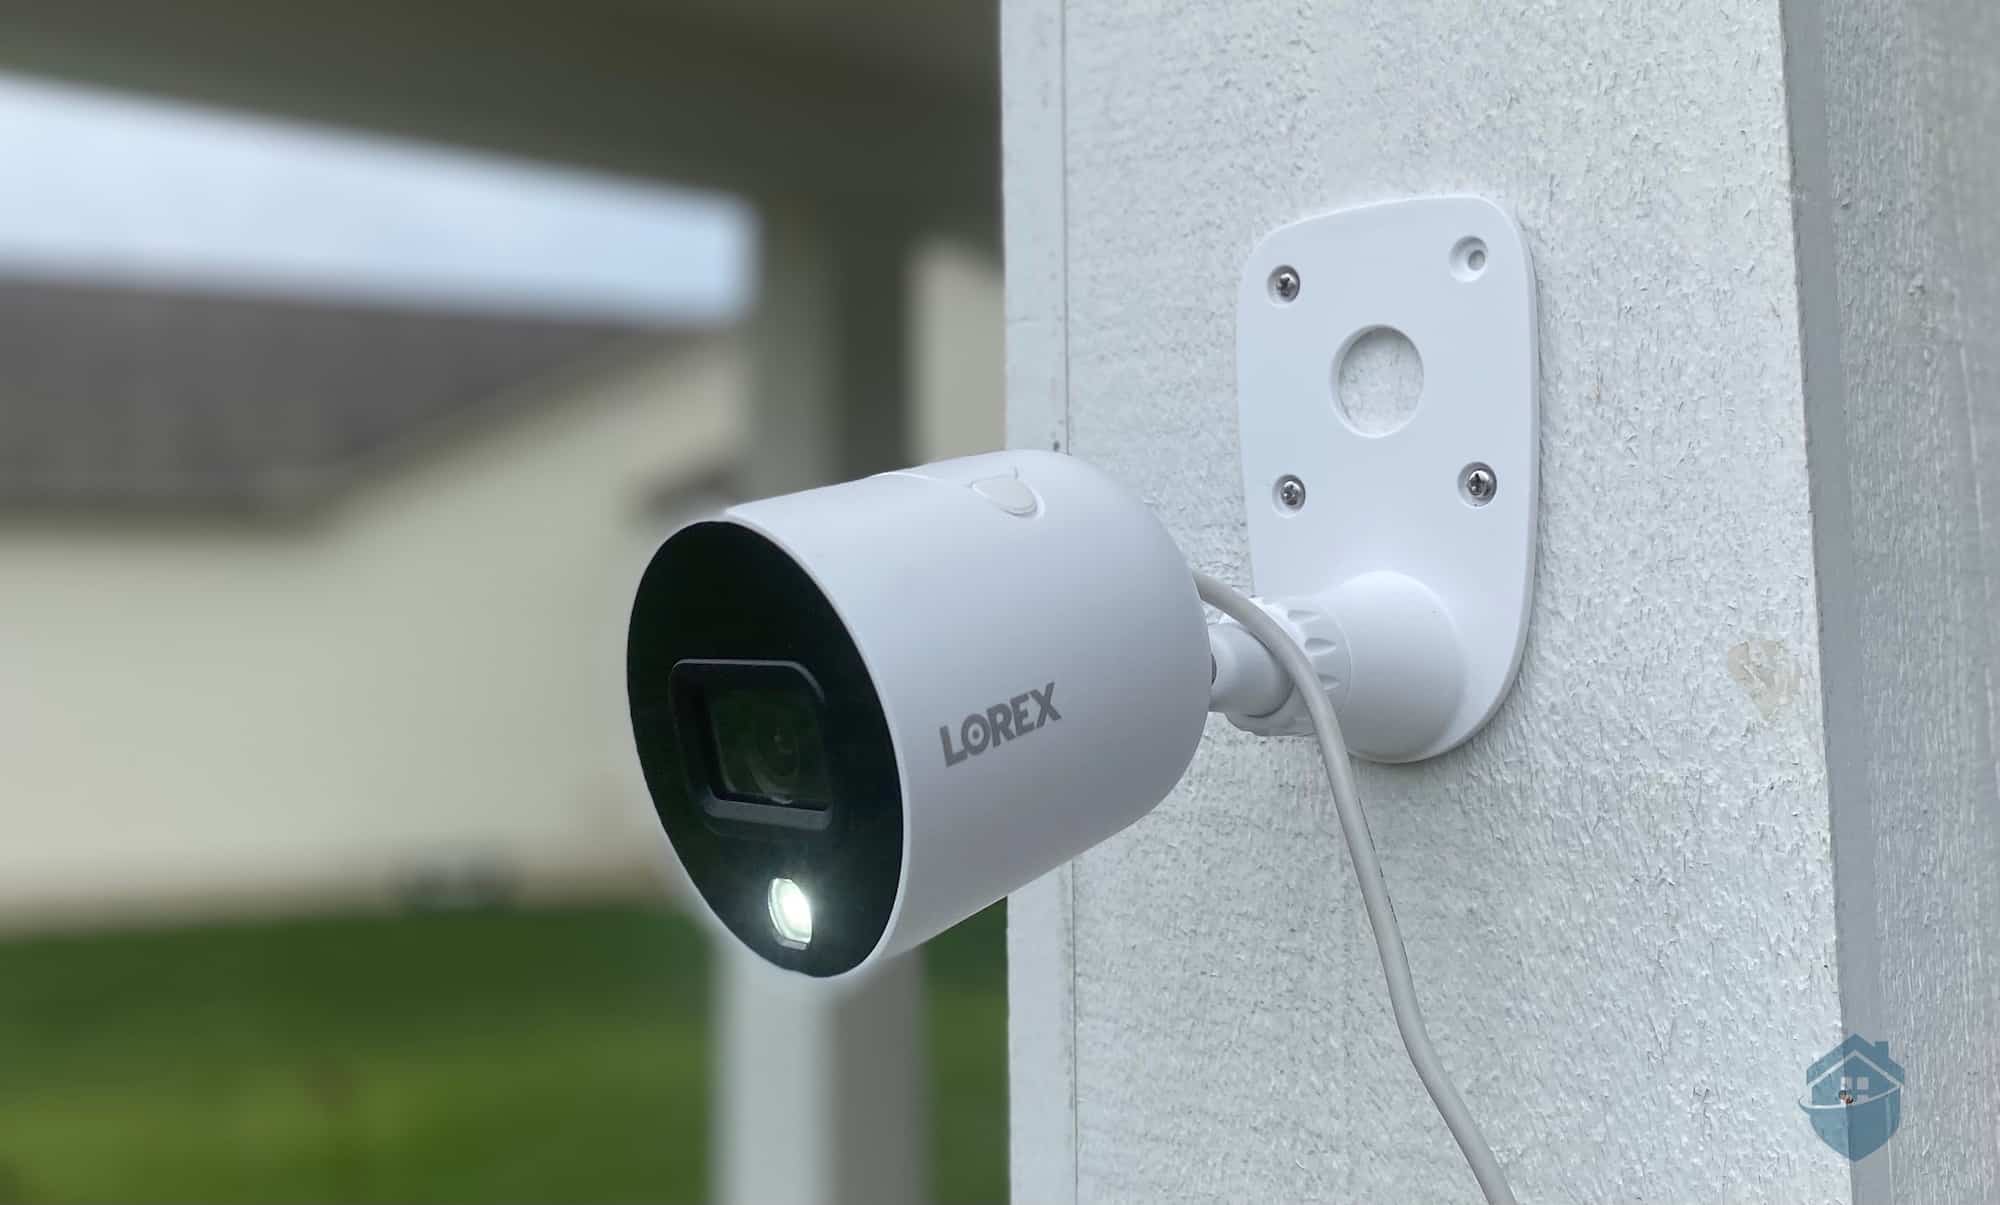
Pro Tip: If you do happen to have a private forest to protect (and who doesn’t?), we recommend checking out Lorex security cameras. Lorex offers durable outdoor cameras at a range of prices. Read our hands-on Lorex review to learn more.
How to Set Up an Arlo Camera
Has your Arlo camera finally arrived in the mail? Is the Arlo Secure app downloaded and ready to launch? Do you have all the bits and bobs you need to install your specific camera? Great. You’re ready to get started.

1. Connect to Wi-Fi
You need to be connected to Wi-Fi to activate an Arlo camera, so if you’re having router issues, now’s the time to fix them. Remember to connect to a 2.4 GHz network frequency. Hint: If you have two options, pick the one with a 2 at the end, not a 5.
Note: One exception is the Go 2, which can connect to Wi-Fi or a cellular network.
2. Launch the Arlo Secure app
Tap that little blue-and-white home logo and launch the Arlo Secure app. Navigate to the “devices” tab in the taskbar at the bottom of your screen. Tap “add device.”
Select “cameras” from the list of device categories. Choose your camera.
3. Connect SmartHub or Base Station (if necessary)
To install older Pro cameras or either Ultra model, you need to confirm that your SmartHub or Base Station is up and running. The Arlo Secure app will prompt you to plug in and power on your device before adding your new camera.
4. Pair your camera
To activate your camera, you need to connect it to Wi-Fi. At this point, the Arlo Secure app will ask you to enter your network name and password. Once that’s done, power on your camera. Now follow the app’s prompts about what to do next.
- If you’re activating an Arlo Essential camera, press and hold the sync button.
- If you’re activating an Arlo Pro 4, insert the battery, wait for the LED light to flash blue, then press the sync button; once the LED flashes blue again, tap “continue” in the app.
You should see a QR code in the Arlo Secure app. Scan it with your camera. Then, once you hear a happy little chime, tap continue.
The Arlo Secure app should find your camera momentarily. Once it does, name it something memorable. Bad: Arlo camera. Good: Front hallway mounted camera.
5. Place your camera
Once all the “smart” parts of your smart camera are up and running, it’s time for the fun part: installation. If you’re setting up an Arlo Essential Indoor camera, this part will be really simple. Plug it in and put it on a flat surface. All done! That easy, screw-free install is one reason Arlo was our top pick for best apartment security camera.
Other Arlo cameras attach to a mounting plate. Terrified of DIY? Take a deep breath. It’s going to be OK. Here’s what you need to do:
- Place the plate where you want it to go. This might be high on the wall or up on the ceiling — if so, be safe and use a ladder.
- Mark the holes with a pencil and put the plate down.
- Drill the holes.
- If you have drywall, brick, or tile, add the anchors that came with your Arlo mount.
- Replace the mount and use a screwdriver or the screw setting on your drill to screw in the screws. (Say that five times fast.)
- Attach your camera to the mount.
Make sure the spot you’ve chosen is compatible with your Arlo camera’s charging requirements. If it needs to be plugged in, don’t put it 10 feet from the nearest outlet.
Where to Install Your Arlo Security Camera
It doesn’t matter how smart your camera is if it’s pointing the wrong way. Make the most of your Arlo camera by placing it carefully. We’ve outlined some camera-mounting tips below.
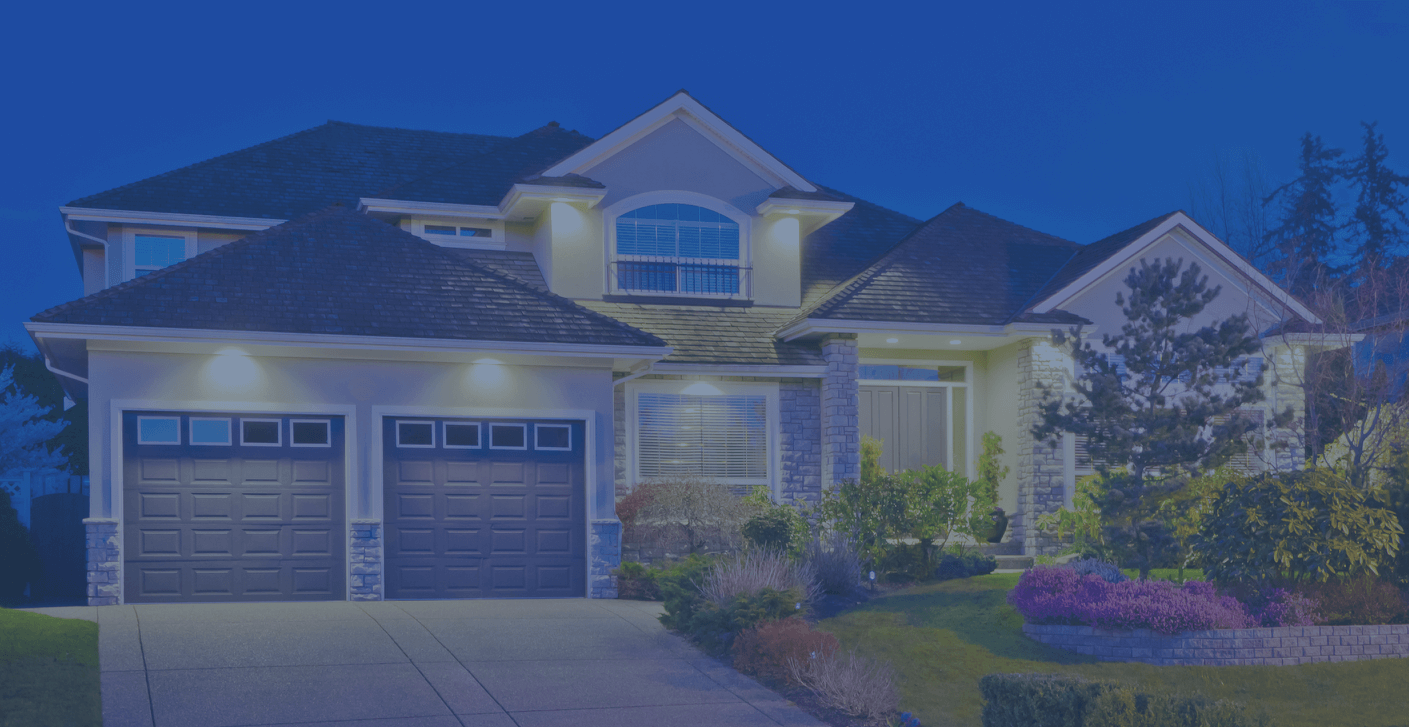
Outdoor

The Arlo 5S 2K
If you bought an outdoor security camera, you probably already have a few spots you’d like to watch over. If not, we suggest the front yard, backyard, and driveway. There’s a good chance an intruder will be captured in one of those places.
Since all Arlo cameras are “smart,” i.e., receiving and transmitting data, you also need to think about connectivity. Don’t install your camera so far from your router that it can’t send you its footage. If you have to, get the Go 2, which uses cellular data.
Pro Tip: You can maximize your smart devices’ range by minimizing obstacles between them and the router. Keep in mind that brick, concrete, water, and metal absorb Wi-Fi signals.
Indoor
Placing an Arlo camera indoors can be as low-maintenance as you want it to be. Stick it on your TV console and bam — you have live footage of your living room. Essential Indoor cameras do need to be connected to power at all times, so untangle that nest of chargers and plug it in.
For extra security, mount indoor cameras above places an intruder would have to walk through. Think: On the ceiling at the end of the hallway that leads to the bedrooms.
Pro Tip: Remember to respect people’s privacy. Do not hide cameras in bathrooms or bedrooms. Read our guide on hidden cameras in the home to learn more.
Key Takeaways
Congratulations! You’re more than ready to install a home security camera or three. If you get stuck, just remember these three tips:
- Follow along in the Arlo Secure app. Its instructions and photos make installation easy.
- Remember these are smart cameras. Fix your Wi-Fi and electricity issues before you get started.
- Place your camera with care. You could have the best security camera in the world — it won’t matter if you put it behind a wall.
FYI: SafeHome is now livestreaming! Got questions about home security? Email us at info@safehome.org, and we’ll answer your questions live on our next stream—personalized advice, straight from the experts. Find us on YouTube @safehome_org. Don’t miss out!