
Let’s face it: Nobody likes contacting tech support. From the unhelpful chatbots to waiting on hold for what seems like an eternity, spending a day with tech support could frustrate even the most centered and calm people.
But when your home security system stops working — especially a Vivint smart home security system you spent a pretty penny on — you know you need it fixed quickly. The last thing you want is to leave your home vulnerable, whether you’re about to leave on vacation or just a day at work. We spent weeks testing Vivint and many hours combing through reported errors, and then we personally tested the reported solution to see if it worked.
>> Check Out: Our Vivint Smart Home Security Review
With this guide, you should be able to avoid your next date with tech support. We’ll cover the following topics:
Start by Resetting Your Vivint Smart Hub

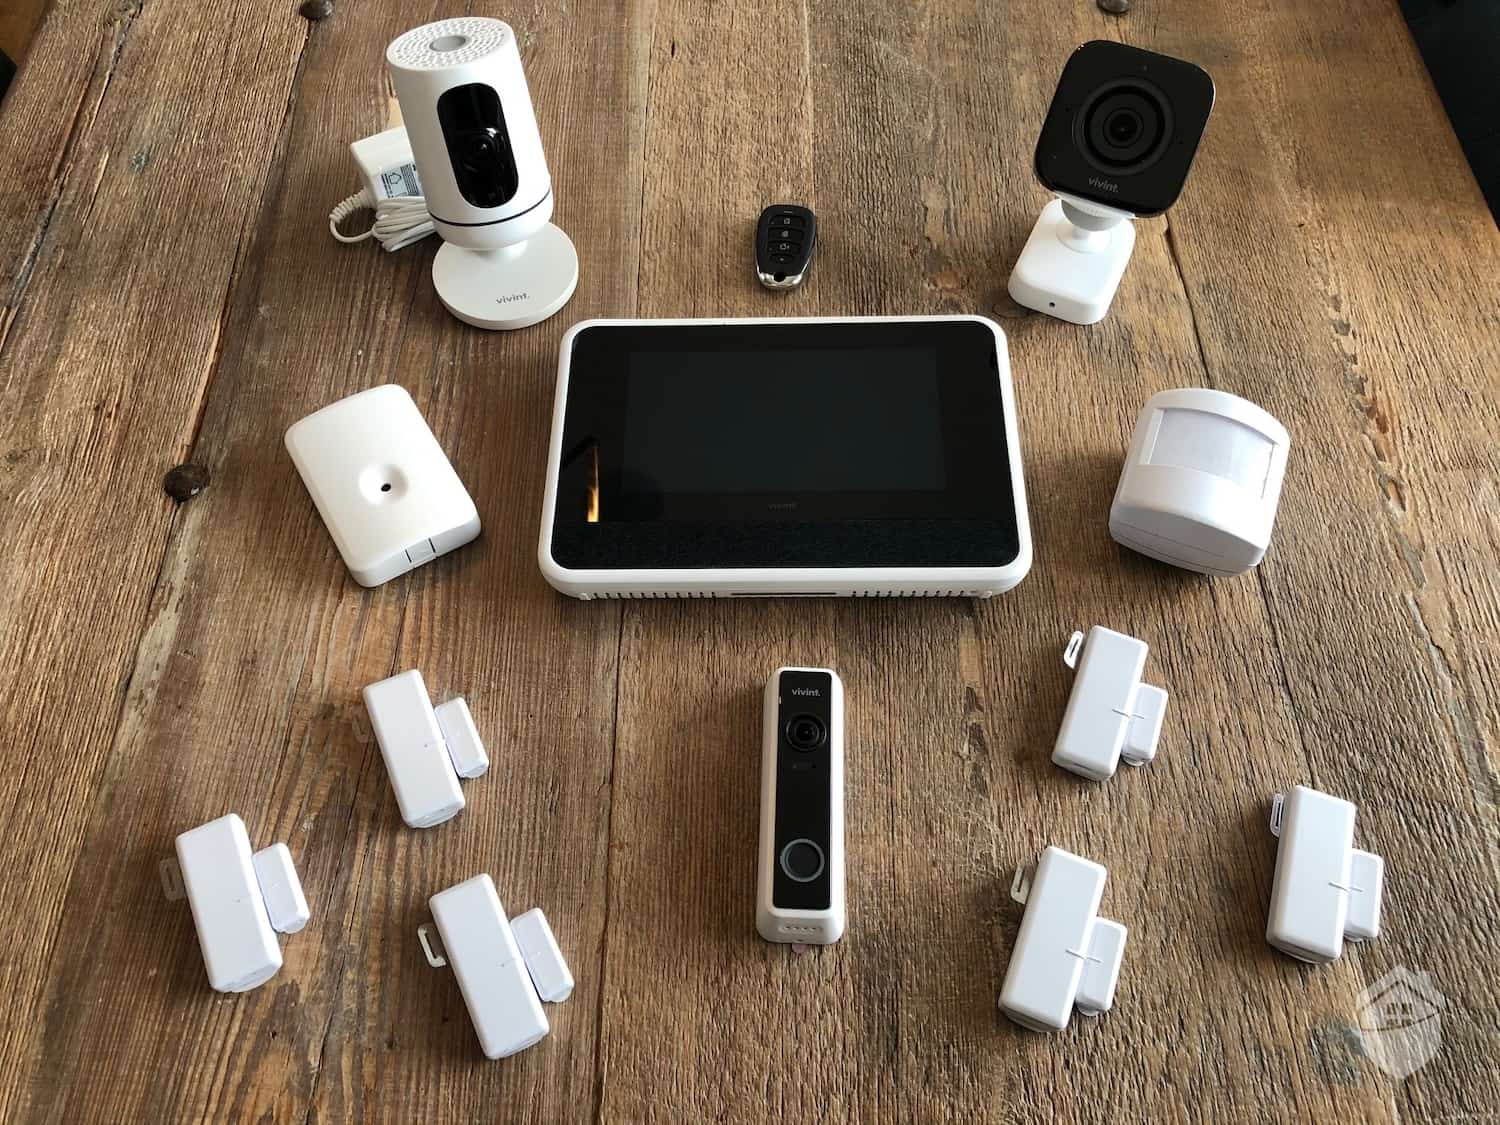
Vivint Smart Hub and Ping Indoor Camera
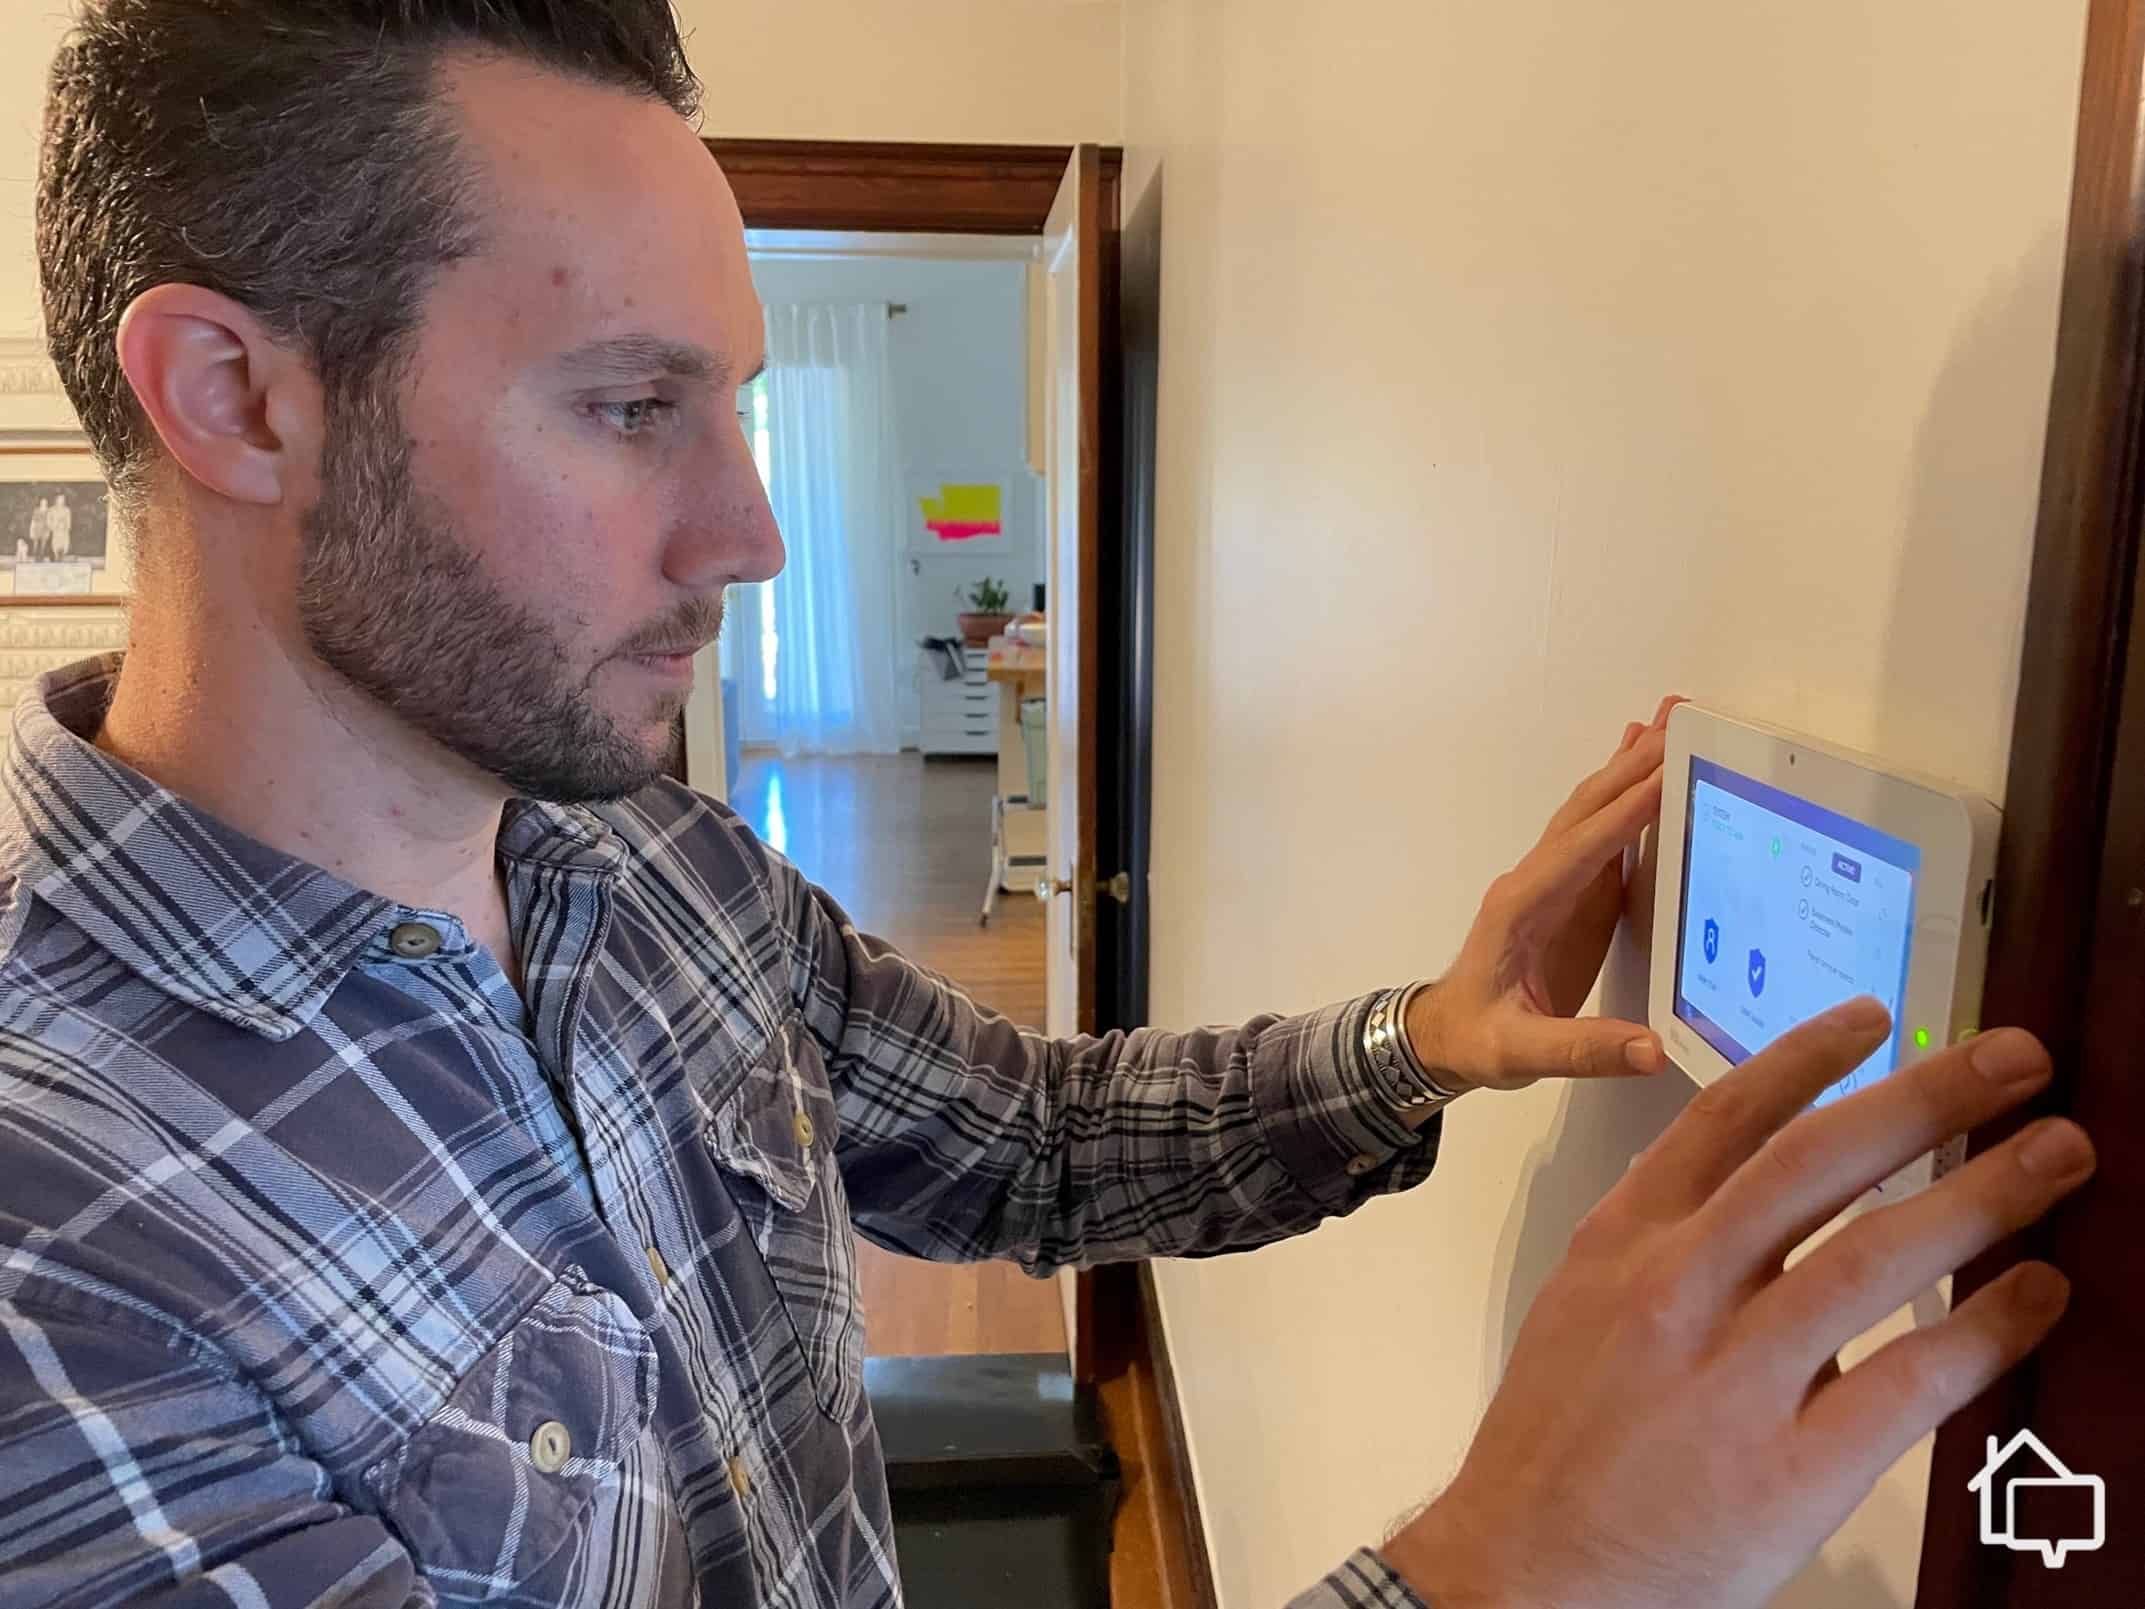
If anything in your Vivint home security system starts to show signs of an issue, your first step should always be to reset your Vivint Smart Hub. It’s pretty easy to do and it can resolve a wide range of issues. It also crosses off a potential cause of almost any issue you could encounter with your Vivint system.
- Go to the home screen: Go to the home screen of the Vivint Smart Hub connected to the device that’s having issues.
- Get to the Devices page: From the home screen, navigate to “Smart Home Settings” and press “Devices.” Before you get to the Devices page, you’ll need to input your PIN.
- Reboot the panel: On the Devices screen, go to the Smart Hub and press “Reboot.” That will create a pop-up that asks you to confirm you want to reboot the panel.
- Check if your issue is fixed: Give it a few minutes to restart, and then check if the issue is resolved.
>> Learn More: Vivint Installation Process and Cost
Hard Restarting Your Vivint Smart Hub
Unplugging it, waiting 30 seconds, and plugging it back in is the ultimate tech support mantra. But unfortunately, it isn’t that straightforward with a Vivint home security system. Let’s have a look:
- Disarm your security system: Start by disarming your security system to avoid any false alarms.
- Unplug and remove your Smart Hub: Unplug everything connected to your Smart Hub, and then remove it from the wall mount by lifting it vertically.
- Take out the battery: On the back side of the panel that was up against the wall, you should see a black box. That’s the battery for the unit that provides emergency power to keep the security system running even when the power goes out.
- Wait 30 seconds: Before reinstalling the battery, wait 30 seconds to ensure the unit fully powers down. Set a timer for 30 seconds instead of counting out Mississippis to make sure the unit fully powers down.
- Reinstall the battery: Put the battery back in. It should pop right into place.
- Remount your Smart Hub: Slide the panel back onto the wall mount and plug it back in. Wait a few minutes for it to power back up before trying to interact with it.
Hopefully a hard restart will get your Smart Hub back up and running. If not, it’ll be the first step a support person tells you to take. Either way, you should do it. For any problems that persist after restarting the Smart Hub, you may still be able to fix it yourself if you can diagnose the issue.
Diagnosing Your Problem
Now that you got the most common fix out of the way, you should try to diagnose the problem before calling in the cavalry. This can sound a little bit intimidating. However, you don’t need any special training, just some common sense and a bit of deductive reasoning that we all learned from Sherlock Holmes.
Isolate the Issue
When diagnosing an issue with your security system, you want to isolate the problem. That means identifying the root cause of your issue(s). For example, it may seem like a blurry video feed is being caused by your camera, but your network could also be causing that problem. You need to take steps to isolate the problem.
In this example, you may swap out the security camera in question with one you know is working to figure out if the camera itself is the problem. If disconnecting the ‘good’ camera fixes the problem, it could mean that your network couldn’t handle the traffic created by both cameras. If connecting the ‘good’ camera fixes the issue, you know the original camera is the root cause. On the other hand, if the new camera doesn’t fix the problem, it indicates the problem is somewhere between the camera connection and your Smart Hub. You can repeat the process by trying out different connections, whether those are wired or wireless.
Pro Tip: Do you need a new security camera? Check out our buying guide for home security cameras, or cut straight to the chase and read about our top three picks: SimpliSafe cameras, Lorex cameras, and the ever-popular Ring brand of cameras.
Identify the Problem
If you can isolate the issue to a single Vivint component, you can start digging deeper to see what is going wrong with that component. Start by testing every function of the problem device. Continuing with the security camera example, test the motion detector, recording capabilities, two-way audio, and every other feature of the camera. You can’t be too thorough here. Write down everything that works and everything that doesn’t.
Using your list of features that work and don’t, look for patterns and connections. Are all the features that don’t work tied to its motion-detection capabilities? Can it still send a live feed but can’t record any footage? That will help you figure out the actual problem you need to solve. Once you know the problem, you can start finding a solution.
>> Read More: Best Motion Sensor Security Cameras
Troubleshooting Your Vivint App

Vivint Doorbell in the Vivint App
Everyone knows the frustration of an app freezing at the worst time. Maybe it’s mid-livestream from your front door camera or when you’re trying to disarm your system before the alarm goes off. App hiccups have a way of picking the worst moments. But then you close the app and reopen it to find yourself right where you left off. We can do the same thing when the Vivint app experiences issues too.
Below are a few basic steps you can take to repair your Vivint app — and most other apps on your phone.
- Restart the app: Just like when other apps freeze, start your troubleshooting by closing it and reopening it. Also make sure to close all the other apps open on your phone.
- Log out of the app: If the app still has issues after you restart it, try logging out of your account and logging back in. It may still be trying to load a bugged page when you restart the app. Logging in and out should fix that.
- Reinstall the app: When all else fails, you can completely reinstall the app. That deletes your saved data, which could be causing the app to freeze. It also means, however, that you’ll need to go back to the basics for setting up the app how you want.
It’s definitely frustrating when the Vivint app doesn’t work, but you can get it going again. Getting your Vivint app back up and running is well worth it for mobile access to your home’s security — on top of all the other features, like automation, available in the app.
Resolving Common Security Camera Problems
You don’t want your home security system to be like the Death Star with its exhaust port vulnerability. When your Vivint security camera fails, you won’t have that pesky Rebel Alliance blowing up your house, but you may miss valuable footage that could lead to the arrest of a burglar. Since you already diagnosed your security camera as the problem and reset your Vivint Smart Hub, let’s look at some specifics that could cause issues for your security cameras.
>> Read About: Vivint Indoor, Outdoor, and Doorbell Camera Options
Your Router or ISP Blocks Vivint Cameras
Before you get into the weeds taking apart your security camera, make sure it plays nicely with your internet service provider (ISP) and router. Your ISP and router are like the highways between your devices, your Vivint panel, and your security camera’s recordings.
Some providers and routers, however, block Vivint from using their highways. They think the Vivint devices are malicious agents trying to access your home’s network, so you need to tell your network they’re authorized.
>> Find Out: How Do Wireless Security Cameras Work?
Checking Your Router Settings
You can explicitly allow Vivint VPNs by opening six specific ports in your router’s settings. To get to your router’s settings, type your IP address into your web browser, and then log in.
Then navigate to your router’s “Ports” tab. It may also go by the name “Port Forwarding” or “Virtual Server,” depending on your router’s brand. Once you’re in the “Ports” tap, you can add a new port-forwarding rule that allows access through a specific port. For Vivint VPNs, open ports 443, 1194, and 8008.
Calling Your ISP
You can call your ISP to ask if they block Vivint. Ask them if they block a network called OpenWRT. They should tell you if they’re blocking your panel from connecting to the network, causing issues with your security camera. The connection will still show up with Vivint as the brand allowing your ISP to verify and unblock your panel.
Internet Speeds
Your highways also may not have a high enough speed limit to accommodate all your cameras. That could come from your ISP, modem, or router. Basically you need internet speeds of at least 2 Mbps for each security camera you have. You can check your internet speeds from your computer or phone. Just go to speedtest.net and click “Go” to run a test that checks your internet speeds.1 If it shows up as 10 Mbps, for example, you can support up to five security cameras on your network.
Did You Know? The average internet speed in the United States is over 215 Mbps.2 That’s enough to support 107 Vivint security cameras!
Reinstall Your Camera
If all else fails, try reinstalling your security camera to your Vivint Smart Hub. That resets any lingering data that could be corrupting its connection. Here’s how to delete your camera from the Vivint Smart Hub and then reconnect it.
- From your Vivint Smart Hub’s home screen, press the menu icon.
- Select “Devices,” and input your PIN when prompted.
- Press “Cameras,” and then select the camera with the issue.
- Remove the camera from your Vivint Smart Hub by pressing “Delete Camera.”
- Unplug the security camera to power it down, and then plug it back in while holding down the top button. Keep the button held down until the light turns red. If you’re resetting a Vivint doorbell camera, hold down the top button for 45 seconds after plugging the camera back in.
- Wait until the camera boots back up and the light turns green.
- Go back to your Vivint Smart Hub and navigate to the “Devices” page again.
- This time, press “Add Device.”
- Choose the camera you restarted, and press “Connect.”
- Hold down the top button of the camera after pressing “Connect,” and then wait for it to make a sound. It shouldn’t take longer than a few seconds.
Sometimes it may feel like understanding the plot of “Inception,” but if you follow these steps, you can troubleshoot your security camera to get it back up and running. If none of these troubleshooting tactics work, you can always reach out to Vivint support.
>> Check Out: 2023 Buying Guide for Doorbell Cameras
FYI: SafeHome is now livestreaming! Got questions about home security? Email us at info@safehome.org, and we’ll answer your questions live on our next stream—personalized advice, straight from the experts. Find us on YouTube @safehome_org. Don’t miss out!
Final Thoughts
Even after following all these troubleshooting steps, you still may have issues with your Vivint home security system. Don’t worry. Vivint maintains a comprehensive set of self-help guides to fix all the common issues with Vivint products and accounts.3 If you already diagnosed your problem earlier in this guide, you can use that resource to find a fix to your specific issue.
When all else fails, contact Vivint directly. The company offers 24/7 support by phone and a chat box on its website. Before calling, we recommend having your account number and any relevant error codes ready. It’s also a good idea to call from home because most troubleshooting steps will require you to be near your panel. With Vivint’s support team in your corner, just about any issue with your system or devices can get sorted out.