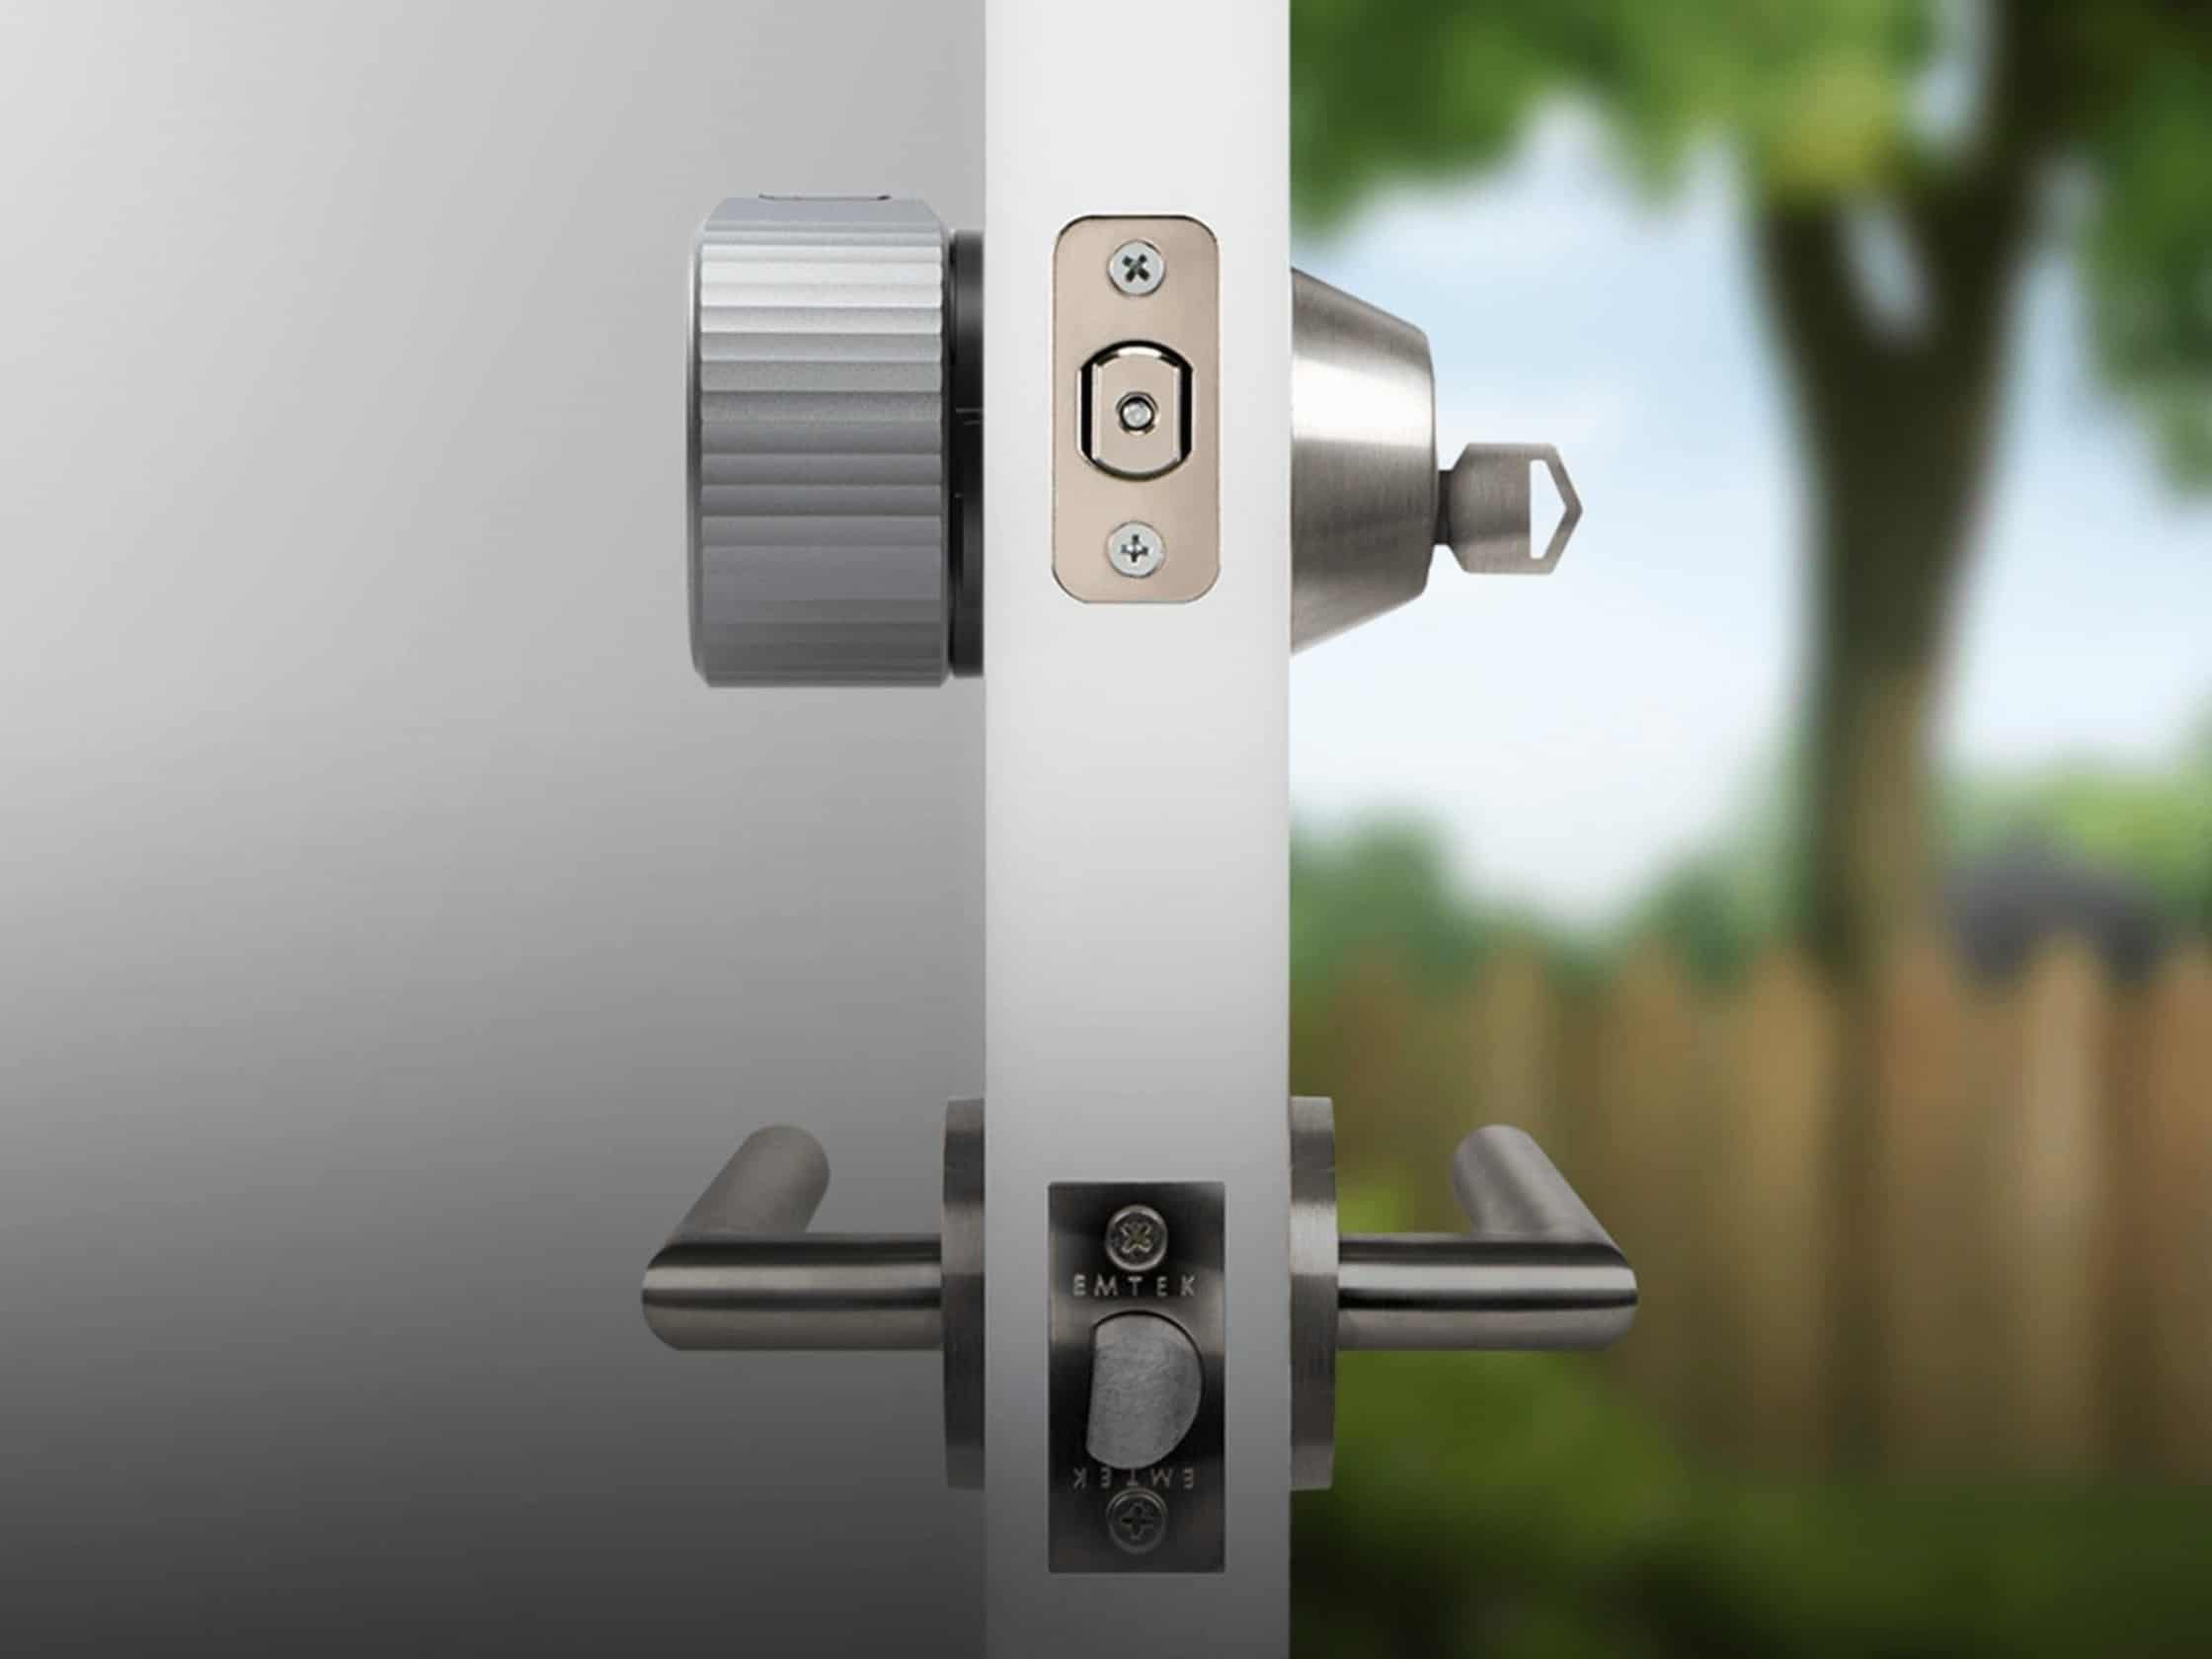

The new August Wi-Fi Smart lock is 45 percent leaner than the August Smart Lock Pro.
2024 is shaping up to be the year of the Smart Lock. We’ve tested plenty of impressive models this year at a pretty surprising number of price points. At $222.99, the August Wi-Fi Smart Lock isn’t the cheapest prowler protection around, but it’s definitely competing for easiest install of the year. And we thought the new budget Wyze Lock Bolt was a piece of cake! Side by side, August’s latest edition to the smart lock scene steals the show due to its quick setup.
The new August Wi-Fi Smart Lock is also nearly half the size of its predecessor, the Smart Lock Pro, and is Google, Apple, and Amazon ready.
Ok, enough talk. Let’s dive right into it. But before you reach for your screwdriver — the only tool you’ll need to install the August Wi-Fi Smart Lock — let’s make sure your door is ready.
Did You Know? If you use the August Wi-Fi Smart Lock with an August DoorSense sensor, you can program your door to lock itself automatically when you leave the house, and unlock again when you’re back. For more on how sensors work and how they can help keep your home safer, check out our complete motion sensor guide.
Before You Get Started
A quick heads-up. The August Wi-Fi Smart Lock doesn’t come with a deadbolt, or a keypad for that matter. It fits over your existing lock. That’s one of the reasons it’s such an easy install. If you’re shopping for a top smart lock with a deadbolt, check out the Yale Assure or the Schlage Wi-Fi Deadbolt.
The other thing you’ll want to do pre-installation is to check the condition of your door. If it’s rubbing, sticking, or visibly sagging, you’ll want to give your hinges a little TLC. Smart locks are pretty temperamental and don’t work well with wonky doors.
That’s about it for prep work. Now let’s unpack that lock!
FYI: August Home is based in San Francisco. They’ve been around since 2012 and specialize in smart home automation with a focus on smart locks and video doorbells.
Step 1: Get Your Phone Ready

Download the August app and create an account before you start your installation.
This is a matter of personal preference, but I always start an installation by opening my app and finding my new device. If you don’t have an August account, this is a good time to download the app and create one.
After that, all you need to do is log in, tap “Set Up a Device,” and select the Wi-Fi Smart Lock. The August app will prompt you to scan the QR code on the inside of the faceplate. The faceplate is the front of the sleek-looking knob that’s going to replace your existing thumb turn lock, by the way. It pops off easily. The exterior part of your lock (where your key goes) stays as is.
Step 2: Check Your Equipment

The August Wi-Fi Smart Lock fits over your existing deadbolt, so there aren’t many parts.
This is the part where you reach into your box and find one high-tech lock and no deadbolt. Remember, August’s slimmed-down smart lock fits right over your existing deadbolt, so you’re good to go. You should also find:
- Mounting and cover plates
- A set of deadbolt adapters
- Two 3V lithium batteries
- A DoorSense sensor
- Two screws
>> Also check out: How to Replace a Deadbolt
Pro Tip: Your August Wi-Fi Smart Lock kit actually comes with two mounting plates (see photo above). The second one is a cover plate that you can slip under the mounting plate if your door hole is too big. You may not even need it.
Step 3: Unscrew Your Existing Thumb Turn Lock

You’ll find your thumb turn lock on the inside of your door.
It should only take a minute to remove your thumb turn lock. Just keep one thing in mind; once you’ve gotten that piece off, the exterior portion of your lock won’t have anything holding it in place. You can hold it in place with a strip of masking tape until you’ve secured it again — or you can commandeer a family member to stand there and hold it for you while you work. Up to you.
Step 4: Screw on the Mounting Plate

The August Smart Lock comes with a variety of deadbolt adapters.
This step is also really easy. Just fit the mounting plate over the hole in your door and screw it on tight. You might need to tweak the position of the screw holes a bit. Once you’ve got the plate in place, grab one of the deadbolt adapters — whichever one fits snugly over the little piece of metal sticking out between the screws — and put that adapter on. August gives you a handy diagram if you need help choosing the right one.
Did You Know? According to the FBI, nearly 60 percent of burglaries are forced entries.1 Having a quality deadbolt lock on your door makes it a lot trickier for a thief to get inside.
Step 5: Attach Your August Smart Lock

The wing latches should slide right out and then snap shut when the August Smart Lock is attached.
Slide out the black wing latches on the side of the smart lock, fit the lock over the adapter until it’s flat against the door, and then close the latches. You’re pretty much done with the bulk of the installation now.
Step 6: Put in the Batteries

The faceplate is the August Smart Lock’s battery cap.
To get the lithium batteries in, you’ll need to remove the faceplate. To do this, press the logo at the bottom of the lock and pull gently. The front of the smart lock should come off easily. You should get used to this step because you’re going to have to repeat it at least twice a year, maybe four times, depending on how much front door traffic you have.
FYI: Lithium batteries aren’t cheap and the August Smart Lock burns through two of them every three to six months. Unless you want to end up spending 80 bucks per year to keep your smart lock powered, consider buying your batteries in bulk.
Step 7: Attach Your DoorSense Sensor

The August DoorSense locks and unlocks the Wi-Fi Smart Lock automatically.
August’s DoorSense door sensor is a tiny piece of plastic, but inside that plastic is the key to locking and unlocking your door automatically. Remove the double-face tape on the back of the sensor and stick the sensor on your door frame. You should place it about an inch from the edge and flush with the bottom of your smart lock. Get it as straight as possible. After you’ve gotten the sensor in place, screw it on tightly and stick the cover on.
Step 8: Connect and Calibrate
If you’ve already got your app open from Step 1, grab your phone. August will lead you through the calibration process, which basically involves locking and unlocking the Wi-Fi Smart Lock manually a few times. When you’re done, the app will prompt you to connect to your Wi-Fi network. After you’re connected, your August Wi-Fi Smart Lock is fully functional.
Pro Tip: If you’ve followed all of these steps but your August Smart Lock still isn’t working right, it may be because you used the wrong deadbolt adapter or because your strike plate needs adjusting.

Final Thoughts
If you don’t run into any serious hiccups, setting up your August Wi-Fi Smart Lock should take under 10 minutes. Getting used to your new lock, on the other hand, may take a few days.
Before you go live, you’ll want to experiment with the auto-locking and auto-unlocking features, test those alerts, and get your Smart Lock integrated with your other smart home devices. But that’s the fun part — so enjoy!
Going smart? Check out our top smart home security system picks of 2024.
Frequently Asked Questions
- Does the August Wi-Fi Smart Lock come with a deadbolt?
No, it doesn’t. It fits over your existing lock.
- Can I still use my old key with my August Wi-Fi Smart Lock?
Yes! The front of your lock, including the keyhole, stays where it is.
- How much does the August Wi-Fi Smart Lock cost?
The August Smart Lock is going for $229.99 today with a 30-day money-back guarantee.
- How long do the August Wi-Fi Smart Lock’s batteries last?
In principle, the batteries could last you up to six months, but three to four is more realistic.
- Does the August Wi-Fi Smart Lock have auto-locking and auto-unlocking?
Yes, it does. If you use the August Smart Lock with the DoorSense sensor, your smart lock will know when you’ve left the house and when you get back home, locking and unlocking automatically.