SafeHome.org may receive compensation from some providers listed on this page. Learn More
We may receive compensation from some providers listed on this page. Learn More
SafeHome.org may receive compensation from some providers listed on this page. Learn More
We may receive compensation from some providers listed on this page. Learn More
Ring Doorbell Camera Products and Subscription Monitoring Plans
 Updated May 8, 2026
copied!
Updated May 8, 2026
copied!
The Ring Video Doorbell is Ring’s flagship product and the tech invention that put doorbell cameras on the map. Our experts have been researching and testing these devices ever since 2013 when Ring still called itself Doorbot.1 Fast forward over a decade later and a $1 billion acquisition by Amazon, and now Ring is stronger than ever with a robust lineup of doorbells and smart home security products.2 The company has also expanded to offer home alarm systems, security cameras, and more protection products. For today, we want to get to the bottom of their doorbell cameras specifically.
From what we’ve seen with consumer trends, Ring doorbells remain among the most popular doorbell cameras in the industry. They come in both wireless and hardwired options. They’re affordable and simple to set up (15 minutes max), and they have features capable of keeping burglars and porch pirates at bay.

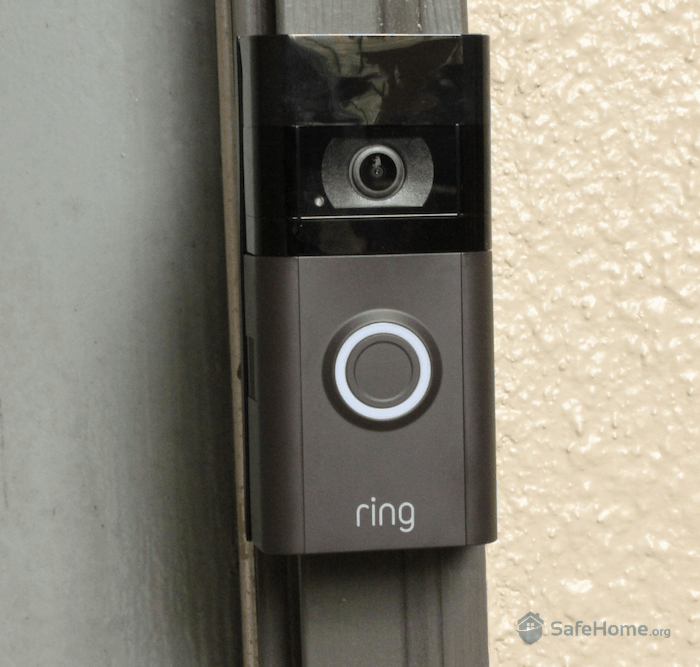
SafeHome.org Editor Andrew Garcia examining the Ring Video Doorbell before installation
But it begs the question, does Ring really offer better value than brands like Nest, Arlo, SimpliSafe, Vivint, and August? Or, are they just riding the hype train resulting from millions of dollars invested in marketing and advertising?
FYI: Ring offers great deals all year round. If you like Ring and what it offers, see the latest show-stopping deals from Ring.
In search of answers, our experts unpacked all of the Ring doorbell options. We looked at the packages, costs, plans, and pricing. And we’re sharing our findings with you, right here. Our goal is to help you determine if Ring is worth the money, and if so, which Ring Doorbell is the best fit for your budget and lifestyle.
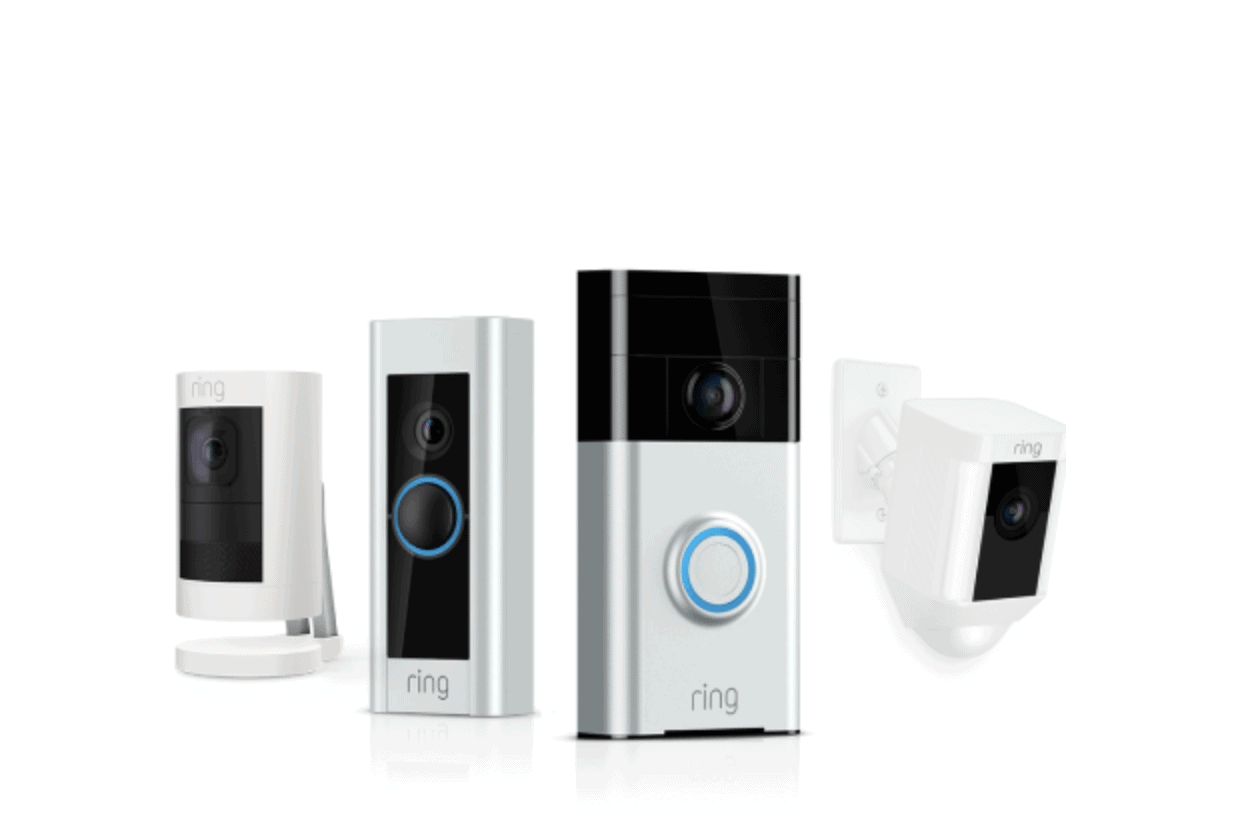
Ring offers an extensive lineup of doorbell cameras at various price points, making it one of the most versatile brands in the smart doorbell market. The most affordable option is the Ring Video Doorbell Wired at $49.99, while premium models like the Ring Wired Doorbell Elite cost up to $499.99. Ring’s diverse product range ensures there’s an option for nearly every budget and installation preference, which we explore thoroughly in our full review of Ring Doorbell.
Here are the Ring Video Doorbells we’ve tested:
| Ring Doorbell Model | Doorbell Camera Type | Cost |
|---|---|---|
| Video Doorbell Wired | Hardwired | $49.99 |
| Battery Doorbell | Battery | $99.99 |
| Battery Doorbell Plus | Battery | $149.99 |
| Wired Doorbell Plus | Hardwired | $179.99 |
| Battery Doorbell Pro | Battery | $229.99 |
| Wired Doorbell Pro | Hardwired | $249.99 |
| Wired Doorbell Elite | PoE | $499.99 |
Once you choose a device, Ring gives you the option to upgrade your purchase with accessories and add-ons. We’ll discuss the doorbell cameras and accessories in more detail below, but Ring offers useful upgrades like solar panels, quick-release battery packs, doorbell chimes, and more. These accessories range in price from around $10 to $50 apiece, so budget accordingly.
The final cost consideration is Ring’s subscription plans. We’ll cover the features and benefits in our Ring Protect Plans section below. For now, just know that Ring’s basic plan costs $4.99 per month for video recording on a single device. If you have multiple Ring devices, the Multi plan costs $9.99 per month and covers all devices at one location. These plans are entirely optional and don’t require contracts.
Did You Know? Ring doesn’t just make video doorbells. They also offer a complete home security system called Ring Alarm, as well as indoor and outdoor security cameras.
Compared to other doorbell cameras, Ring products remain among the most user-friendly options available. All current models provide at least the industry 1080p HD video quality with the latest models featuring 2K or 4K resolution.
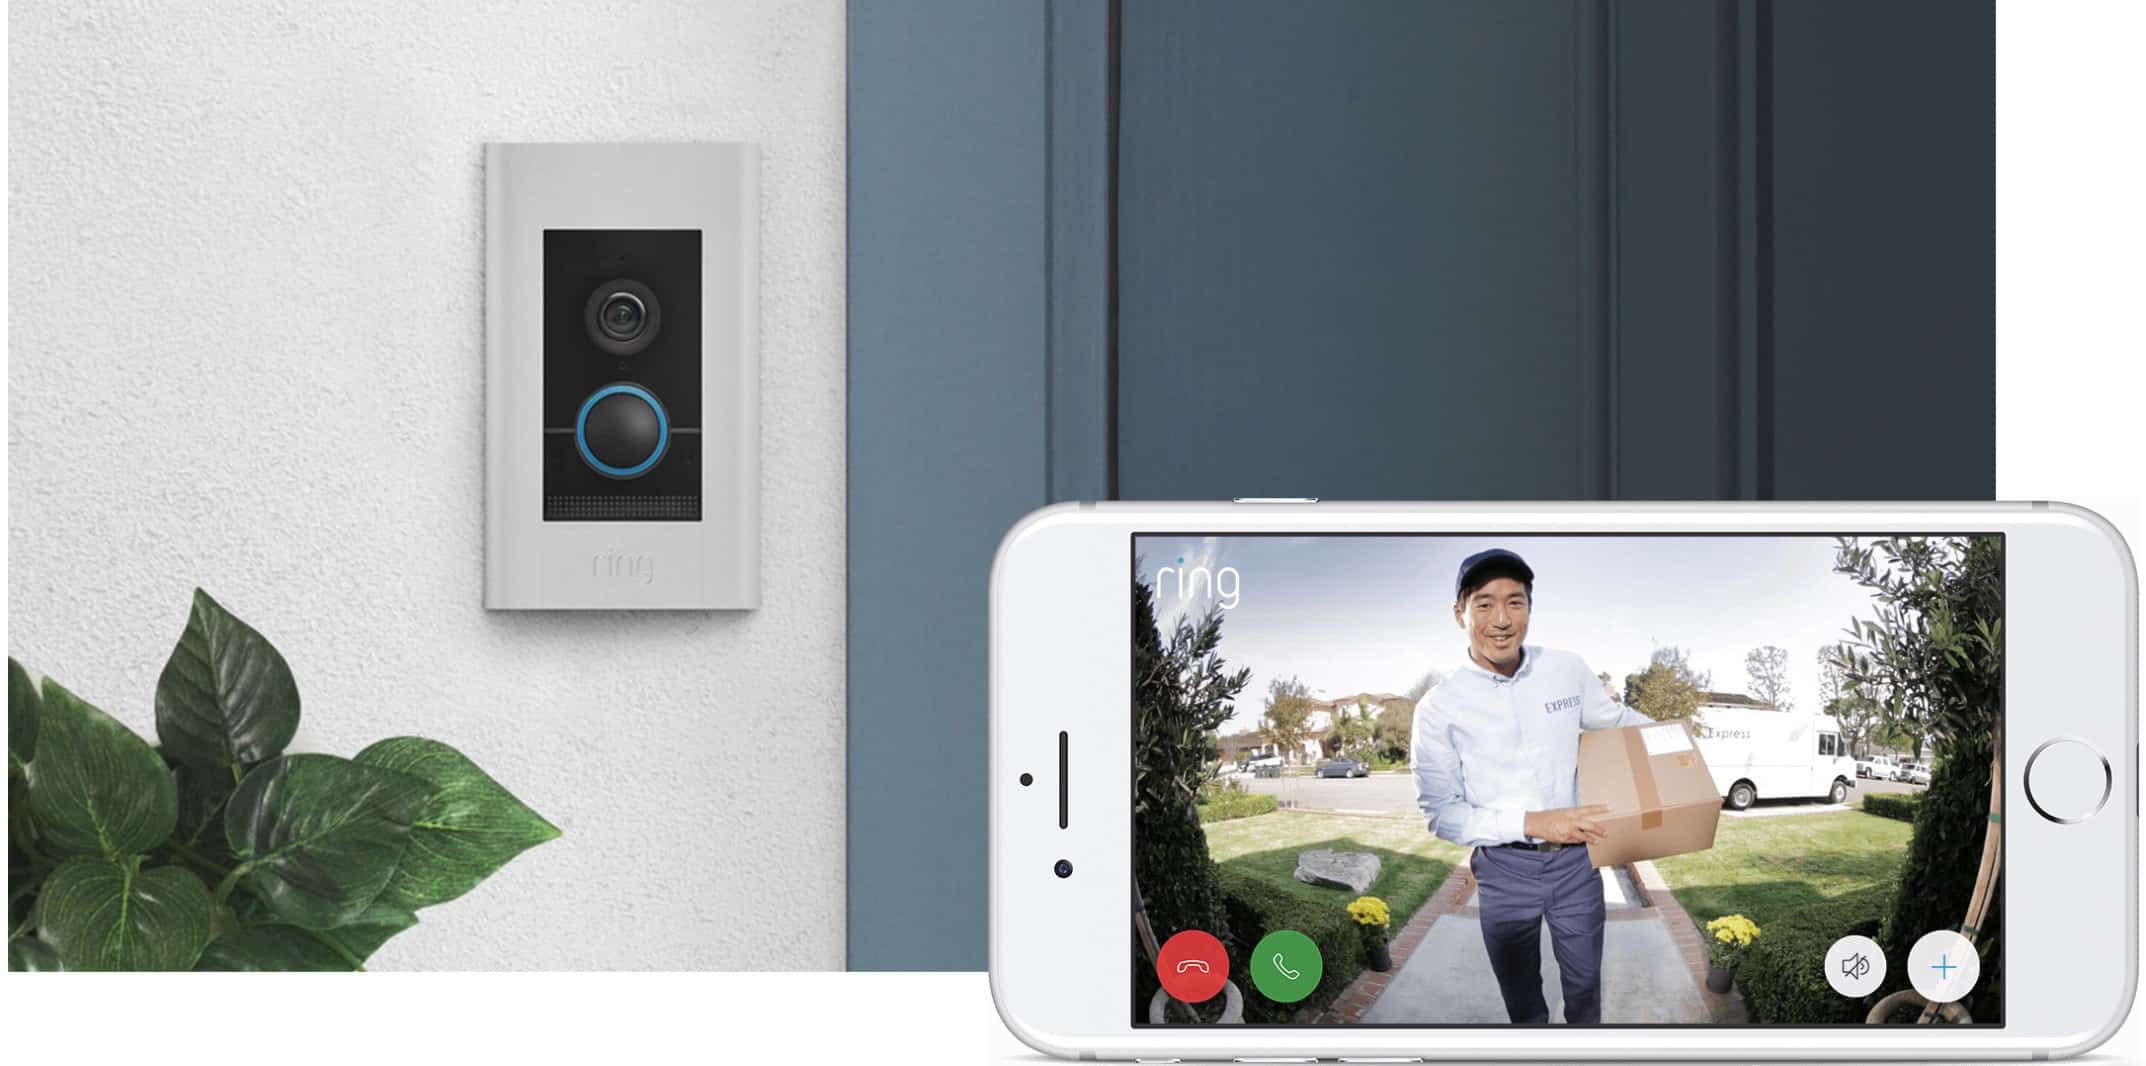
You can access and control all Ring devices using the Ring mobile app. That means you can always check who’s at the door whether you’re at home, at work, or traveling abroad. With two-way audio, you can even communicate with visitors in real time. While these features are standard for modern doorbell cameras, Ring differentiates itself by making these features exceptionally easy to use.

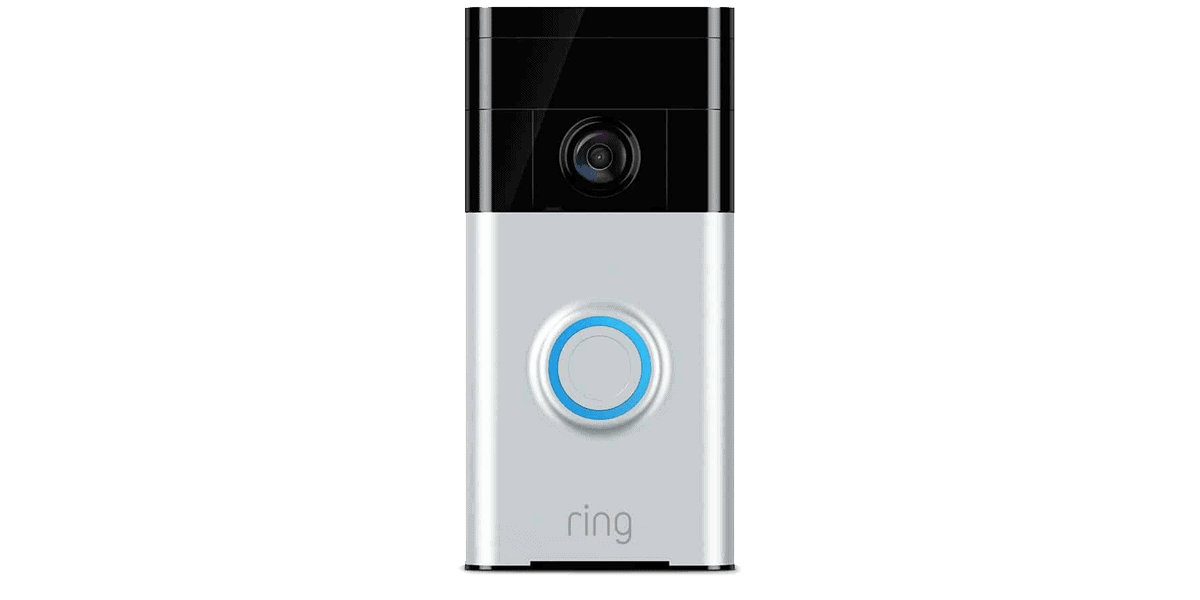
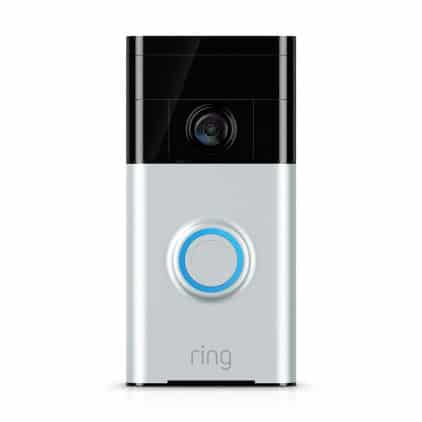
Ring’s original Video Doorbell remains a budget-friendly option for basic entryway monitoring, with installation in less than five minutes. Available in both wireless and hardwired configurations, it features customizable motion detection zones, instant mobile alerts, and app-based controls. The 1080p HD video resolution captures clear details for the price point, delivering solid performance for basic home security needs.
Did You Know? Ring recently released the third generation of their Video Doorbell Chime at a reduced price of $34.99.

The Battery Doorbell Plus represents a significant upgrade in Ring’s lineup with 1536p HD+ video quality. It’s slightly more expensive at $149.99, but the sharper, more detailed footage is worth it in our opinion. Plus, it featured Head-to-Toe coverage meaning its field of view is wide enough to capture a package at your doorstep and the head of any visitors. They also improved its night vision performance with full color capabilities in low-light conditions.

Ring’s premium battery-powered option, the Battery Doorbell Pro, delivers professional-grade monitoring with 1536p Head-to-Toe HD+ video and radar-powered 3D Motion Detection. Priced at $229.99, it includes Bird’s Eye View, which creates an aerial map showing the path visitors take on your property. The advanced motion detection distinguishes between people and objects, reducing false alerts from passing cars or animals. Its slim profile and customizable faceplates make it the most aesthetically versatile Ring doorbell, ideal for homes where appearance matters as much as security.

The Wired Doorbell Plus offers advanced features new to their latest models. At $179.99, it features 2K resolution and a standout feature called Advanced Pre-Roll video capture. This feature records up to four seconds before motion is detected, providing crucial context about what led to an event. The Head-to-Toe video ensures you get the full picture both before, during and after any given situation.
Pro Tip: Ring’s latest features are only available in their hardwired and PoE models. These new features would take too much power, causing the battery life of the battery-powered models to suffer.

With an ultra-slim design, Ring’s Wired Doorbell Pro secures your entryway with a few advanced features. It still provides pre-event video capture like the Wired Doorbell Pro, except this model captures it all in 4K clarity. However, this premium model comes with a premium price tag of $249.99. Even though it’s a hardwired video doorbell, installation still only took us about 15 minutes thanks to Ring’s step-by-step installation guide in the mobile app.

The Video Doorbell Elite is Ring’s professional-grade doorbell camera. It offers a flush-mounted installation and a Power over Ethernet (PoE) connection.3 If you aren’t familiar, PoE is the most robust and reliable way to power the device. PoE enables you to have your network connection, data, and power all flowing through one universal cable. This Elite cam includes all the high-end features of the Doorbell Pro, such 4K HD image resolution, pre-event video capture, and custom motion zones. However, we recommend getting this one professionally installed.
Did You Know? In some jurisdictions, it’s illegal to install a doorbell camera in apartment complexes or condos.
Ring’s doorbell cameras aren’t necessarily the most advanced options out there. But in our experience, they can secure an entryway with a handful of helpful features. It’s also worth mentioning that Ring offers a one-year warranty on all of their equipment. And if you’re a Protect Plus Plan member (see below), you’re automatically upgraded to a lifetime warranty on all Ring devices, so long as your subscription is current. Finally, Ring will replace your doorbell camera for free if it’s stolen, which ironically happens from time to time.
>> Also check out: Ring Doorbell Troubleshooting Guide
Knowing all that, Ring’s doorbell camera just makes sense. Here are a few more quick stats on Ring Doorbells to decide if they’re right for you:
| Best For | Package Theft Protection |
|---|---|
| Difficulty Level | Easy |
| Video Resolution | Full HD |
| Price | $49.99+ |
| Days Tested | 100+ |
Now, let’s talk costs on Ring Doorbell.
Thankfully, you don’t need a subscription to enjoy real-time live video streaming, motion-activated alerts, and two-way talk. But if you want access to features like video recording, saving, and sharing, then you’ll need a Ring Protect Plan. At $4.99 to $19.99 per month, these plans remain among the most affordable in the smart home security market. And if you only have a Ring doorbell, rather than additional cameras or the Ring Alarm system, then the $4.99 per month Ring Protect plan will do the trick.
| Ring Protect Plan | Number of Cameras | Monthly Plan Cost | Annual Plan Cost |
|---|---|---|---|
| Protect Solo | 1 | $4.99 | $49.99 |
| Protect Multi | Unlimited | $9.99 | $99.99 |
| Ring AI Pro | Unlimited | $19.99 | $199.99 |
This basic plan covers one Ring device with 180-day video recording, video review, and video sharing. It adds an extra layer of protection for only $4.99 per month or $49.99 per year. We think it’s worth it for the video recording option alone. Your device will continuously record for up to 180 days, allowing you to go back and review your video history, if necessary.
You’ll want to choose the Ring Protect Multi plan if you plan to get other Ring cameras. It supports unlimited devices at a single address, including any Ring security camera. So if you envision yourself purchasing additional devices, you’ll want to consider going with this plan for only $9.99 per month or $99.99 per year. It’s one of the cheapest cloud plans for unlimited devices we’ve seen in the industry. And remember, if you choose this option, you’ll be immediately upgraded to Ring’s extended warranty.
If you plan to go beyond video doorbells and security cameras with a full Ring Alarm security system, you might want the AI Pro plan. It includes 24/7 professional monitoring for your Ring Alarm security system and the full capabilities of the Multi plan for your video doorbells and cameras. There’s even a few extra AI-powered features it unlocks like AI-powered video descriptions.
Pro Tip: Ring offers a free trial of the Ring Protect plan with qualifying device purchases. Check Ring’s website for current trial offers and terms before the automatic renewal date.
There aren’t any long-term contracts to sign, and your plan will automatically renew to ensure you never lose protection. With that said, Ring’s subscription plans are 100% optional, and you do not need a paid plan for your Ring doorbell camera to function. We tested their free self-monitoring option, and it works just fine by itself.

SafeHome.org Ring Doorbell App Options
Ring doorbell cameras are by no means a perfect solution to home security. But they do offer a few standout features that’ll make bad guys think twice before targeting your home. During our research and testing, we’ve identified a few of Ring’s best features, and we’ve highlighted them below.

MOBILE ALERTS |
Ring will notify you if an activity is detected. However, you have to respond or pay for one of their recording options for the video to be saved. |

WIRELESS EQUIPMENT |
Ring gives you the option of installing your equipment wirelessly or hardwired, and they include a video and their app to walk you through either process. |

SURVEILLANCE CAMERAS |
Ring's surveillance cameras include their signature doorbell models, plus a wide selection of indoor and outdoor cameras including outdoor models with built-in security lighting. |

DISASTER PROTECTION |
Ring provides a variety of disaster protection features through their Ring Alarm system, including flood, freeze, smoke, and carbon monoxide detectors. |

VOICE RESPONSE |
The Ring doorbell has a two-way talk feature that will enable you to communicate with a visitor. It doesn't come with the ability to communicate with a monitoring center. |

LIFETIME WARRANTY |
Ring offers extended warranty protection when you subscribe to their Ring Protect Multi plan, which includes comprehensive video recording for all your Ring devices. |
One deal we particularly like is the discount on all future Ring device purchases when you subscribe to a Ring Protect plan. We’ve also seen special promotions for Ring bundle packages that include the Ring Alarm system and security cameras or doorbell cameras.
We’re constantly searching the internet and industry-related resources to help our readers find the lowest prices. So stay up to date on the latest Ring savings by periodically checking our Ring deals page. Also, don’t overlook Amazon Prime day (remember, Ring is owned by Amazon, so hot Ring savings abound!). Read our Amazon Prime Day Ring deals and discounts guide to learn more.
Pro Tip: Shopping for a Ring Doorbell around the holidays? If so, be sure to check the deals page mentioned above for Black Friday and Cyber Monday discounts.
Ring consistently makes our top 3 list for doorbell cameras. From our extensive hands-on experience with these devices, we can tell that they’re designed for real humans looking to protect their homes. The doorbell cameras are incredibly easy to install and easy to use. They can be controlled remotely using Ring’s intuitive mobile app. And even the advanced functions are designed with the average user in mind. With multiple doorbell camera models to choose from, Ring offers something for pretty much everyone.
FYI: In addition to doorbell cameras, you can snag yourself a few indoor or outdoor security cameras for serious savings on Prime Day.
With that said, there are some things to consider before pulling out your pocketbook. First, you’ll be somewhat limited when it comes to home automation integrations. So if you’re a smart home buff, Ring might not be the best doorbell camera for you. Also, the motion detection feature can be finicky, thus setting off false alarms. For this reason, we think the motion detection should use geofencing instead of heat-sensing technology. Even with these minor flaws, we think a Ring video doorbell camera is a wise investment for most households.
Wetzel, K. (2018, September 29). From sharks to Shaq: Ring CEO Jamie Siminoff’s unusual road to success. Digital Trends.
https://www.digitaltrends.com/home/ring-ceo-jamie-siminoff-unusual-road-to-success/
Haskins, C. (2019, December 3). How Ring Went From ‘Shark Tank’ Reject to America’s Scariest Surveillance Company. Vice.
https://www.vice.com/en_us/article/zmjp53/how-ring-went-from-shark-tank-reject-to-americas-scariest-surveillance-company
U.S. Department of Energy. (Retrieved 2026). Power-over-Ethernet Technology. https://www.energy.gov/eere/ssl/power-over-ethernet-technology