Smoke smells. Burglars make noise. Water stains our ceilings, walls, and floors. We can detect these household dangers and prepare to deal with them. Carbon monoxide (CO), on the other hand, has no scent, makes no sound, and can’t be seen. CO is such a sneaky intruder that, even if you are suffering from CO poisoning, you’ll rarely suspect it. Which means that carbon monoxide is a threat worth taking very seriously.
Fortunately, surviving a visit from this silent killer is relatively cheap and easy — as long as you know what you’re doing. In this guide to installing home carbon monoxide detectors, I’ll lead you through:
- How a CO detector works
- How to install a carbon monoxide detector the right way
- What kind of detector to choose for your home
- Where and where not to put your CO detectors
Did You Know? Miners actually used to put canaries in cages near where they were working. If the canary stopped singing, or keeled over, it meant someone had released a pocket of CO gas and it was time to get out of Dodge. That’s where we get the phrase “a canary in the coalmine,” which just means “a sign of danger to come.”1
How CO Detectors Work
Some of our household appliances burn fuel. Think water heaters, gas furnaces, stoves, even our cars. If an appliance isn’t working properly and the fuel doesn’t get totally burned, it can leave behind carbon monoxide, which then leaches into the air in our homes and apartments. The problems here are: 1) humans can’t detect CO, and 2) if undetected, CO can kill in minutes. So, we need devices that can detect it for us.
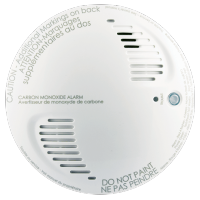
All CO detectors do the same basic job. They sound the alarm when they detect a dangerous level of CO in the air, which is anything above 70 parts per million, or ppm.2 It doesn’t matter how your detector works: with electrochemical sensors, metal oxide sensors, or gel sensors. As long as you install a top-rated CO detector correctly, in the right places in your home, it will reduce your risk of CO poisoning to just about nil.
FYI: Every year, more than 400 Americans die of CO poisoning, and over 100,000 visit the emergency room.3
How to Install a CO Detector Correctly
Installing CO detectors isn’t rocket science, but like every other safety device we install in our homes — from home security systems to medical alert systems — there are best practices we need to follow. In the case of carbon monoxide detectors, I’d just add that following the rules is extra important, considering how naturally defenseless we are to protect against CO.
Step 1: Choose a Spot, or Spots, for your Detector(s)
I’ll go into more depth about CO detector placement down below, but here’s the long and short. It doesn’t matter where you place your CO detectors — near the floor, on the wall, or up on the ceiling. (Sorry, Quora and YouTube experts, hard science wins here.) However, it is important to put one detector on every floor. And make sure you’ve got one outside your bedrooms and in the basement.
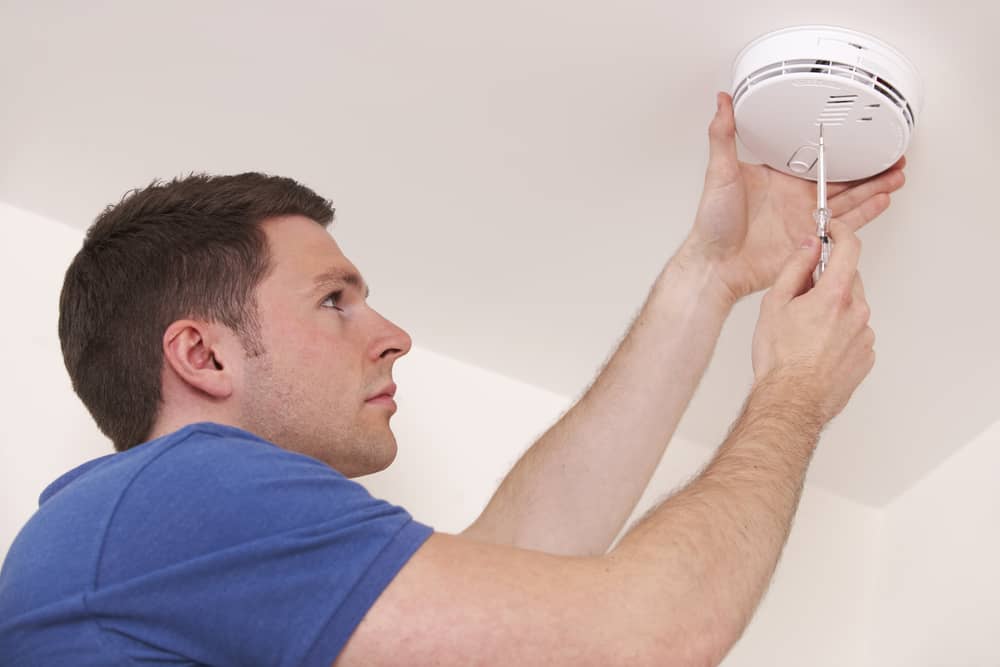
Step 2: Drill Your Holes and Insert Screws
Be careful here. If you’re drilling near electrical sockets, you don’t want to pierce any pipes carrying stuff like your internet.
If you’ve got a wired detector, which is a good choice in my book, you’ll probably want to defer to an electrician for installation. A CO detector that isn’t doing its job can literally be a matter of life and death.
Finally, your CO detector kit probably came with a piece of paper with screw hole distances. My advice? Don’t eyeball it. Use that paper template when you’re drilling. It’s a handy crutch.
Pro Tip: Remember, even if you’ve got a plug-in or hardwired detector, you will need to replace your backup batteries once a year.
Step 3: Load Your Batteries
There are detectors out there with sealed batteries that last 10 years. If you’ve got one of those, skip this step. Otherwise, stick your new batteries inside your detector, in the correct direction. Speaking of new batteries, that’s exactly what you should be using: fresh, unopened AAs or 9 volts. When you’ve loaded your batteries correctly, you should hear a beep.
Step 4: Test Your CO Detector
Before you slip your CO detector over the screws, find the test button and press it. Every model makes its own noise. Safe to say yours won’t make a sound like a toucan or a sheep. You’re going to hear a series of mechanical beeps. Once you hear those beeps, you’re ready for the final step.
Step 5: Place Your Detector on the Wall or Ceiling
Again, if you’ve got a plug-in model, your detector fits right into your socket. For battery-powered and hardwired detectors, the final step is to fit the housing over the screws you so expertly drilled in Step 2. After that, you’re all done. You’re now keeping your family safe from one of the deadliest hidden household dangers out there.
Did You Know? Carbon monoxide isn’t the only toxic substance that can seep into our homes and hurt us. Here are three more deadly gases that should be on your home safety radar.
What Kind of CO Detector Should I Choose?
On the fence about what kind of carbon monoxide detector to use in your home, apartment, or RV? Here’s a bite-sized breakdown of your options.
Battery-Operated CO Detectors
Strictly speaking, a CO detector that runs on batteries alone is probably the least safe option you have. Homeowners and landlords have been known to forget to replace batteries. When that happens, the detector will start beeping — until you yank those batteries out and forget about it for good. On the other hand, if you’re careful about battery replacement, a CO detector mounted at eye level is a lot more convenient to read than a detector at shin level.
Wired Smoke Alarm/CO Detectors
Wired systems are a safer choice. They can last up to 10 years4 and, like plug-in models, they also use backup batteries as a failsafe in case the power goes out.
Smart CO Detectors
If you want the best of both worlds, modern CO detectors, like the Google Nest Protect, now come both wired and with built-in Wi-Fi. That means you don’t have to worry so much about dead batteries and you can check on CO levels from your phone. That’s pretty neat.
FYI: A carbon monoxide concentration above 70 parts per million (ppm) in our blood is dangerous. However, per the Consumer Product Safety Commission, a level as low as 25 ppm can still make you pretty sick.5
Where to Install a CO Detector
Scientific fact: Carbon monoxide weighs slightly less than air but distributes itself evenly in air-filled rooms.6 Which means you can put your CO detector anywhere you want — near the floor, on the wall, or all the way up on your ceiling. Where you end up putting yours depends on the kind of CO detector you have (see above) and, to an extent, your home’s electrical plan.
- Ceiling-mounted detectors — hardwired or battery-operated — are usually combo smoke/CO detectors. Smoke detectors have to go on the ceiling, so your CO detectors do too.
- CO detectors near the floor are usually there because of available electrical outlets. If the hallway outside your bedroom has outlets near the baseboard only, that’s where your CO detector goes.
- CO detectors at eye height are good if you’ve got a model that shows ppm readings. You can check on those every time you walk by.
Where Not to Install a CO Detector
CO detectors aren’t too finicky, unless you put them too close to the fuel-burning appliances they’re monitoring. In very close proximity to, say, your gas stove, your CO detector might go bonkers with false negatives. Practically speaking, that means you shouldn’t put your carbon monoxide detector near:
- Gas furnaces and stoves
- Water heaters
And don’t put one in your:
- Garage
- Kitchen
- Laundry/mud room
Pro Tip: If you’re awake and you start to feel dizzy, weak, and confused, with a tight chest and headache, go to the ER. You may be suffering from CO poisoning.7
CO Detector Maintenance
Maintenance is at the very bottom of this carbon monoxide installation guide, true. But that doesn’t mean it isn’t hugely important. The basic rules of thumb for CO detector maintenance are simple.
One, unless you’ve got a 10-year sealed-battery model, you should be replacing your CO detectors themselves every five to seven years.
Two, no matter what type of detector you have — battery-powered, hardwired, or smart — replace those batteries every year. Again, that’s unless you happen to own a 10-year detector.
Did You Know? You should look for CO detectors that meet the UL2034 (4th edition) standard. Fourth-edition detectors, which have been around since 2021, provide the most up-to-date protection against household CO leaks.
The Takeaway
A deadly danger in your home that you can’t see, hear, smell, or taste? That’s scary. When you consider that carbon monoxide also comes from everyday household appliances, that’s plain terrifying.
We’ve learned a few very important things about CO detectors and home safety. One, it doesn’t matter where you put your CO detectors, as long as there’s one on every floor and outside every bedroom area. Two, hardwired and plug-in models are at the top of our safety list because dead batteries sometimes get ignored. And, finally, battery replacement should be a yearly ritual no matter what type of detector you have — unless it’s a 10-year model.
In the end, CO detector installation and maintenance is like any other safe-home responsibility. The only difference is, if you take your security cameras offline for a few days and you miss a porch pirate, you’re out a package. When you slack off on CO safety, you’re risking much more.
FYI: In reality, porch pirates are a big concern for us homeowners, whether or not we’ve got a quality doorbell camera. Here are our favorite tips for driving package thieves off our porches for good.
CO Detector FAQ
- Do I need a CO detector?
Short answer: yes. Even if you don’t own, or don’t think you own, any appliances that burn fuel, it’s a good idea to have CO detectors in your home.
- Where should I install my CO detectors?
You should put a CO detector on every floor, even the basement. For floors with bedrooms, put your CO detector in the hallway. If you have multiple bedroom areas, put one CO detector in every hallway. In terms of height, it doesn’t matter if you put them near the floor (plug-in), at eye height (battery), or on the ceiling.
- Is carbon monoxide deadly?
CO is deadly. Even if you survive CO poisoning, exposure to unsafe amounts of CO (anything above 150 ppm) can cause permanent brain and heart damage.
- How often do I need to change the batteries in my CO detector?
It depends on the detector. Some detectors can go up to 10 years before you need to change batteries. But most should be replaced every year. However long your batteries last, your detector will start beeping if it’s on its last legs.
- Can I install my CO detector myself?
Yes, you can. Just follow the instructions we gave up top and any instructions that came with your detector. However, if it’s a hardwired detector, you may want to call an electrician just to be safe.
- Do refrigerators produce carbon monoxide?
No, your electric (plug-in) refrigerator doesn’t produce carbon monoxide. But if you’re living off the grid and use a propane refrigerator, you may have CO in the house.
- What should I do if my CO alarm goes off?
First, get out of your home, apartment, or RV immediately. Then call 911.
