PIR (Passive Infrared) motion sensors are the backbone of modern home security systems. They detect heat signatures from moving objects to trigger alerts. But just like any equipment, PIR motion sensors need to be properly calibrated. Factors like weather and temperature changes and the surroundings can affect performance and accuracy.
In this comprehensive guide, we’ll walk you through calibration, testing, and set-up methods we’ve learned over the years of using PIR motion sensors as part of home security systems. Whether you’re installing new sensors or maintaining existing ones, these proven methods will help you achieve reliable motion detection tailored to your specific needs.

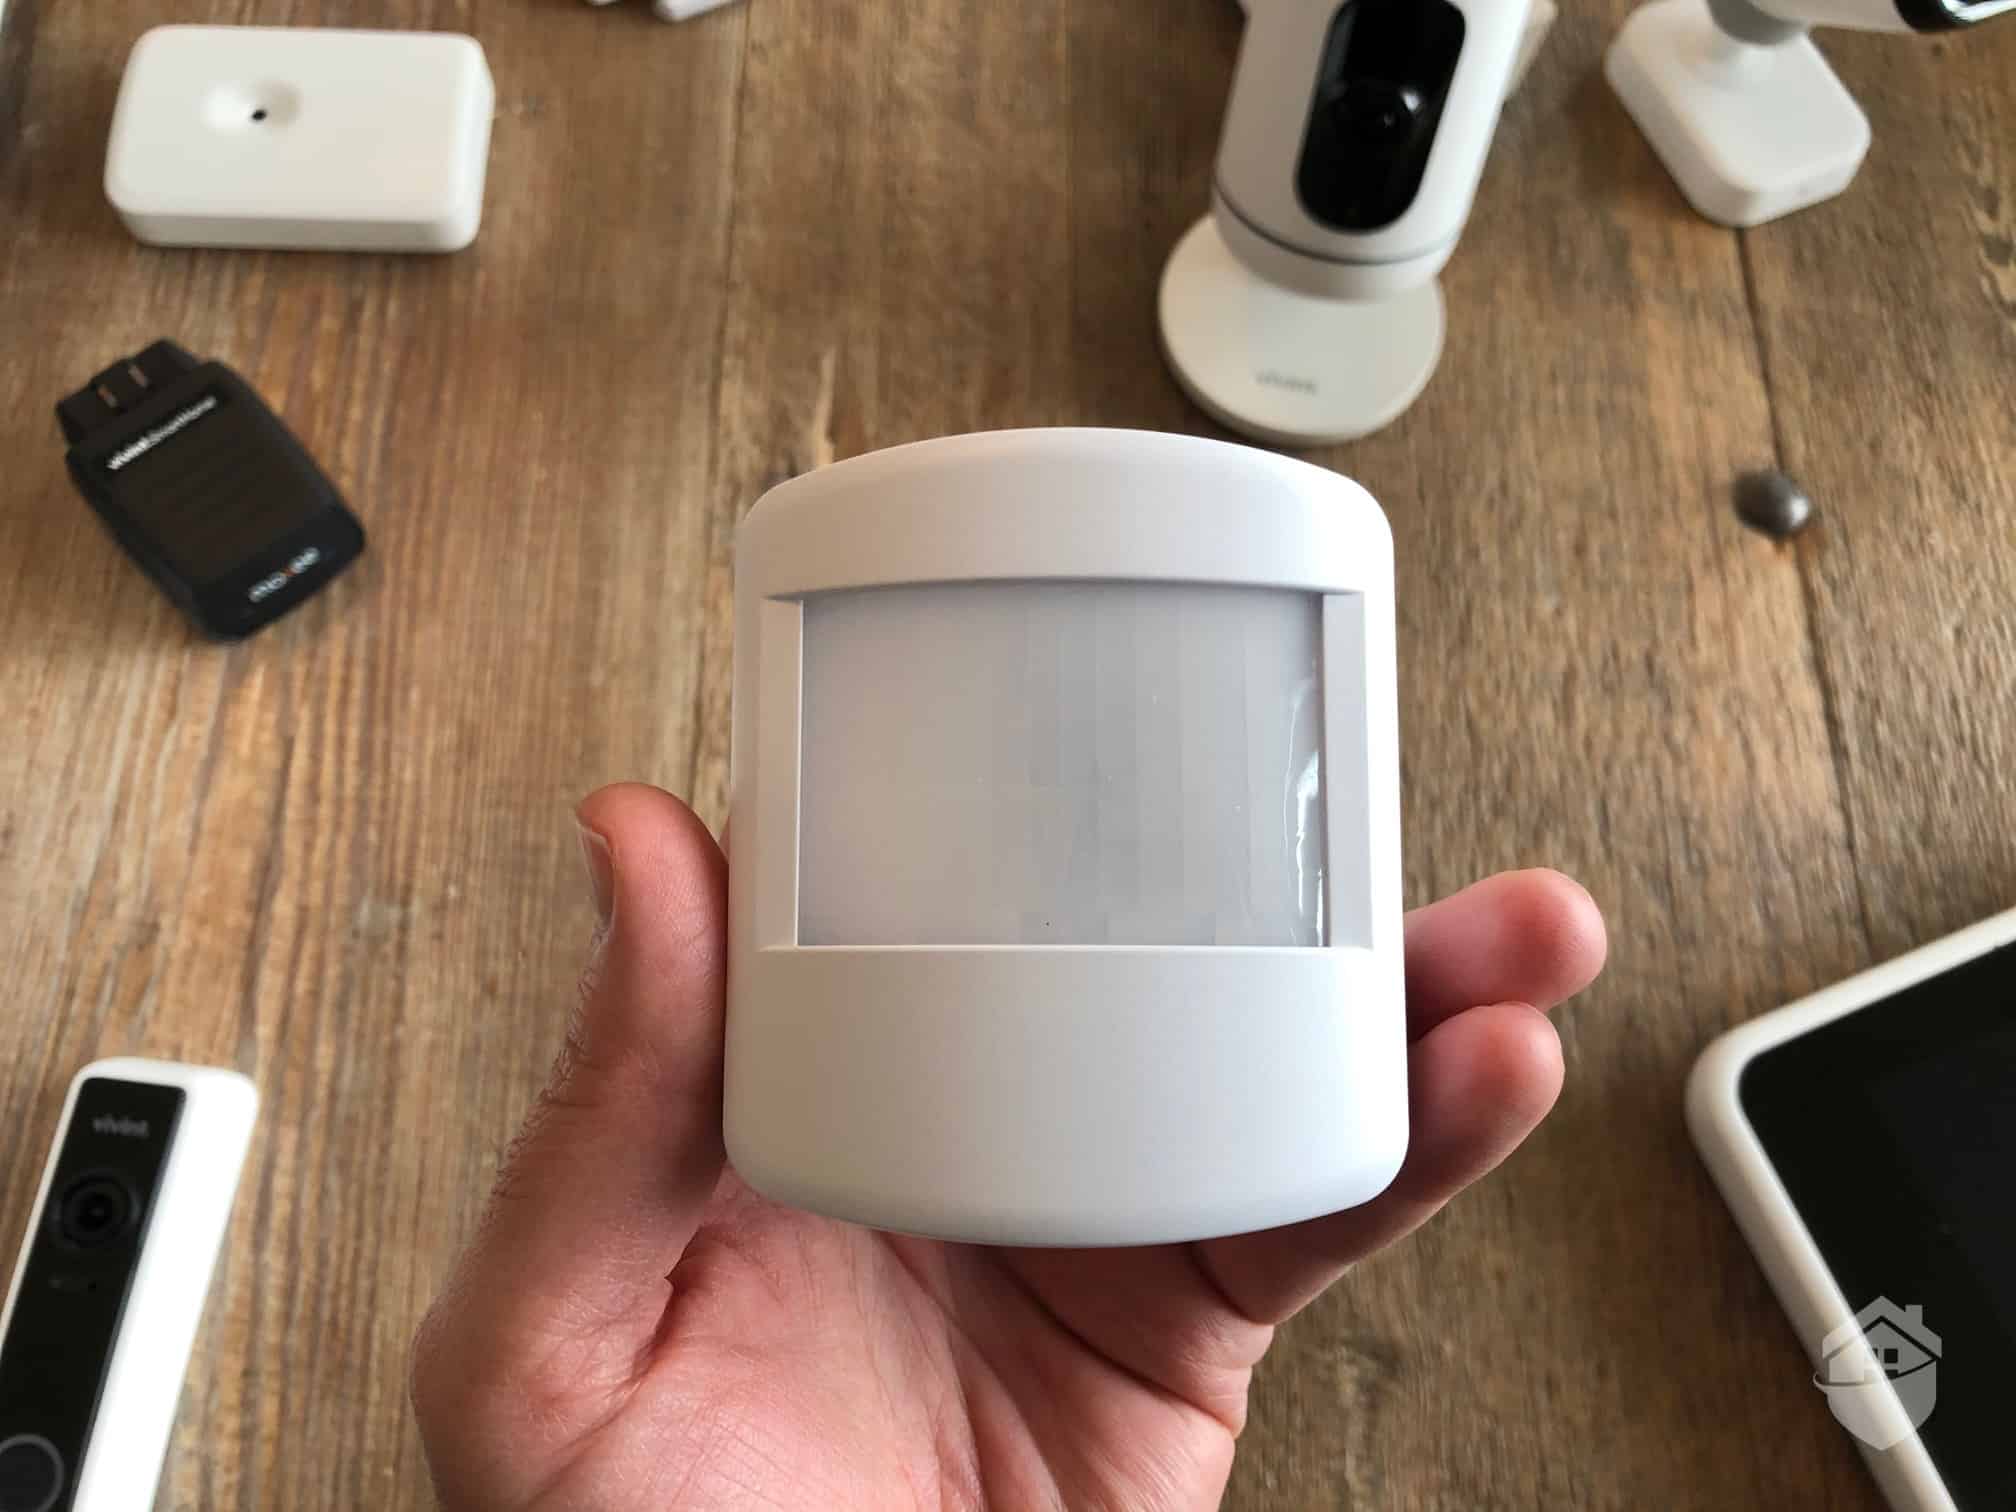
Like the rest of Vivint’s home security equipment, its motion sensor is state-of-the-art.
How PIR Motion Sensors Work
PIR motion sensors detect infrared radiation emitted by warm objects, including humans and animals. When a heat source moves across the sensor’s detection field, it triggers the sensor. It can then set off an alarm or trigger other devices such as smart lights to react, depending on how your security system is set up.
Modern PIR sensors we’ve tested typically feature detection ranges between 15 to 40 feet. Their field-of-view can range anywhere from 90 to 180 degrees. Most residential motion sensors work off of battery power, and many can be configured to ignore heat signatures from smaller moving subjects. For example, our list of the best pet-friendly security systems include motion sensors that can ignore pets below 80 pounds.
FYI: PIR sensors work best when motion crosses their detection field horizontally rather than moving directly toward or away from the device. This means they are best placed along the side of a hallway, for instance, rather than at the end of it.
PIR Sensor Components That Affect Performance
PIR motion sensors often have a segmented lens covering the sensor itself. That’s called a fresnel lens. It focuses infrared radiation onto the sensor’s pyroelectric detector. It also creates multiple detection zones within the coverage area, and can be used to control the detection range.
Some PIR sensors also have a pulse count setting that determines how many detection zones must activate simultaneously to trigger the detector. For example, you can program a motion sensor to not trigger when movement occurs in only one detection zone. And that’s one way to prevent pet-triggered false alarms.
Within the pyroelectric detector, sensitivity settings control how much temperature change triggers activation. Setting the sensitivity to low, for example, can make the sensor ignore smaller heat signatures such as from pets or heat coming from air vents.
- Detection range (typically 10-40 feet)
- Sensitivity levels (low, medium, high)
- Pulse count (1-3 activations required)
- Time delays (1 second to 15 minutes)
Besides those components, environmental factors can impact sensor performance. Direct sunlight, heat sources like HVAC vents, and reflective surfaces can cause false triggers. Cold weather reduces detection sensitivity, while hot summer temperatures may decrease the contrast between body heat and ambient temperature, making heat changes harder to notice.
How to Test PIR Motion Sensors
Now that we know how PIR motion sensors and their components work, let’s talk about how you can test your sensors at home. You might simply want to make sure your sensors are working, or you’re probably assessing if it’s time to update your security equipment. Or maybe your PIR motion sensor is acting up and you want to know what’s wrong. Whatever your reason, you can find out how to test your PIR motion sensors here.
What Tools You’ll Need
There is specialized equipment used to test PIR motion sensors, such as digital oscilloscopes and walk test transmitters that generate controlled infrared signals. However, for a home test, these are all you need:
- Digital multimeter with DC voltage capability
- Measuring tape (25-foot minimum)
- Smartphone timer or stopwatch
- Small handheld mirror
The tests we’ll demonstrate below focuses on assessing detection coverage, sensitivity, and timing accuracy. For best results, perform these tests during moderate temperature conditions (60-75°F).
>> Find Out: How to Effectively Place Security Sensors in Your Home
Initial Power and Connectivity Tests
Is your PIR motion sensor acting up? Are alerts delayed? Is it sending phantom alerts? Or is it not sending alerts at all? Start by verifying proper power supply using a digital multimeter.
- Take off the sensor’s battery (which is usually a CR123A battery).
- With the digital multimeter set to DCV, touch the multimeter’s positive probe (red) to the battery’s positive terminal (+), and the negative probe (black) to the negative terminal (-).
Most PIR sensors require a 12V DC input, with acceptable voltage ranges between 10.8V and 13.2V. If the voltage is too low, it can cause erratic behavior or reduced detection range. Replace the battery if needed.
Additionally, if you’re having problems receiving alerts from your PIR motion sensor, you can check signal strength indicators through your security system’s control panel or mobile app. Even if a sensor is connected, if the connection is weak, alerts may be delayed.
Pro Tip: If your system control panel has battery backup and isn’t hardwired to the wall, try moving it closer to the motion sensor. Test again, and if it works, consider moving the control panel permanently or buying a compatible wireless range extender.
Detection Range Testing
When setting up a motion sensor (especially with a DIY security system), it helps to know its actual detection range once installed. That way, you can finetune the sensitivity, position, and angle accordingly to optimize its accuracy.
- Grab a measuring tape and mark distances at five foot intervals from the sensor mounting location, up to the maximum detection range.
- Have someone walk across the detection field at a normal walking speed at each mark.
- Record activation distances and any dead zones where motion goes undetected.
Ideally, the sensor should be able to detect movement anywhere across the room it’s monitoring. If you find that some areas are too far for the sensor to reach, try these:
- Increase the sensitivity
- Tilt the sensor up
- Move the sensor to a different mounting location
FYI: Test detection ranges during different times of day, as changing ambient temperatures affect sensor performance throughout 24-hour cycles.
Coverage Pattern Analysis
PIR sensors create detection patterns based on their fresnel lens design. Test coverage by having someone walk parallel to the sensor at various distances, noting where detection begins and ends at each range.
Most residential sensors provide reliable detection within a 90-120 degree arc. Edge detection may be less sensitive than center coverage, which is normal for most PIR designs. Identify any unexpected dead zones within the coverage area. These gaps often indicate damaged lens segments, improper mounting angles, or interference from nearby objects.

When we tested SimpliSafe motion sensors, we found this was the best spot for maximum coverage.
Calibration Techniques and Settings
Proper calibration balances detection sensitivity with false alarm prevention. Start with manufacturer default settings, then adjust based on your specific environment and security needs.
Adjusting the Sensitivity
We recommend beginning calibration with the sensitivity set to medium level. Test detection at various distances and detection zones. If the sensor misses movement at expected distances, gradually increase the sensitivity while monitoring for false alarms. If you have a pet, you might even want to set them loose in the room and see how the sensor reacts.
High sensitivity settings detect smaller heat signatures, but it increases the likelihood of false alarms. Low sensitivity, on the other hand, reduces false alarms but may miss legitimate intrusions.
>> Learn More: Burglar Alarms Going Off Randomly? Here’s How to Fix It
Adjusting Time Delay
Time delay settings control how long sensors remain active after detecting motion. Shorter delays (1 to 5 seconds) provide rapid response, but it may cause multiple triggers from single events. Longer delays (30 seconds to 5 minutes) reduce system activity but may miss subsequent intrusions.
Consider your specific security needs when setting time delays. Entry monitoring requires shorter delays for immediate alerts, while perimeter detection may benefit from longer delays to avoid nuisance activations. Test time delay settings during normal household activities to ensure family members don’t trigger excessive alerts.
Common Issues and Troubleshooting
In our experience, the most common PIR sensor problems are false alarms, missed detections, and intermittent operation. Here’s how to troubleshoot each.
Resolving False Alarms
Common reasons for false alarms include heat sources, moving vegetation, small animals, and electrical interference. Start by identifying what’s causing the false positives. Air conditioning units, heating vents, and sun-heated surfaces can all trigger the sensor. Pets, robotic vacuum cleaners, and sometimes even plants blown by the wind can also cause false alarms.
Once you’ve identified the cause, you’ll be able to decide how to remedy it. Lowering the sensitivity could solve the issue. If not, you might try moving heat-emitting appliances out of the detection range. If all else fails, move the sensor to a different location.
Pro Tip: If you or someone you know has an infrared thermometer, you can use it to find and identify heat sources within the sensor’s field of view.
Fixing Detection Failure
Missed alerts often result from insufficient sensitivity, obstructed sensor lenses, or detection pattern gaps. They can also be caused by something as simple as lenses. We recommend cleaning sensor lenses at least once a month to remove dust and other small debris. Use lint-free cloth.
If simply cleaning the sensor doesn’t fix missed detections, verify that the mounting height and angle provides optimal coverage for the intended detection area. In our experience, most residential PIR sensors work best mounted 8 to 10 feet high, angled slightly downward to cover walking height heat signatures.
If it’s an old motion sensor, you might also want to consider replacing it.
Expert Tip: Replace PIR sensors every 5 to 7 years, as age-related component degradation gradually reduces detection sensitivity and reliability. If you’re not sure about your PIR sensor’s age, yellowing of the lens is one of the signs that it’s old enough to replace.
Solutions to Environmental Interference
Weather conditions significantly impact PIR sensor performance. Heavy rain, snow, or fog can reduce detection range and sensitivity. Wind-blown debris may cause false alarms, while extreme temperatures affect thermal detection capabilities.
Install weather shields or housing to protect outdoor sensors from direct exposure to precipitation and UV radiation. Position sensors to minimize wind exposure while maintaining necessary coverage areas. Consider seasonal calibration adjustments to compensate for temperature variations.
When to Call Professional Help
While homeowners can handle most PIR sensor testing and calibration tasks, certain situations require professional expertise. Complex installations, persistent problems, or integration with sophisticated security systems may exceed DIY capabilities.
Intermittent failures, unexplained false alarms, or detection pattern irregularities may indicate electrical problems, RF interference, or component defects requiring professional diagnosis. Professional security technicians use specialized equipment to identify problems beyond basic troubleshooting capabilities.
>> Check Out: The Best Professionally Installed Home Security Systems of 2026

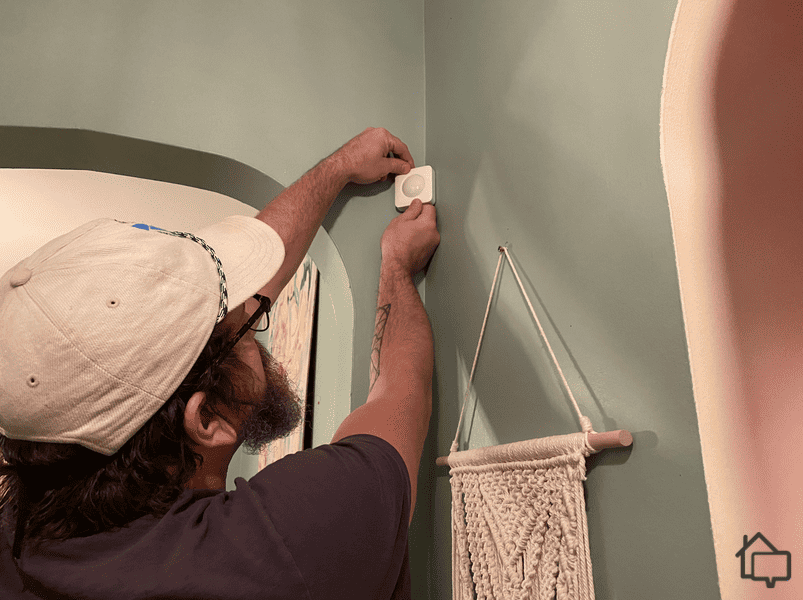
While many motion sensors are easy to install, having a professional technician choose the best spot is often better.
It also makes sense to call for professional help if the PIR sensor is integrated with complex security systems or home automation platforms. Beyond hardware components, professional technicians understand system interactions, communication protocols, and advanced configuration options that optimize overall security performance.
Monitor, Review, and Repeat
Remember that PIR sensor performance depends on multiple factors including mounting location, environmental conditions, and integration with overall security systems. Patient testing, careful calibration, and regular maintenance create the foundation for effective home security that adapts to your specific needs and circumstances.
By following these proven methods, you’ll maximize your security investment while ensuring reliable protection for your property and family. Well-maintained PIR sensors provide peace of mind through consistent, accurate motion detection that responds appropriately to genuine security threats while avoiding unnecessary false alarms.
Frequently Asked Questions
- How often should I test my PIR motion sensors?
Test PIR sensors monthly for optimal performance, with comprehensive calibration checks performed seasonally. This schedule identifies issues early while ensuring consistent security coverage.
- What causes PIR sensors to trigger false alarms?
Common false alarm causes include heat sources, moving vegetation, small animals, and temperature changes. Proper calibration and positioning minimize false triggers while maintaining security effectiveness.
- Can weather affect PIR sensor performance?
Yes, extreme temperatures, precipitation, and wind significantly impact PIR sensor detection accuracy. Seasonal calibration adjustments compensate for weather-related performance variations.
- How do I know if my PIR sensor needs replacement?
Replace PIR sensors showing consistent detection failures, excessive false alarms, or physical damage after 5 to 7 years of service. Age-related component degradation gradually reduces reliability.
- What's the ideal mounting height for residential PIR sensors?
We recommend mounting residential PIR sensors 8-10 feet high, angled slightly downward to optimize human detection while minimizing false alarms from ground-level heat sources and small animals.
- Should I adjust sensitivity settings for different seasons?
Yes, increase sensitivity during cold weather when thermal contrast decreases, and reduce sensitivity during hot weather to prevent false alarms from heat sources and thermal air movement.

