Worried about break-ins but don’t think you can install a home security system? Good news: It’s not as hard as you think. You just need a little time and some brainpower — help (and screwdriver) optional.
Take it from me. I’ve tested the top DIY home security systems on the market. It can take as little as 10 minutes to install one (seriously — check out my Cove review).
I’m going to walk you through how to install every element of your home security system, step by step.
Before You Get Started: Choose the Right Home Security System
To decide which home security system is right for you, think about what really keeps you up at night. Is it the babysitter rifling through your drawers? Your neighbors snatching your Christmas gifts? A flash flood destroying all your prized possessions? All of the above?
Choose a home security system that actually addresses your concerns. Any company worth its salt will offer a basic package with a main panel, siren, and motion sensors. But you might want to consider these extras, too:
- Outdoor cameras. Porch pirates are more active than ever. A doorbell camera, in particular, can prevent package theft.
- Indoor cameras. Want to make sure the person you hired is really taking care of your baby (or fur baby)? Check in with a good old-fashioned nanny cam.
- Flood monitors. Keep your loved ones — and belongings — safe from natural disasters with a sensor that detects water.
- Live monitoring. With the best monitored systems, emergency assistance can be at your home minutes after your alarm goes off.
Before you hit “add to cart,” make sure the package you choose includes enough sensors for your home. If you live in a 10-bedroom mansion with dozens of doors and windows (lucky you!) you’ll need more sensors than someone with a studio apartment.

>> Read About: The Best Security Systems for Apartments
Walk through your home. Count each point of entry. Order a security system with enough sensors to cover each one.
How Many Sensors Come With a Basic Security System Package?
| Kit | Contact sensors | Motion detectors | |
|---|---|---|---|
| abode | Security Kit | 1 | 0 |
| Eufy | 5-Piece | 2 | 1 |
| Frontpoint | Starter System | 3 | 0 |
| Ring Alarm | 5-Piece | 1 | 1 |
| SimpliSafe | Starter Kit | 2 | 1 |
| Wyze | Starter Kit | 2 | 1 |
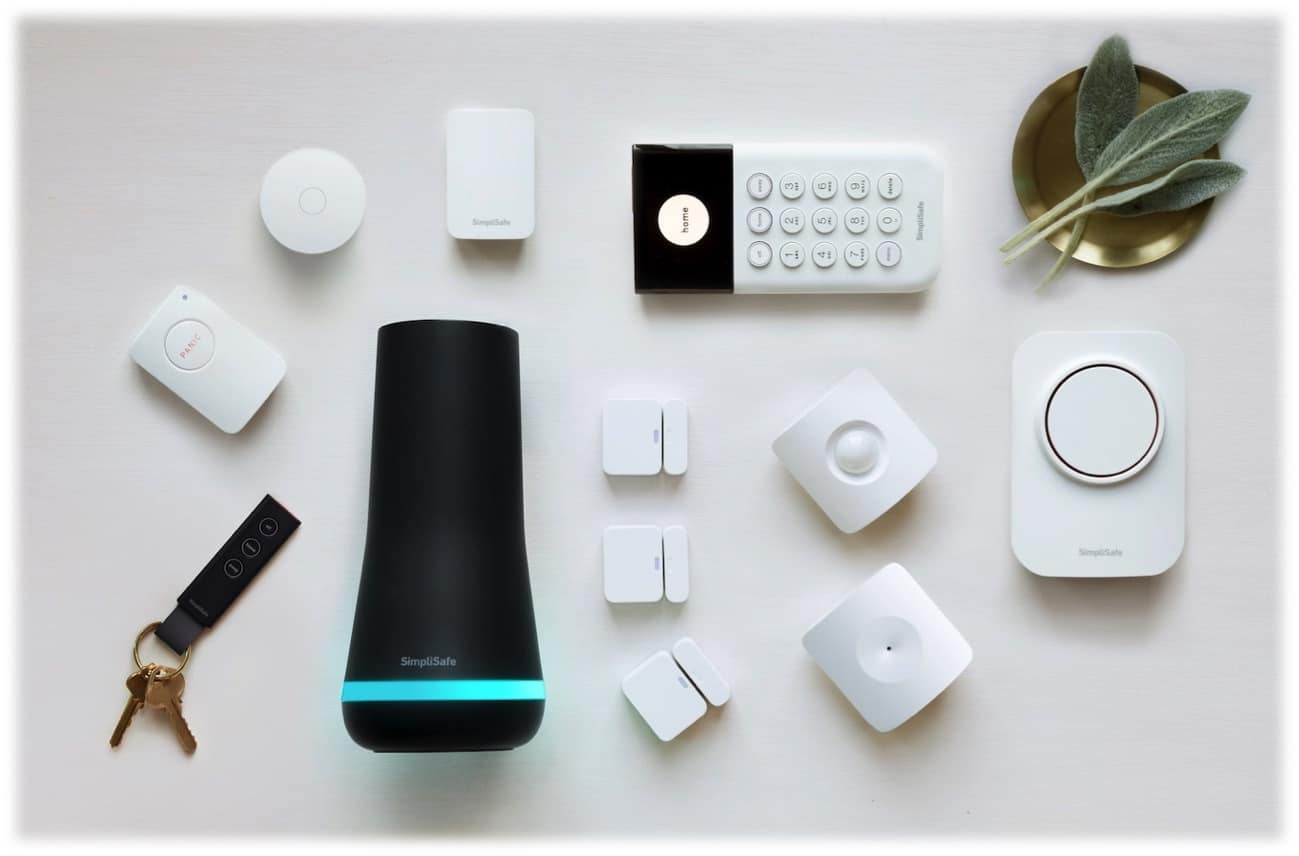
Step 1: Unpack Your Equipment
Now that you’ve chosen your home security system, it’s time for an unboxing. Open up that SimpliSafe package (or Ring Alarm kit, or Alder package).
Lay out every piece of equipment in a neat, orderly fashion. Take a minute to figure out what everything is.
This might seem needlessly fussy. Trust me, it’s worth it. You don’t want to be halfway through installation before you realize you have no idea where the keypad or hub went.
Once you’re confident you have everything you need, remove the packaging from your security cameras, sensors, and sirens.
Step 2: Install Each Component
Installing security hardware ranges from dead simple to pretty easy. Here’s what you need to know about every common component, from door sensors to sirens.
Door and Window Sensors
SimpliSafe, Ring, and abode packages come with entry sensors that stick on with a semi-permanent adhesive. Think Command Strips or Gorilla Mounting Tape.
If you put up a poster in your college dorm room, this process should feel pretty familiar. Remove the film, place it on the desired surface, and hold it there for a moment.
Installation is easy. Placement requires a little more thought.
A door sensor comprises two pieces. One piece goes on the door frame, the other on the panel. Together, they form a circuit. When the door opens, the circuit breaks, sending a signal to your keypad — and tripping the alarm. If the two pieces are installed too far from each other, the circuit never forms — rendering your sensor useless. In short, make sure you stick each piece of your sensor no more than one inch apart.
Pro Tip: Got pets? Stick your sensors out of their reach. You don’t want kitty clawing at them.
Motion Sensors
Installing an entry sensor is easy. Installing a motion sensor is even easier. There’s only one piece, so there’s no need to worry about placing two parts too far apart. Just stick it on.
Make sure you place your motion sensors effectively. Here are some do’s and don’ts:
- Do aim motion sensors at doorways. No one will walk into a room without you knowing.
- Don’t put motion sensors near anything warm. Vents, ovens, and lighting fixtures radiate heat, which could result in a false alarm.
- Do stick motion sensors at least 6 ft. high, and in the corner of a room or hallway. This is the best positioning for burglar detection.
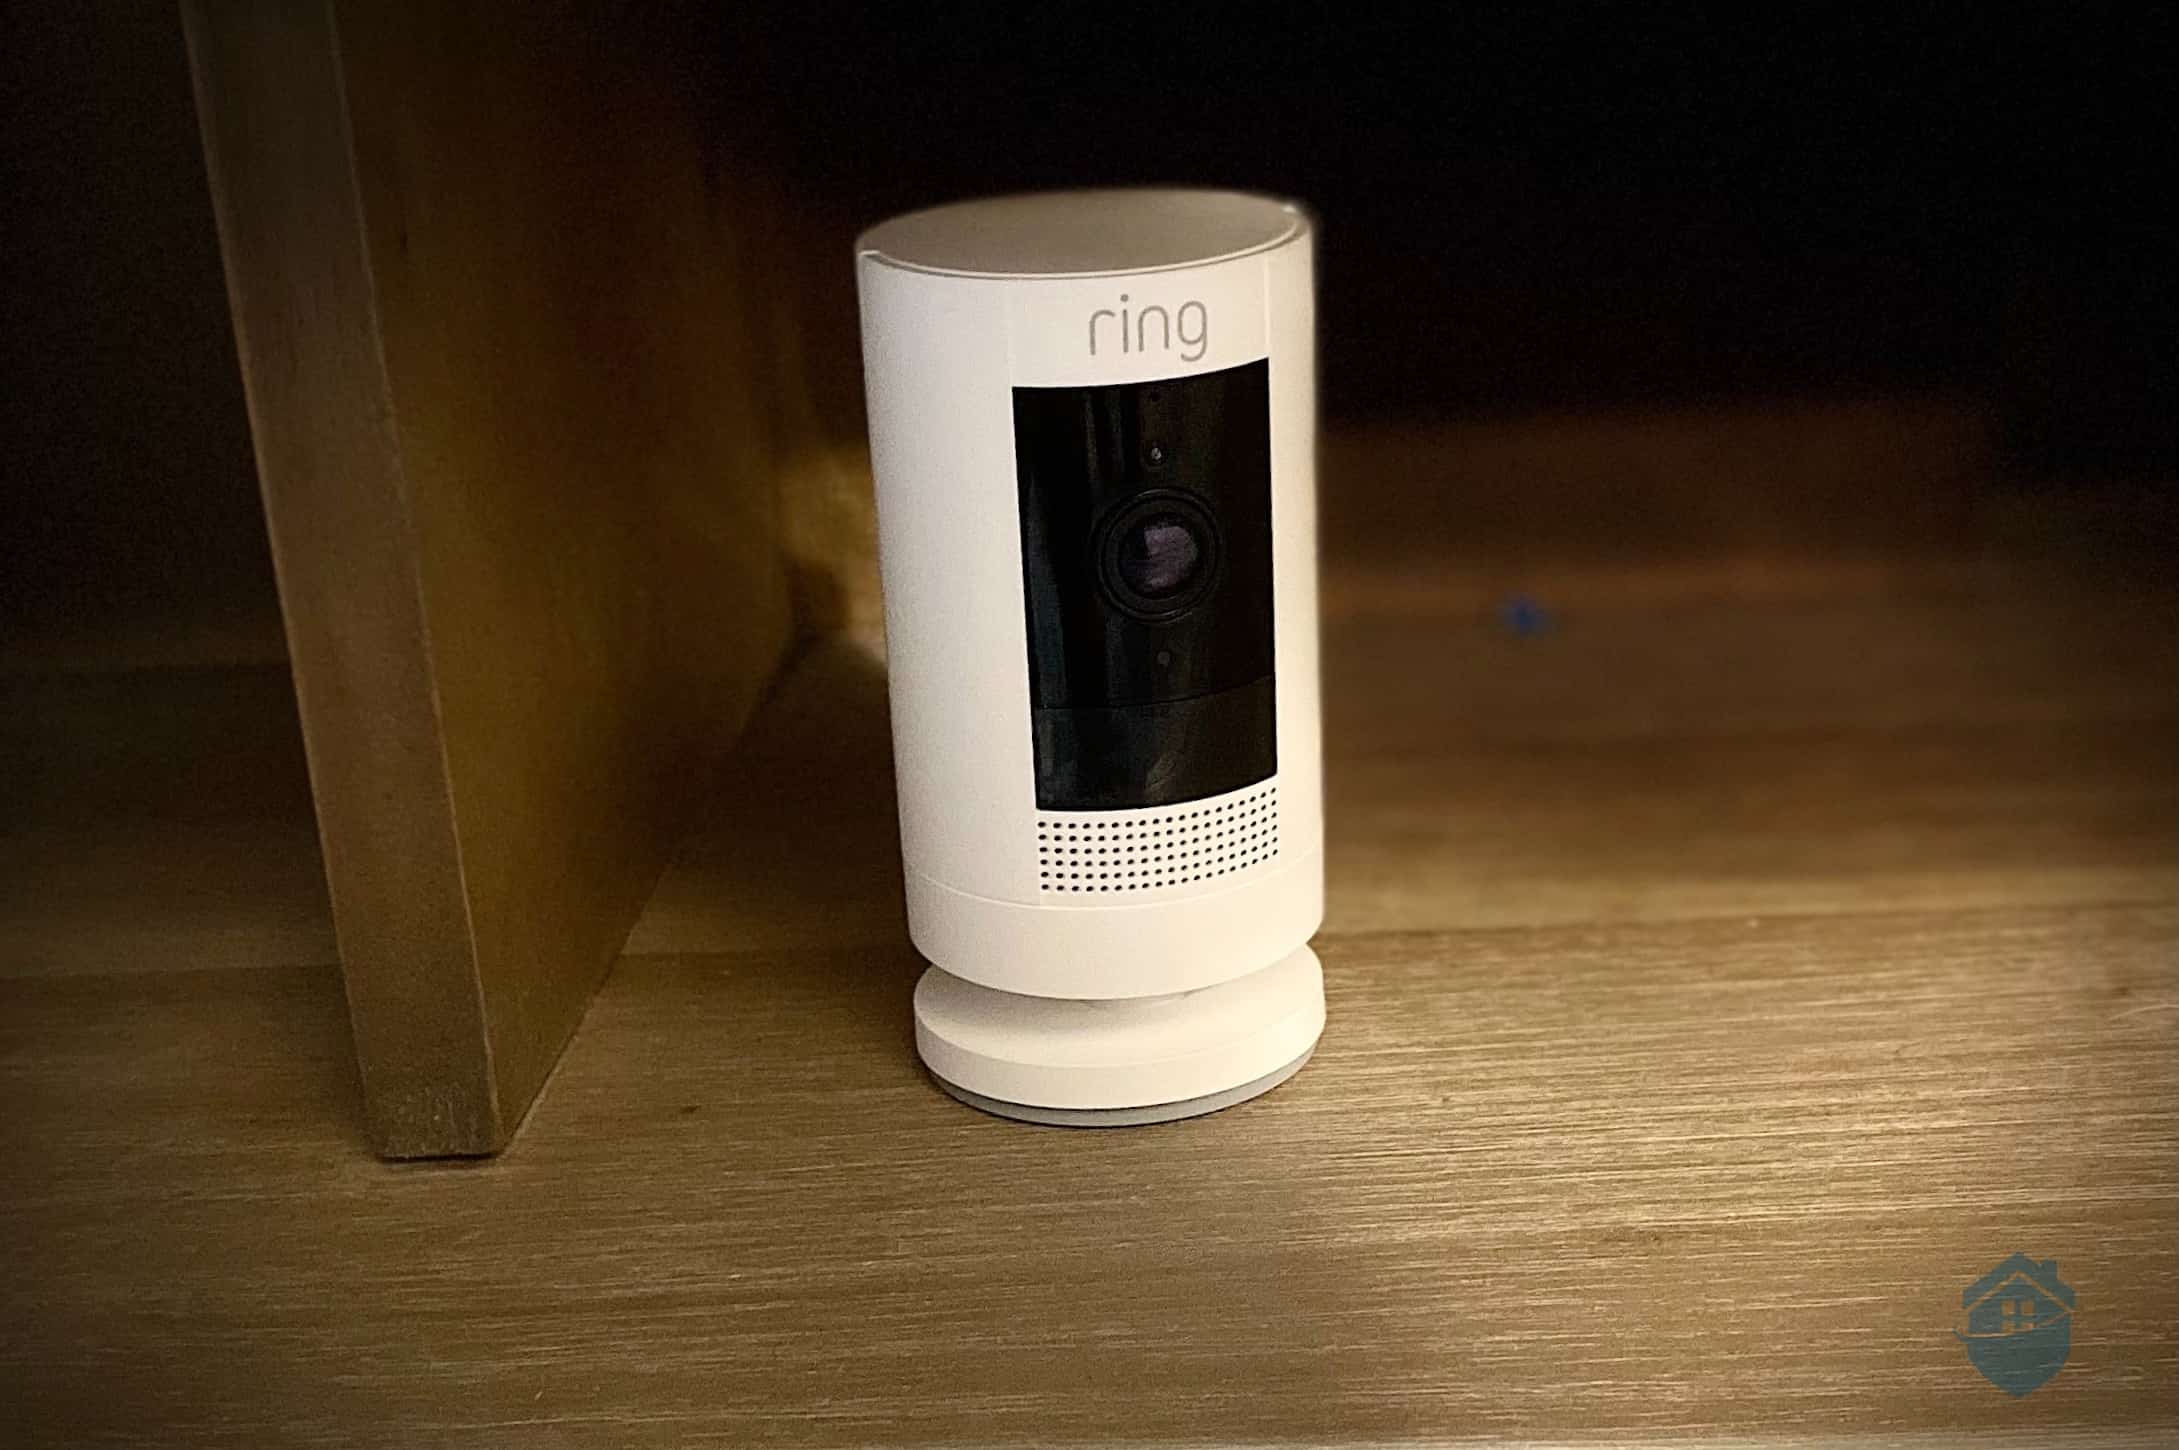
Cameras
Installing a camera is slightly more involved than a stick-on contact sensor — but only slightly.
The first step is to think like a bad guy. If you were a thief, would you stop by the porch to nab a package? The garage to pick up some pricey power tools? The stairs to search the second floor of the house for more valuables? Those are all great spots to record video footage.
>> Related: Where to Place Home Security Cameras
Often, the best vantage point is somewhere high up and out of reach. To mount a camera on the wall, you’ll need to break out the ladder, drill, and screwdriver. Place the camera’s mounting panel at the desired height, drill two guide holes, then secure them with screws. Attach the camera et voilà! Intruders are being recorded.
If all that sounds like too much DIY, go with something that can stand on a flat surface, like the Ring Indoor Camera.
FYI: It goes without saying that you shouldn’t place a hidden camera in the bedroom or bathroom. Not only is it unethical, but it could be illegal. Read our guide to the legality of hidden cameras.
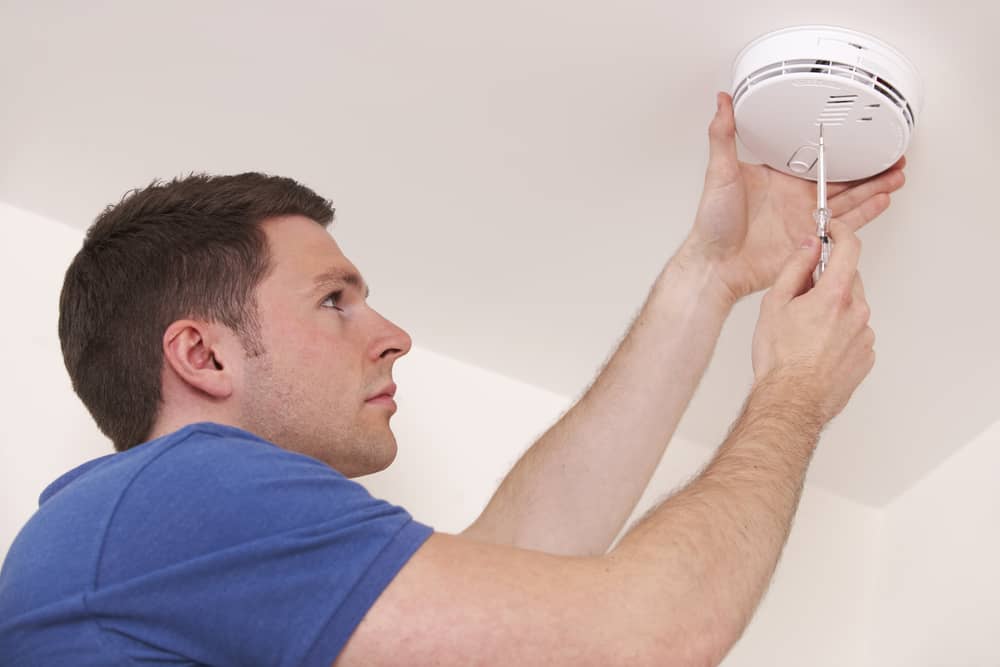
Hubs and Sirens
The point of a home security system is to alert you if someone or something is endangering your safety. For that, you need a loud, obnoxious alarm.

eufyCam 3 with base station
Make sure you place your hub/siren at the center of your home, where it has the best chance of waking up everyone inside.
Extras
Need to install any piece of home security equipment that isn’t covered here? Check your provider’s help page. Chances are, they’ll have the information you need.
Step 3: Set Up the Control Panel
There’s one more component left to install: the control panel (aka the main panel or keypad). That’s where you’ll arm and disarm your security system.
First, place it somewhere prominent and easily accessible. The wall by the front door is a good spot. Again, many brands include adhesive, so all you need to do is stick it where you want it. Alternatively, keep the keypad on a table you walk past often.
Next, connect every available component to the control panel. That’s right — every window sensor and motion detector should show up on that little LED screen.
Pro Tip: Take the time to name each component something you’ll remember. Otherwise, you’ll wake up at 3 a.m. to a blaring alarm, trying to remember where on earth “Sensor 7” is.
Your work isn’t quite done. These days we do everything on our cell phones, and home security is no exception. The best security systems have mobile apps that function like a control panel in your pocket. Now is the time to download your system’s app and figure out how it works.
Step 4 (Optional): Connect to Live Monitoring
If you’ve been following along, your home security system should be up and running. The cameras are recording. The sensors are sensing. Should any bad guys creep in, they’ll be greeted with a deafening siren. That’s all well and good — but you may want to take another step for extra peace of mind.
Sign up for 24/7 professional monitoring. It’s exactly what it sounds like. Professional monitors are on watch for signs of trouble. If something goes wrong, they’ll contact emergency services. Some providers, like SimpliSafe and Deep Sentinel, can even access your security cameras to verify a crime in progress.
>> Read more: The Difference Between Monitored and Unmonitored Systems
Most of the best home security brands offer professional monitoring for a monthly fee. Visit your provider’s website for details about how to sign up and activate your service.
Did You Know? Most local governments require you to get a permit to alarm your home. This is to offset the cost of police responding to false alarms. Expect to spend somewhere in the ballpark of $25 per year for this permit.
Step 5: Test It Out
Test your home security system after you’ve installed it. Think you can skip this step? Think again. I’ve spent hundreds of hours installing security systems. And I still need to double-check my work.
If you sprang for 24/7 monitoring, there should be a test mode. Go ahead and activate it unless you want a visit from your local police department. (Seriously, activate it. You could get fined for too many false alarms.)
Now it’s time for the fun part. Walk by each motion sensor and open each door and window — one at a time. Each one should trigger your alarm system. If you catch one that doesn’t, reinstall it.
Fix any sensors that don’t go off. Verify that the system calls anyone you’ve set it to call. Rinse and repeat until everything works.
Step 6: Post an Alarm Sign
Now that the not-so-hard part is out of the way, it’s time for the easiest step of all: posting an alarm sign. That “protected by ADT” decal isn’t just free advertising for the alarm company. It’s a warning to baddies. Show them your home is no easy target with an alarm sign. It probably came free with your home security system.
>> Related: Can Fake Security Signs Prevent Break-Ins?
The Bottom Line
See? That wasn’t so bad. To install a home security system, you just need to remember a few rules of thumb.
First, order the right package for your needs. It doesn’t matter that you’ve installed one window sensor if a burglar could break into five others. Second, think like a burglar. It will help you install each component in the right place. Third, double-check that you’re truly up and running. Didn’t install that door sensor correctly? An intruder can still slip inside undetected.
If you’ve followed these steps, congratulations. You’ve increased the security of your home — no installation technician required.