You can think of your front door’s deadbolt as a security guard standing outside a venue. Anyone permitted can get in easily. Otherwise, someone needs to sneak by the security guard or force their way in to gain entry. The difficulty of either of those tasks depends on who you have as a security guard. With Mike Tyson standing out front, almost nobody could get through. But, if you got a security guard from the local retirement home, that might be a different story.
Just like the security guard, once your deadbolt lock hits a certain age, it starts to lose its power. And others just aren’t made to stand watch and keep burglars out. So you can upgrade your existing home security by replacing your deadbolt lock for a newer, better model. To help you upgrade the security of your home by replacing your deadbolt, we’re going to guide you through a few key topics including:
Why Should You Replace Your Deadbolt?
How to Choose a Deadbolt to Strengthen Your Front Door
A Step-by-Step Guide to Replacing a Front Door Deadbolt
Bottom Line
Why Should You Replace Your Deadbolt?
Here’s an unfortunate fact: Nearly 900,000 burglaries occurred in 2022 alone.1 What’s even more frightening? That’s the lowest per capita burglary rate since 1990, and burglaries still impacted almost 900,000 homes.

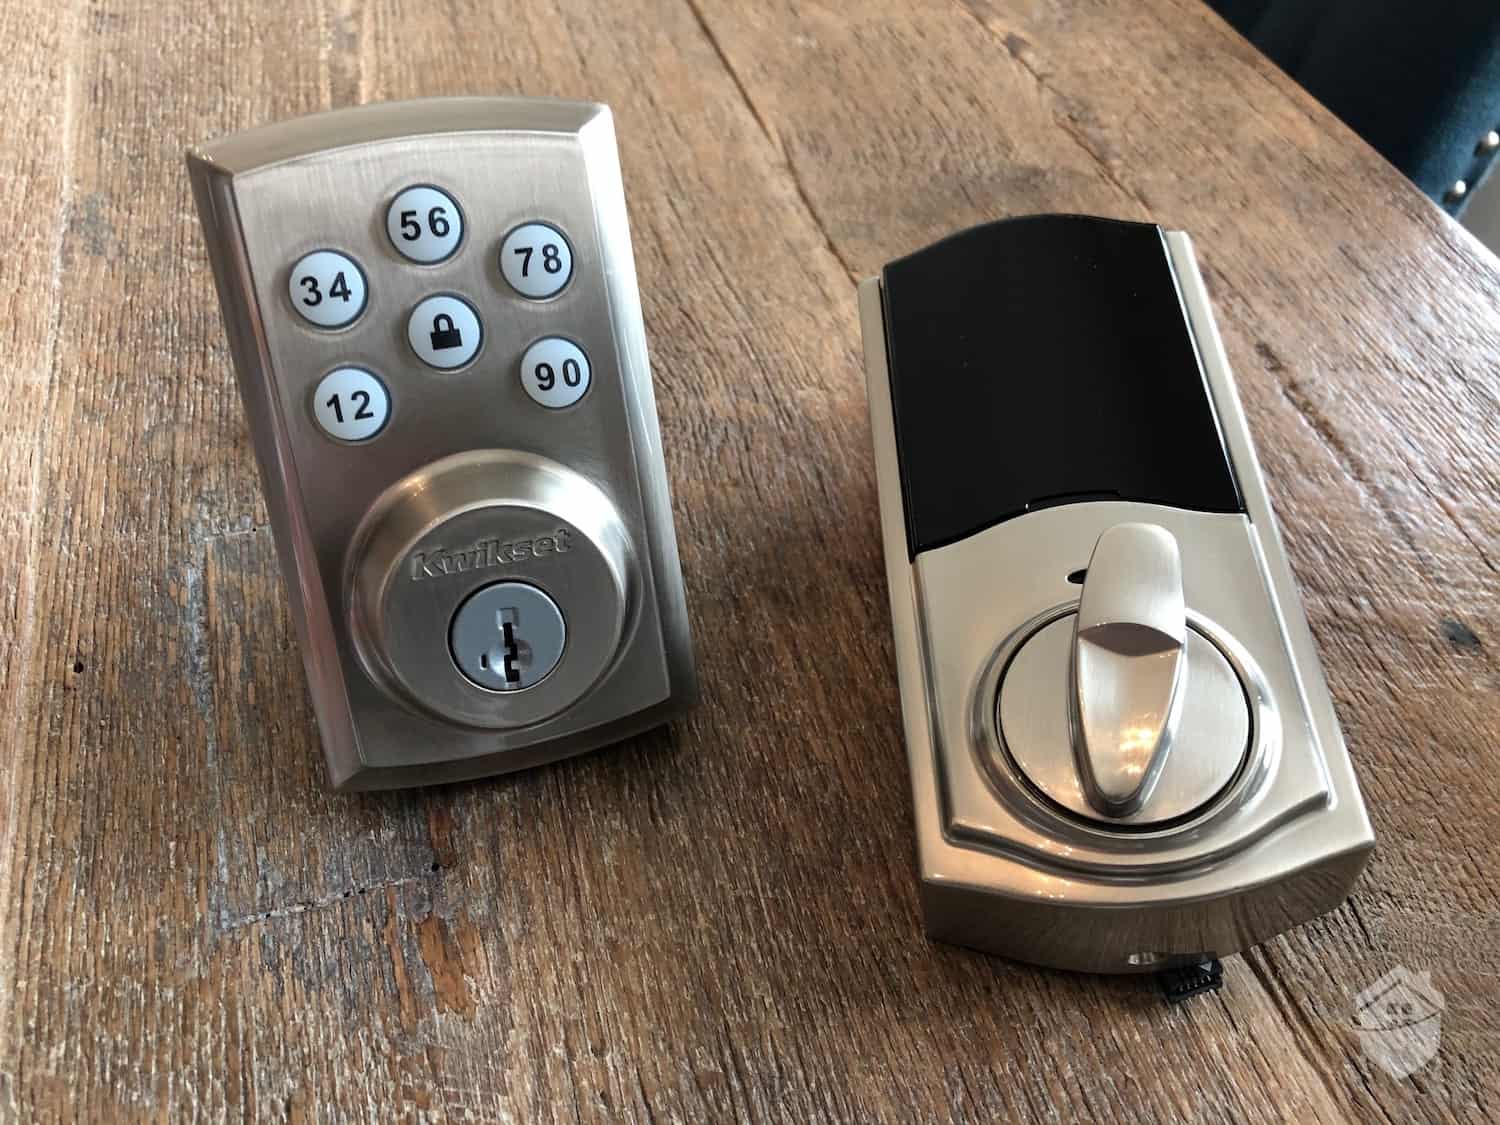
The August Smart Lock comes with a variety of deadbolt adapters.
According to the FBI, 55 percent of break-ins involve entry by force through the front door, back door, or garage service door.2 This can mean anything from picking a lock to breaking a door down. But, no matter the method of entry, a modern, high-quality deadbolt lock makes it harder for a burglar to get into your home through your door using force.
>> Read About: Locking Your Doors
A Step-by-Step Guide to Replacing a Front Door Deadbolt
Thankfully, replacing your deadbolt is a lot easier than you think. In fact, replacing your front door deadbolt shouldn’t take longer than a couple of hours, and you won’t even need any power tools. For peace of mind and the security of your home, I’d say that’s a pretty small investment.
FYI: Is your home secure? Take our Home Security Quiz to find out!
Step 1: Gather Your Tools
In cooking, it’s called “mise en place.” It’s a french phrase that means “putting in place.” When you watch a professional chef, they carefully prepare their work station, gathering everything they need for their current task. This makes the task easier and helps them remember every step.
Take this concept to all of your DIY home security system projects by always gathering the tools you need for your project first. For this project, you’ll only need the new deadbolt lock and a screwdriver that fits the screws for your current and new deadbolt lock.
Did You Know? You can up the security that your deadbolt provides by upgrading the included ¾-inch screws to 3-inch screws. This upgrade means the screws securing the faceplate to the door frame also reach the wall frame, providing additional support.
Step 2: Remove the Old Deadbolt
With your screwdriver in hand, you can get to work removing your old deadbolt. Basically, you want to take out all of the screws. You’ll find two of them on the inside faceplate and two of them on the strike plate. Once you get all of the screws out, the front faceplate should come right off and then you can pull out the deadbolt. Now, you should have a big hole in your door where your deadbolt used to be.
Step 3: Adjust the New Deadbolt’s Size
To find out the size, you’ll want to put the deadbolt in through the hole on the side of the door. Once fully inserted, the deadbolt should reach the middle of the large, circular hole. Most deadbolts have two sizes, so if it’s a bit too long or short just adjust the size with the push pin and try again.
Step 4: Attach the New Strike Plate
Stop! I know you read the title and immediately started to align the two screws in the new strike plate where the old ones were. Don’t worry though, that’s what I did when I installed my first deadbolt.
It needs to be oriented correctly before you start attaching it to your door. You’ll notice a little “up” etched into one end of the strike plate. Make sure that end is pointing up, and then you can attach the strike plate to your door with your screws.
>> Check Out: Best Smart Locks of 2023
Step 5: Align and Attach the Front and Back Plates
This step will feel a bit like a jigsaw puzzle, unfortunately. You’ll need to line up the front and back plates’ bolt-holes so you can attach them together. To do this, you’ll need to hold up both the front and back plate while screwing in the first bolt until it attaches to the back plate. It might take a bit of trial and error, but eventually you’ll feel them attach.
Best Practice: While aligning the front and back plates, tape the back plate to the door so it stays in one place. This way you’ll only need to hold the front plate when attaching them together with the bolts once you find the right alignment.
Step 6: Replace the Door Strike Plate
Next up, we’re replacing the door strike plate on your door frame. This little piece of metal keeps the throw bolt from breaking through the door frame, so it’s a key part of your deadbolt’s strength. Most door strike plates only use two screws, one above and one below the hole for the throw bolt. If it doesn’t come off after you remove those two screws, there might be two more inside the throw bolt hole as well.
After removing the old door strike plate, attach the new one in the same spot with your new screws. If you decided to get 3-inch screws to up your security, this is where you’ll use them. You can also upgrade the door strike plate that came with your deadbolt to a four-screw strike box.
Step 7: Test Your New Deadbolt
With the new deadbolt installed, all you need to do now is test out your work. Start out by trying to shake the lock a bit to make sure there’s no wiggle room with your installation. Then, step outside and check to see if the key works for the lock. Open and close the lock a few times with the key to make sure it feels smooth. Now that you know your new deadbolt works, you can mark this project off your to-do list.
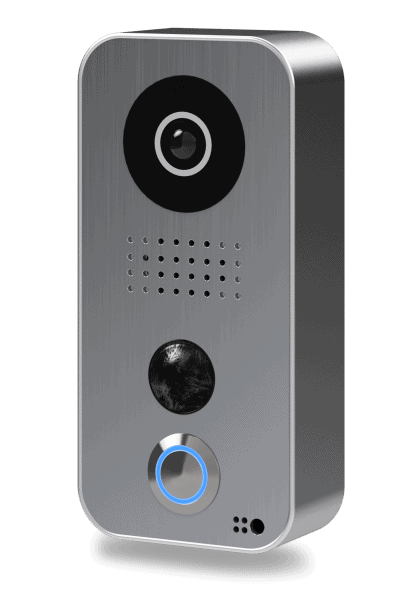
Pro Tip: After installing your new deadbolt, upgrade your front door’s security capabilities even further by adding a top-rated video doorbell camera.
4 Signs Your Deadbolt Needs Replacement

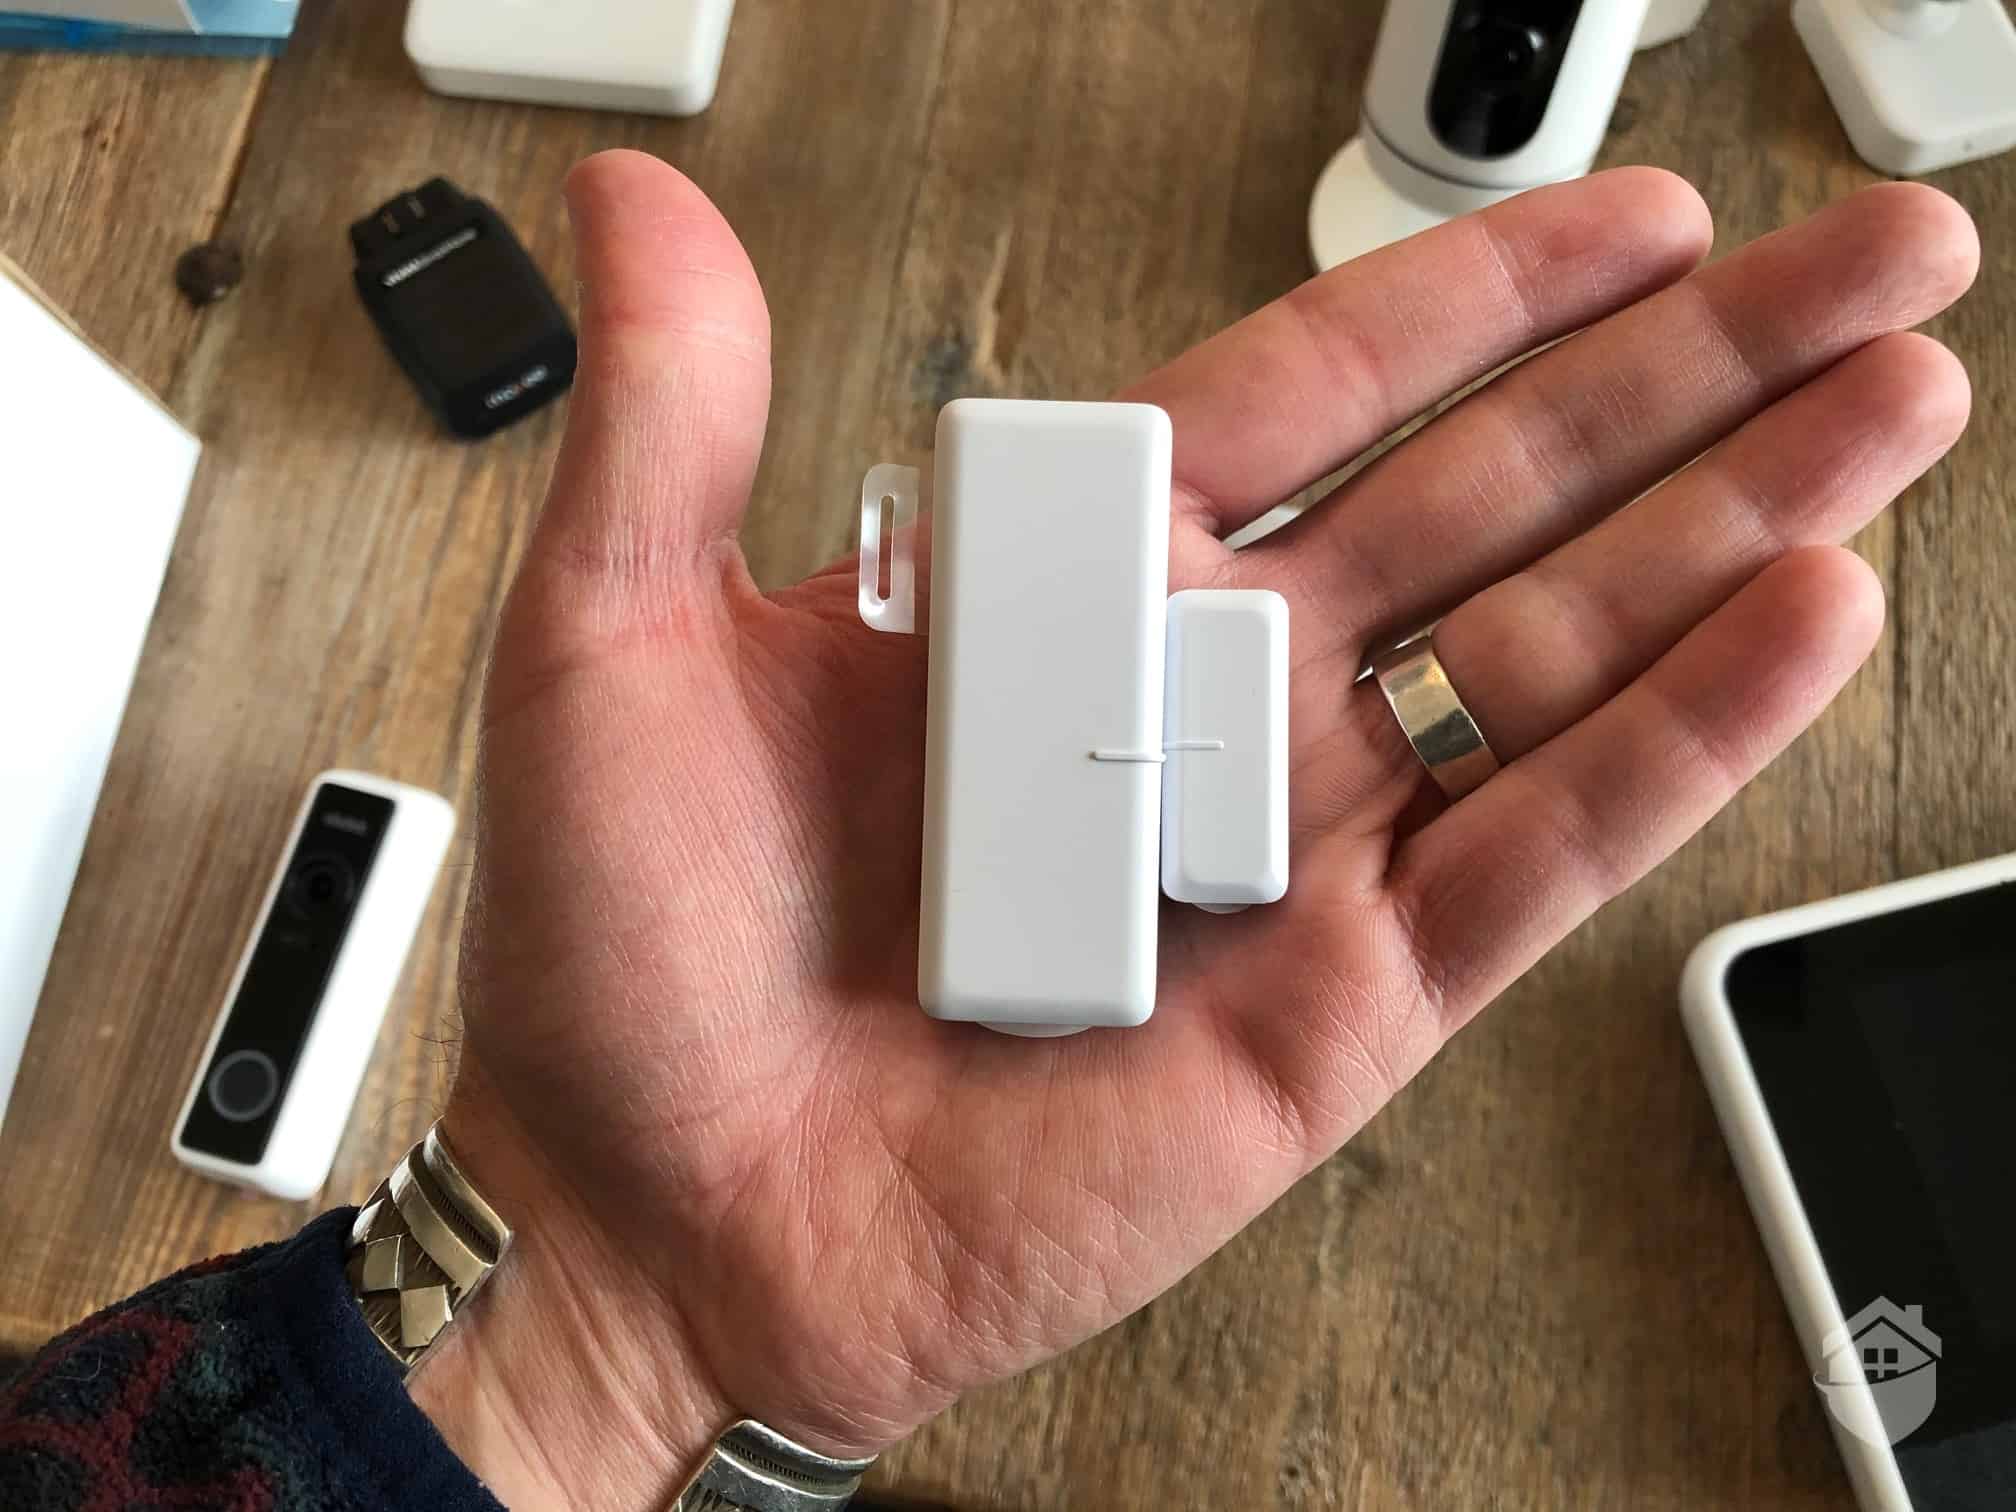
You’ll find your thumb turn lock on the inside of your door.
A compromised deadbolt lacks the security you need and expect from your front door. They become quicker to pick, more likely to fail, and easier to break. This leaves you, your family, and your belongings vulnerable to intruders. Here are four signs that replacing your deadbolt will strengthen your front door:
- Your key doesn’t turn easily: When your lock feels stiff, it’s usually a sign of wear on the lock mechanism. A worn-out lock mechanism makes it easier for an intruder to force the lock open.
- There’s visible damage: Any signs of rust, corrosion, or physical damage can attract intruders to your home. They see it as a weakness and easy point of entry — because it is.
- It’s really old: While you might not see the difference, modern deadbolt locks offer significantly more strength, durability, and resistance to lock picking than older models.
- An intruder got into your home: Even if the intruder didn’t damage your locks at all, you’ll still want to replace all of the locks in your house. They could easily have stolen a key you forgot about that they plan to use at a later date.
Pro Tip: Before replacing your lock completely, you can try repairing it if the key doesn’t turn easily. Just add some Lock Dry Lube in the keyhole to lubricate the locking mechanism and see if that fixes your issue.
How to Choose a Deadbolt to Strengthen Your Front Door
While almost all of them have the same grayish metallic color, trust me, every deadbolt is different. Understanding the different testing to certify a deadbolt’s effectiveness can seem complicated, especially since two different organizations set deadbolt standards. But don’t worry, I already went through all the details so you don’t have to.
>> Read More: Smart Lock Buying Guide 2023
ANSI Grade Deadbolts
The American National Standards Institute (ANSI) establishes three grades for deadbolt locks.3 To meet any of these three grades, a deadbolt lock needs to withstand 360 pounds of force on top of the deadbolt’s level. They also need to be able to turn relatively easily. This ensures all ANSI certified locks meet a minimum durability and quality standard.
Beyond these basic requirements, the three grades differ in their life span and strength. To test the life span, ANSI opens and closes the lock a set number of times. Each time the lock opens then closes counts as one cycle. They also test the lock against a set number of strikes with a hammer. On top of hammer blows, the ANSI tests the front plate’s pressure resistance with a pointed probe in shrinking diameters. Here’s a table comparing each grade:
| ANSI grade | Open/close cycles | Hammer impact resistance | Pointed probe pressure resistance |
|---|---|---|---|
| 1 | 1,000,000 | Ten 75-lbs strikes | 0.075-inch diameter |
| 2 | 800,000 | Five 75-lbs strikes | 0.100-inch diameter |
| 3 | 800,000 | Two 75-lbs strikes | 0.100-inch diameter |
UL 437 Rated Deadbolts
The ANSI isn’t the only kid on the block certifying deadbolt locks. Underwriters Laboratories (UL) also certifies locks as “high-security locks” if they pass the UL 437 security [citation idtest. What’s great about the UL 437 security test is the massive difference in testing compared to ANSI.
With the UL 437 security test, locks only need to meet a durability of 10,000 open/close cycles. But, they also require at least 1,000 key differs on the lock. A higher number of key differs makes the lock more difficult to open with a tryout key.
To test how hard a deadbolt is to break into, the UL 437 test uses a specialized technique. They time how long a home invader takes to get through the lock using a variety of lock-breaking and lock-picking methods. For a residential deadbolt, the lock needs to withstand a lock picker for 10 minutes, and a forceful entry using small handheld tools for 5 minutes.
>> Tip: Home Invasion Prevention: 10 Ways to Stop Criminals From Choosing Your Home
Single Cylinder vs. Double Cylinder Locks
I know, you probably want to know what lock you need already. But stay with me just a bit longer because this one is important! Make sure you get a single cylinder lock. A single cylinder lock is what you picture when you think of a deadbolt lock: a keyhole on one side and a lever on the other. You only need a key when entering, not when exiting.
Double cylinder locks require a key whether you’re exiting or entering, making them a hazard in residential settings. Requiring a key when exiting disrupts your ability to get out of your house in the event of a fire or other emergency.
>> Learn More: Residential Fire Prevention and Safety Guide
Which Lock is Right for You?
Now that you know to get a single cylinder lock, let’s break down your options security-wise. For the ultimate security, look for a deadbolt that’s certified under both ANSI Grade 1 and UL 437. These locks meet the highest security standards currently available for residential deadbolts. But they’re also the most expensive, with most of them costing upward of $100.
For a less expensive option, ANSI Grade 2 still offers impressive strength at a much lower cost. They typically run somewhere between $25 and $50, depending on the brand. If you want the cheapest lock that’s still been officially tested, you can get an ANSI Grade 3 certified deadbolt for under $20.
Bottom Line
Replacing your deadbolt doesn’t need to be expensive or confusing. All you need is a few free hours on a Saturday afternoon, a screwdriver, and a new deadbolt that’ll run you $100 at most. This simple upgrade could protect you, your family, and your belongings from a burglar looking for an easy entry point. If they see an old and damaged deadbolt on your door, you’ll become their prime target.
So, do you and your family a favor by making the time to replace your old or damaged deadbolt to make your front door stronger. It’ll turn your front door into the castle gates you deserve to keep your home protected.